|
Over the past trimester of Digital Photography 2, I have taken quality images, and learned new photography and photoshop skills. It has been a great experience to be in this class, and grow as a photographer. While I have grown in my photography skills, I did not really change my macro style of photography. In fact, most of my photo assignments that I did this trimester revolved around macro photography. Here are some of my best photos from photo assignments showing my style:
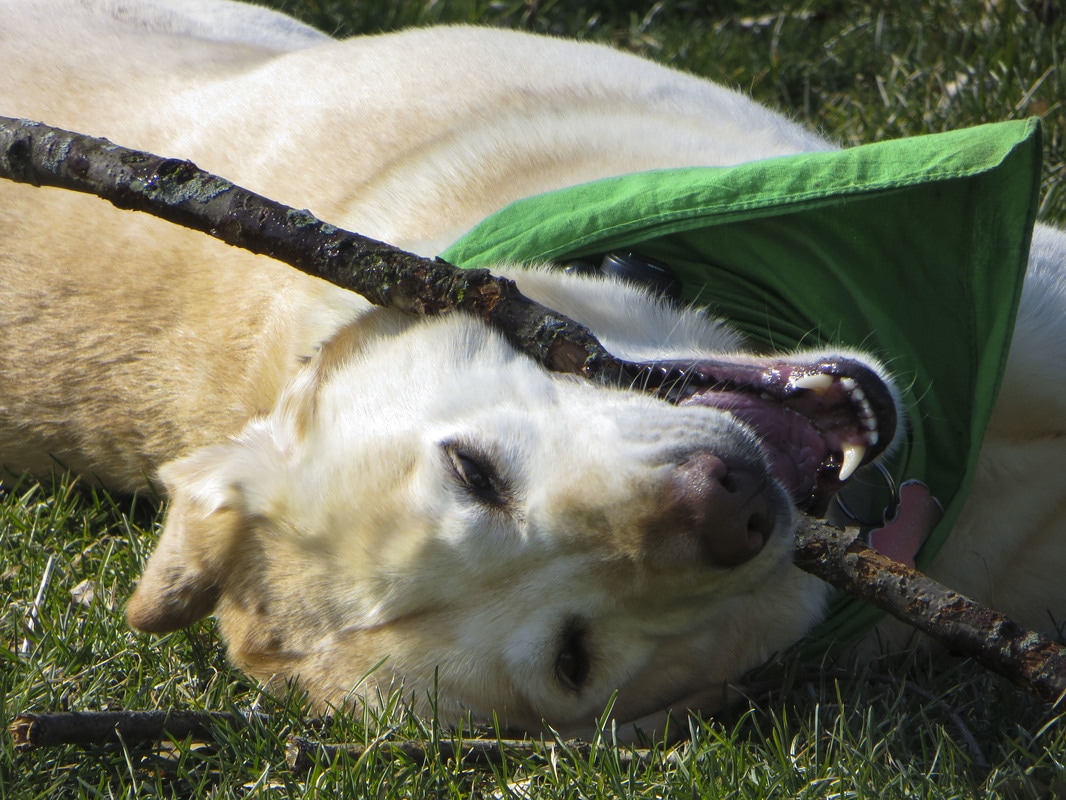
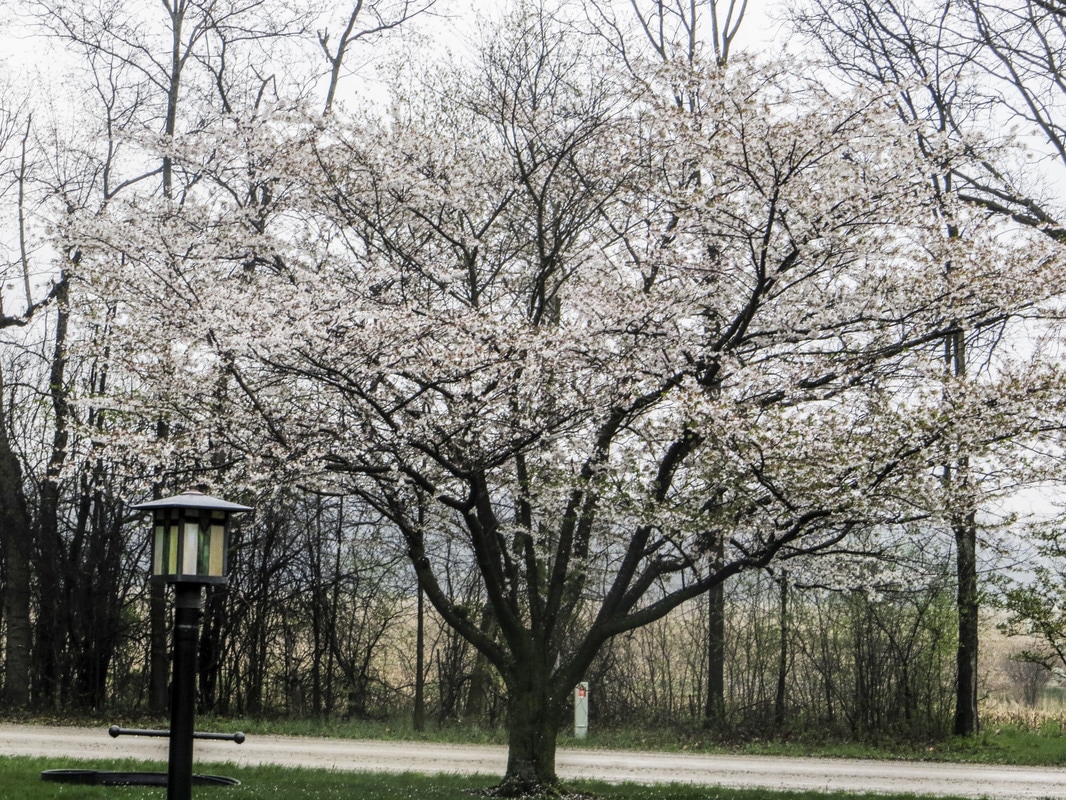
I have really honed in on my style as a photography during this trimester, and it has been a fun time. However, I did take some pictures in a non-macro style and some of them even turned out pretty good. Here are some of the good pictures I took.
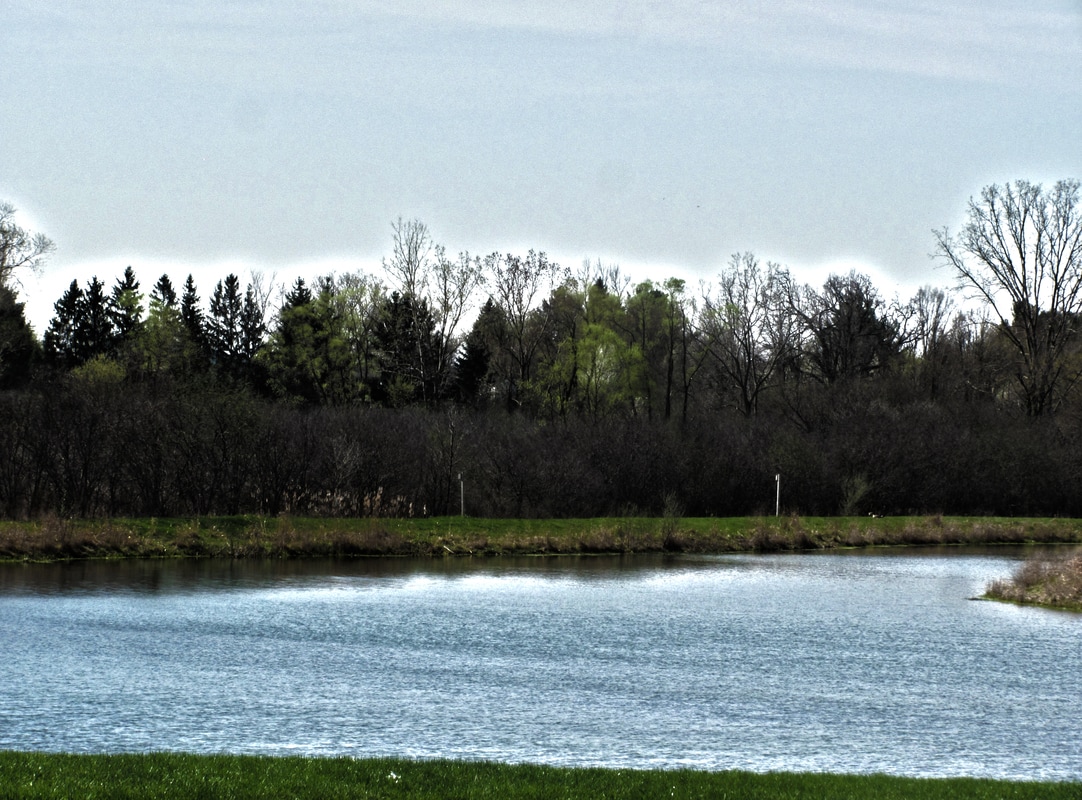
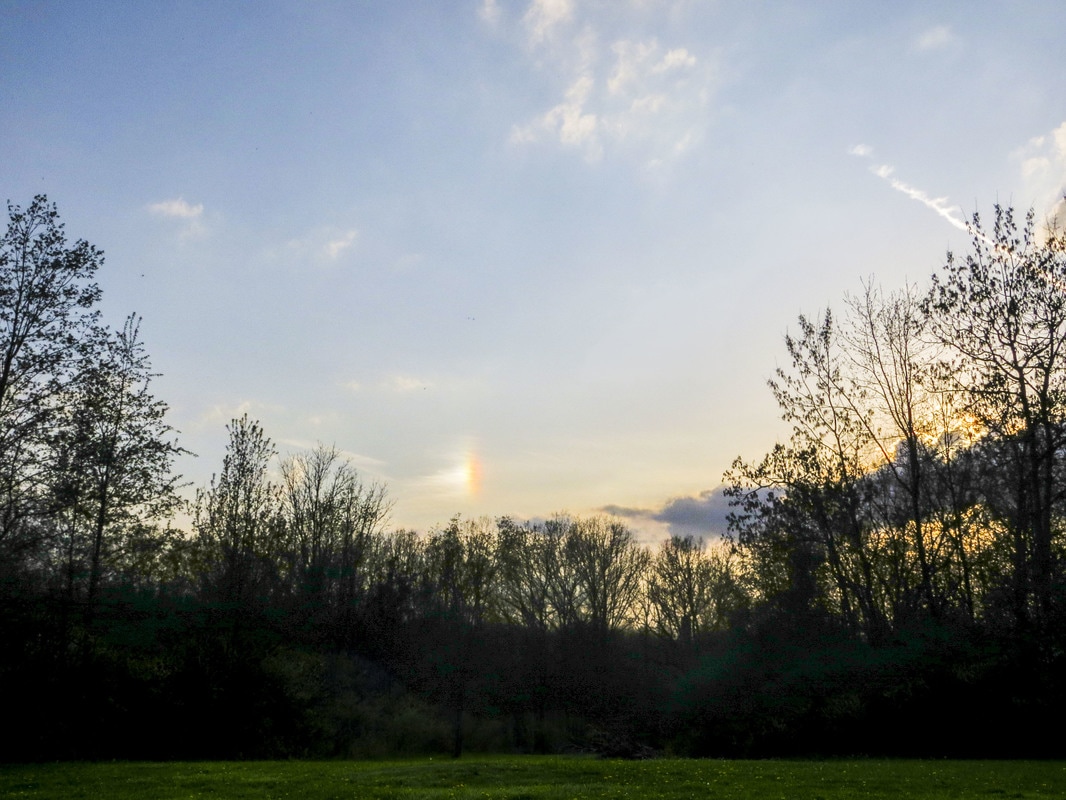
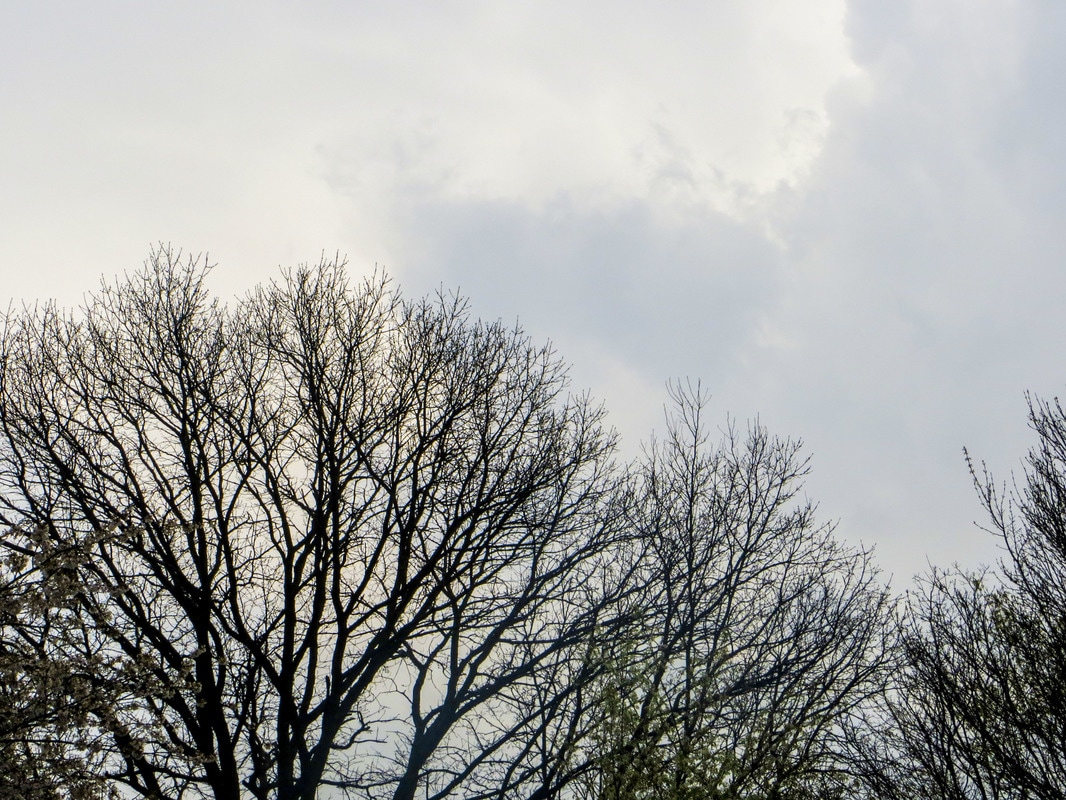
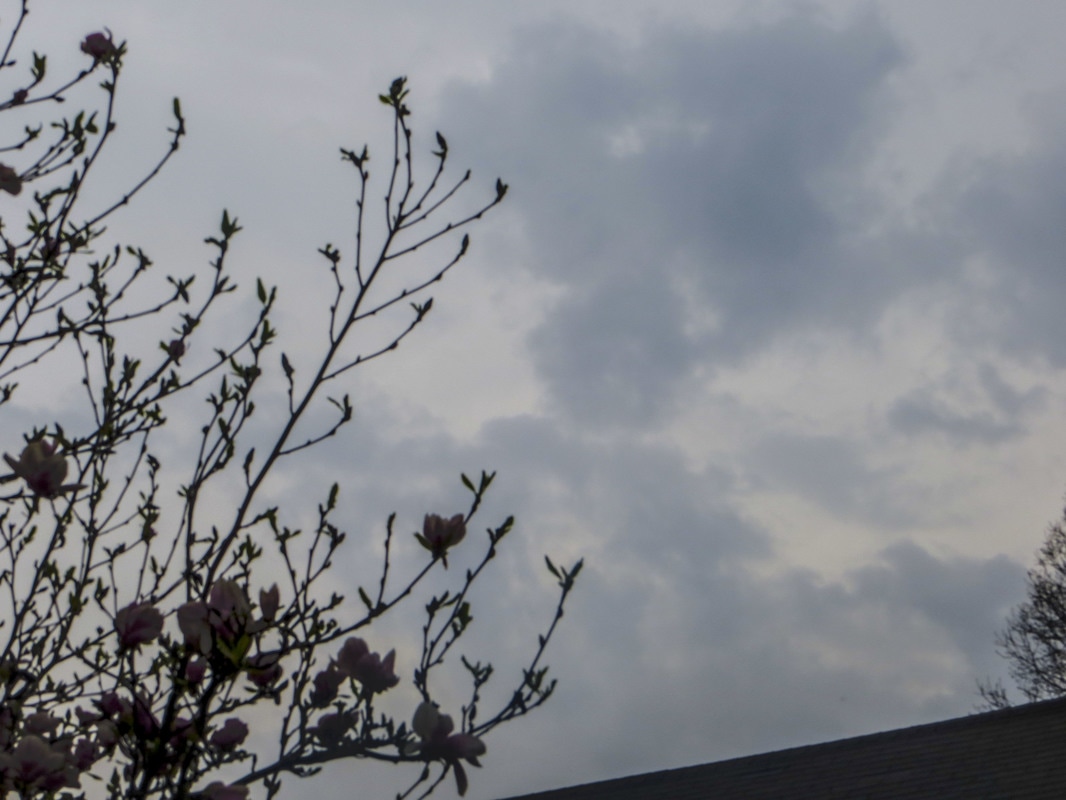
I also took a few bad pictures when I deviated from my style. In fact, pretty much all of my bad pictures happen to be panoramic landscape pictures. 
Although I took some good pictures, and a lot of bad pictures, I had a great time taking pictures for this class. I hope to continue taking pictures in the near or distant future.
3 Comments
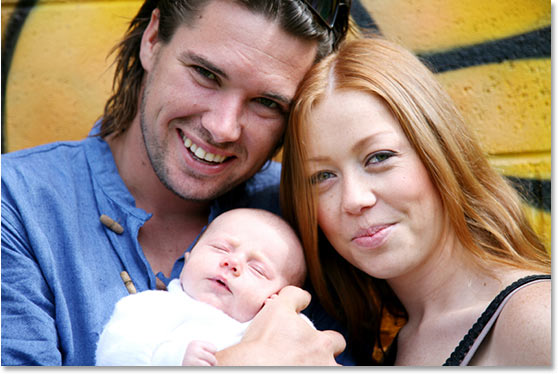
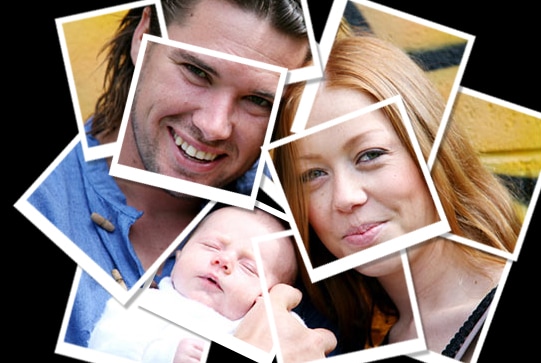
For this assignment, I looked through different photoshop tutorials, and picked out the ones that seemed both interesting and doable. For the first tutorial, everyone did the same thing of the polaroid tutorial.
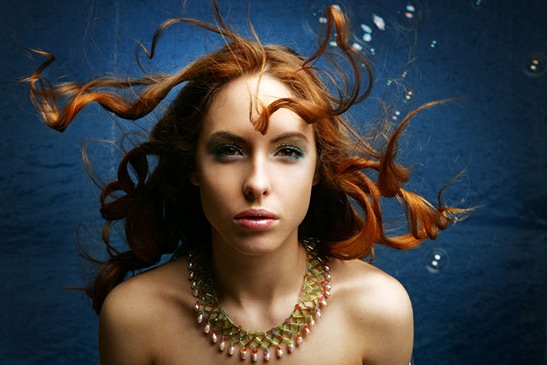
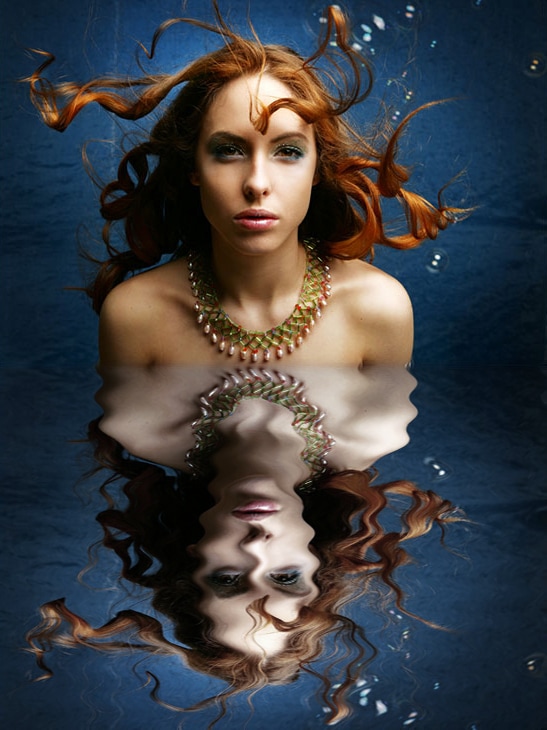
The second tutorial I did was to make a water reflection effect. This tutorial uses layer masks, and the distortion filter. The tutorial can be found here.
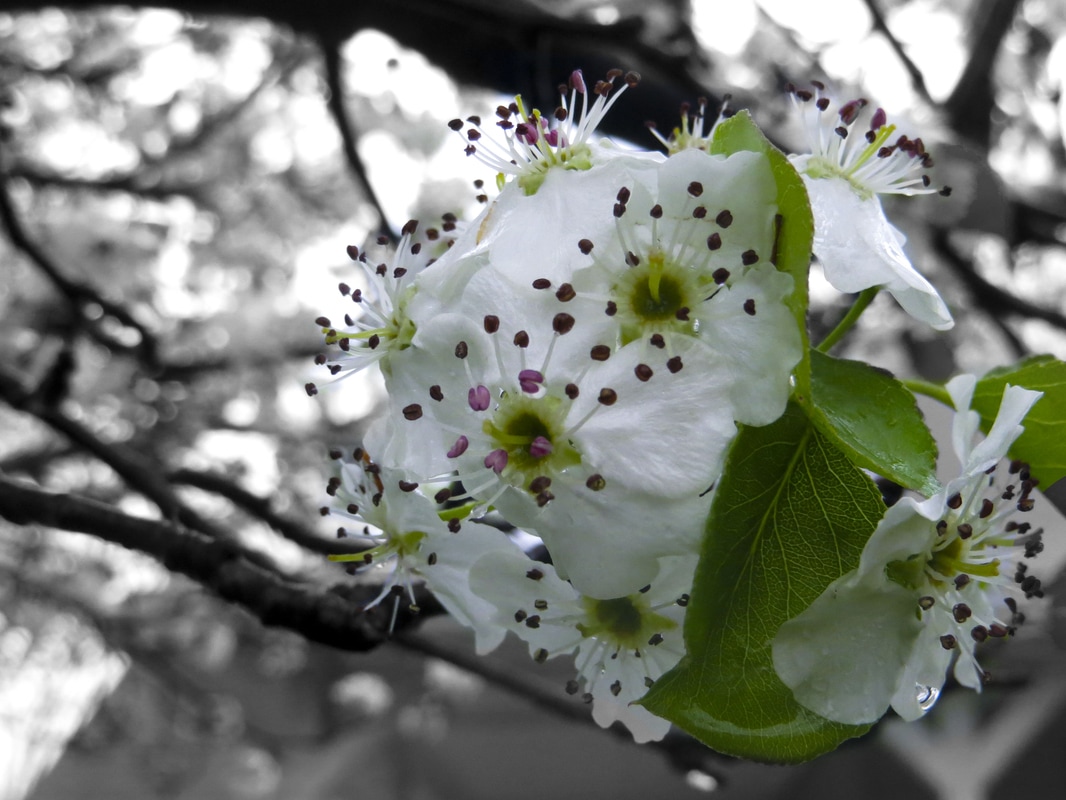
I actually learned a lot from this tutorial. Although quite easy to follow, I was introduced to some new photoshops tools and techniques such as creating a new document from a layer, using the distortion filter, and colorization. For the next tutorial, I used texture mapping on an image. This tutorial can be found here.
I learned a lot from this tutorial. Specifically, I learned how to make a texture map, to apply it to a texture overlay. I had fun doing these tutorials and learned a lot of useful skills along the way.
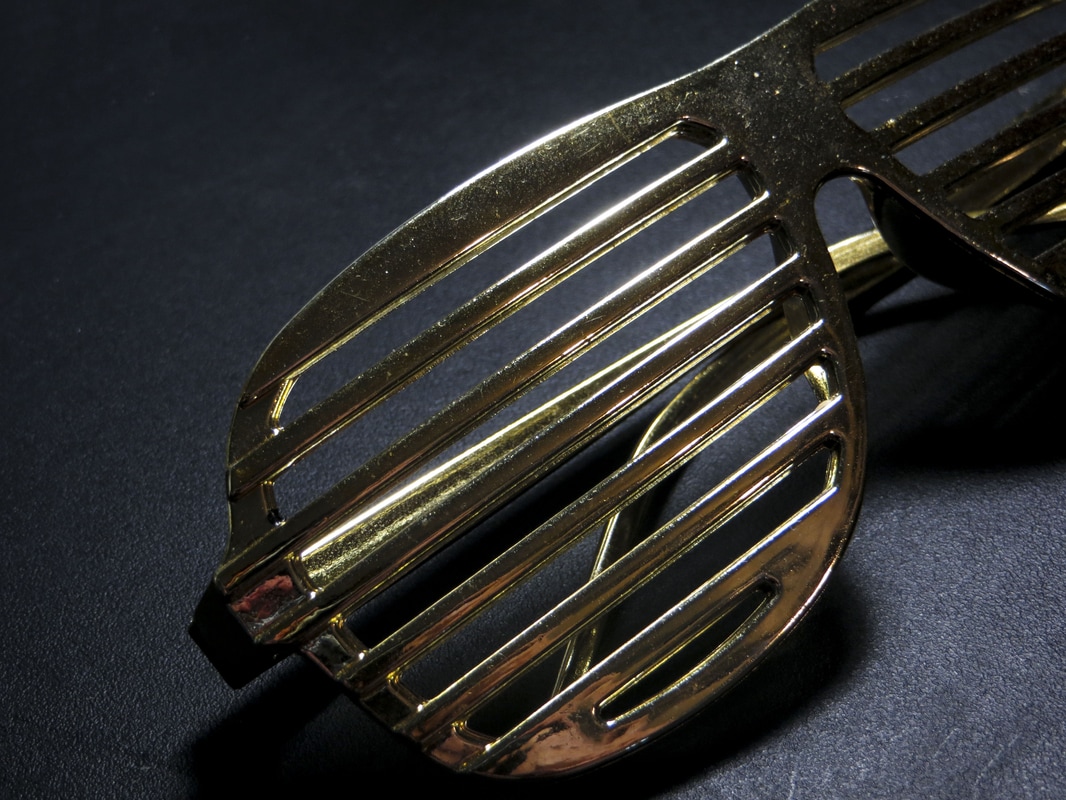
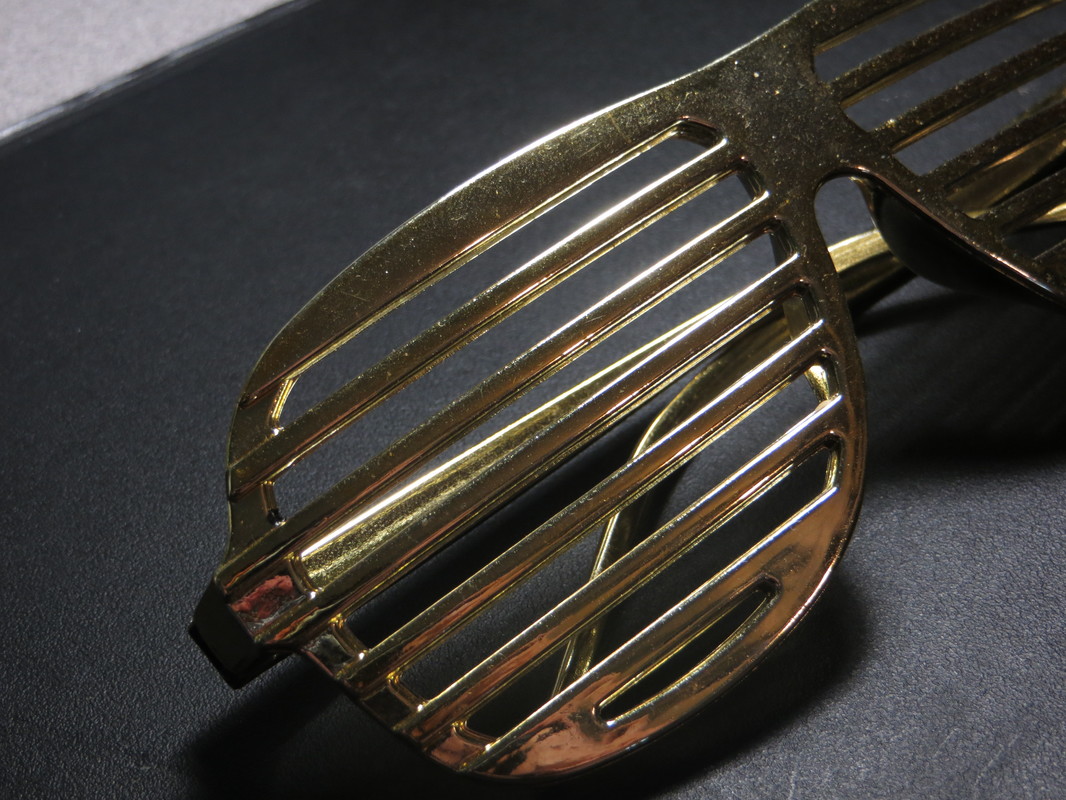
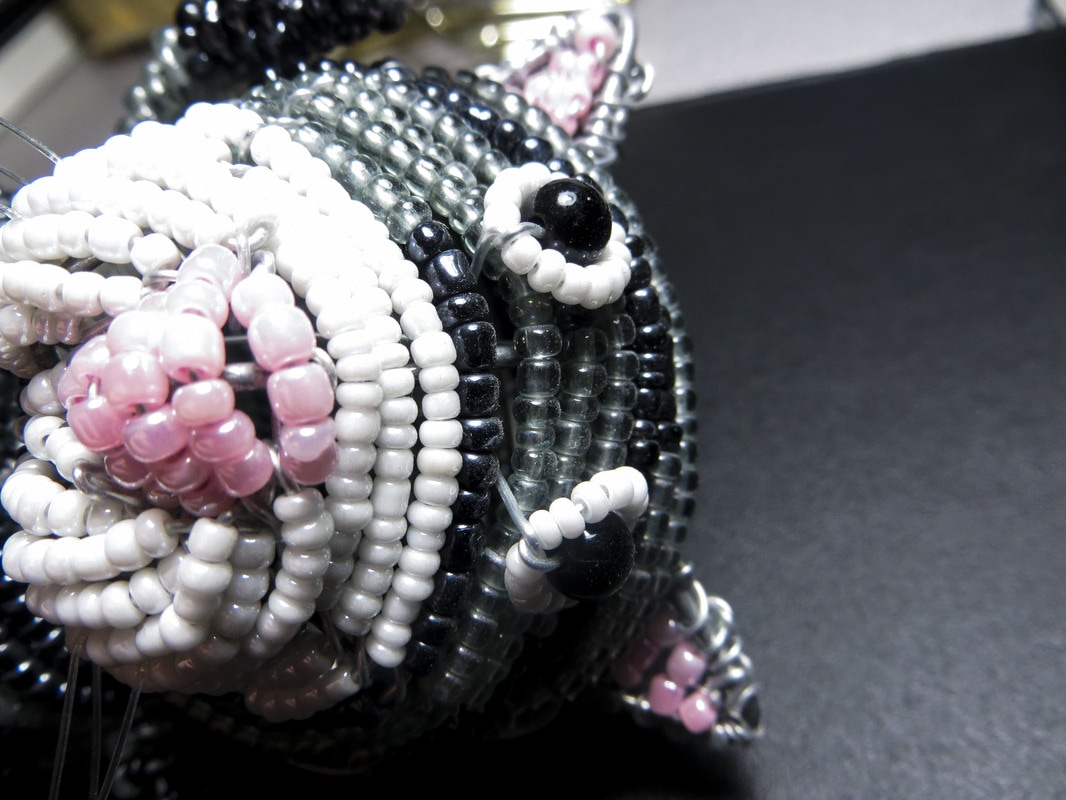
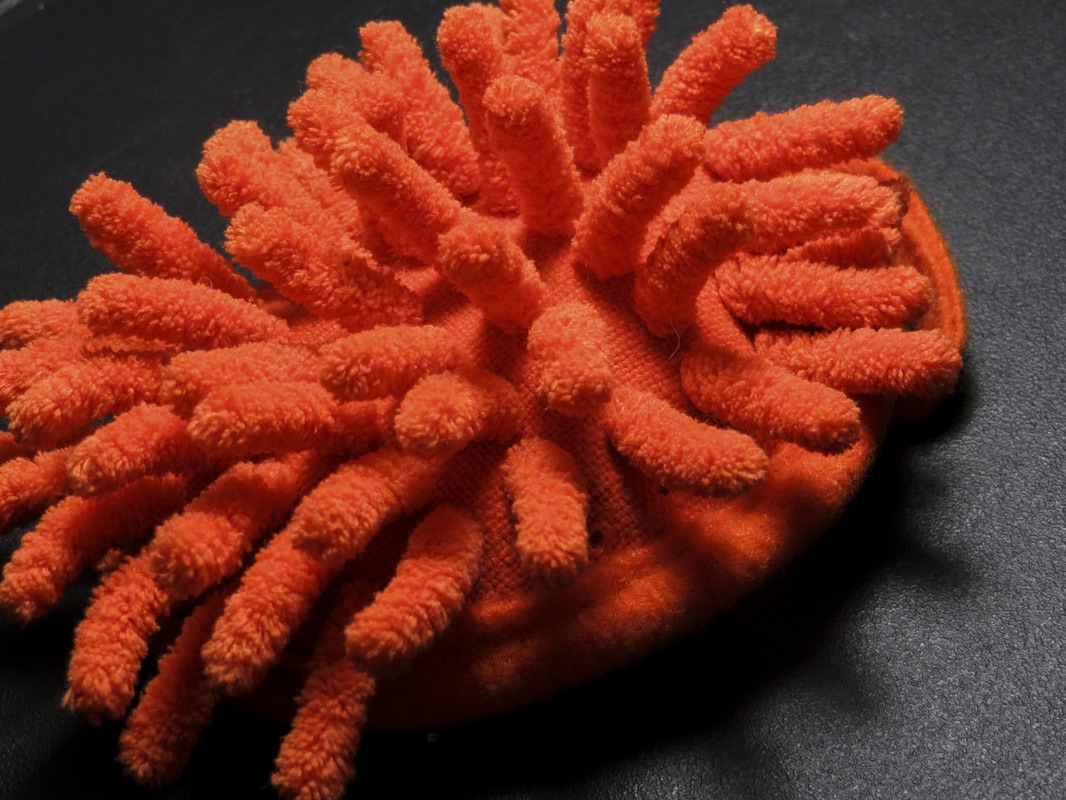
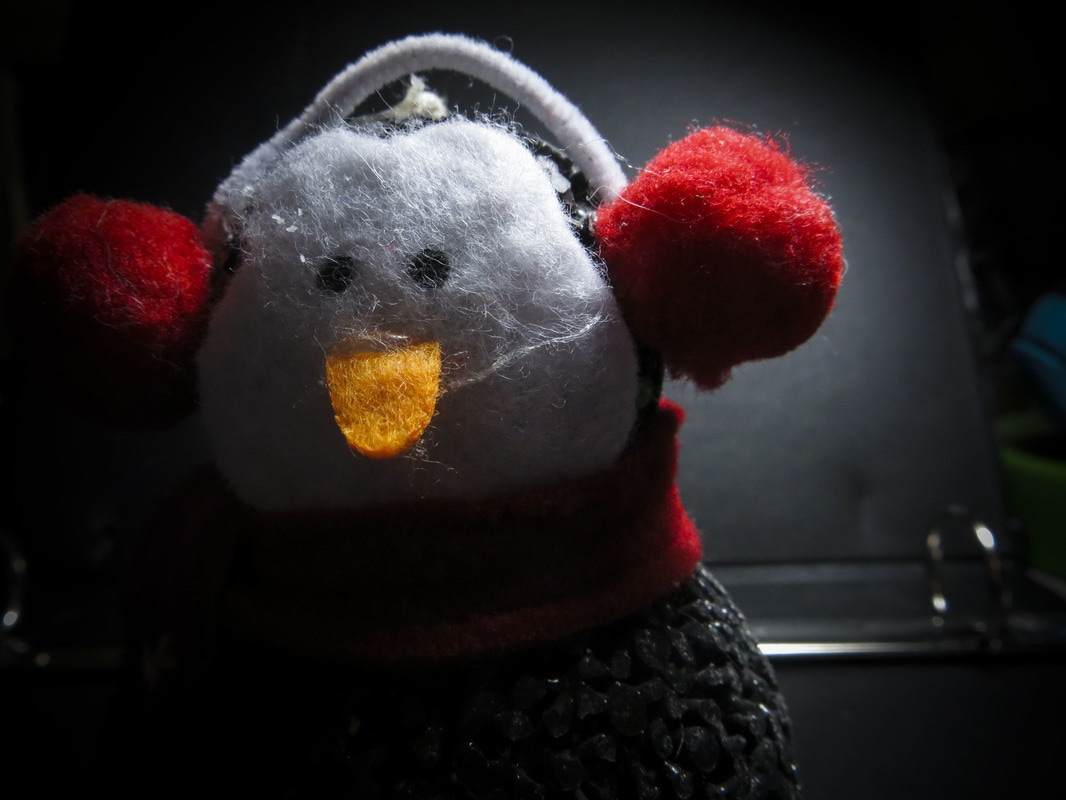
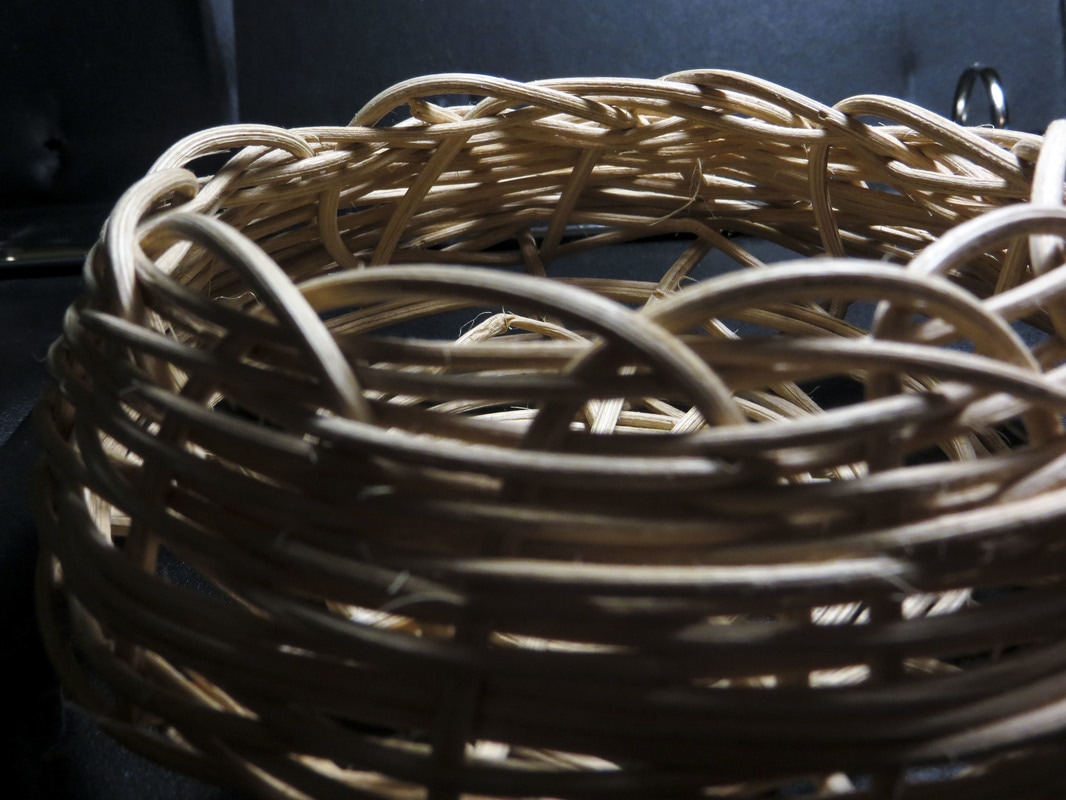
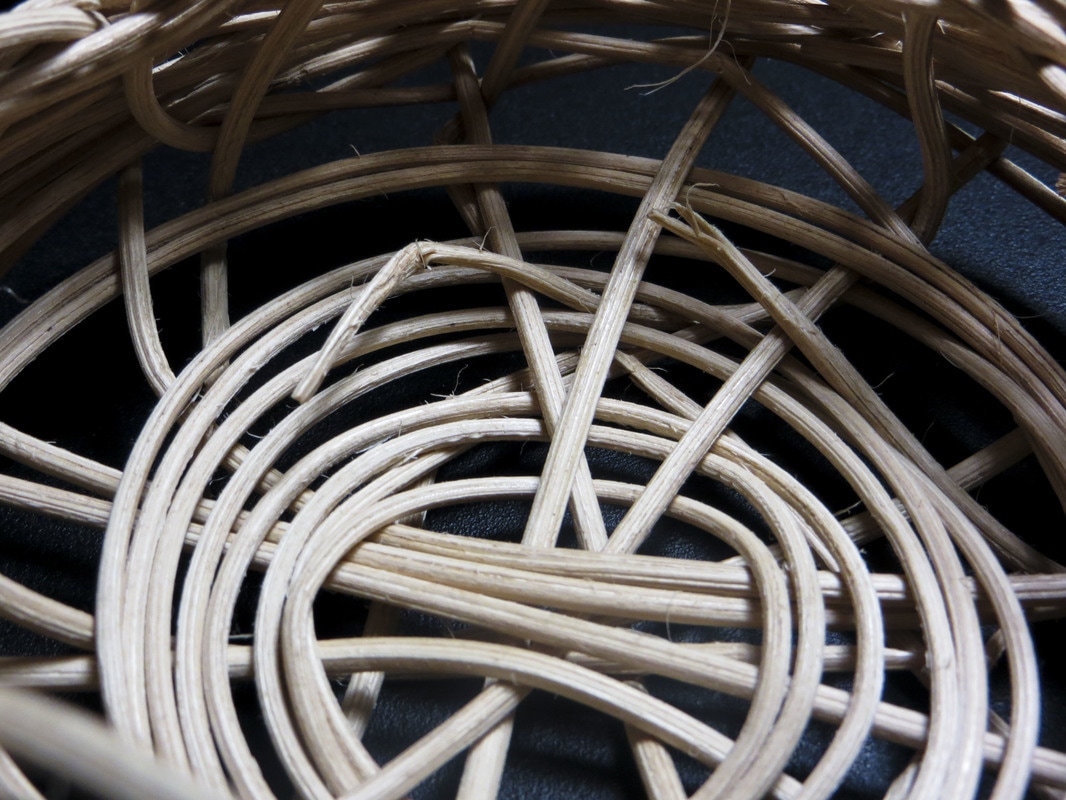
This week I shot macro. I just grabbed some things in my room, a lamp, and a binder, and took some close up pictures.
Aperture: f/4.5 Shutter Speed: 1/80 ISO: 400 This week, I learned that sunglasses work better for macro pictures than things with actual texture.
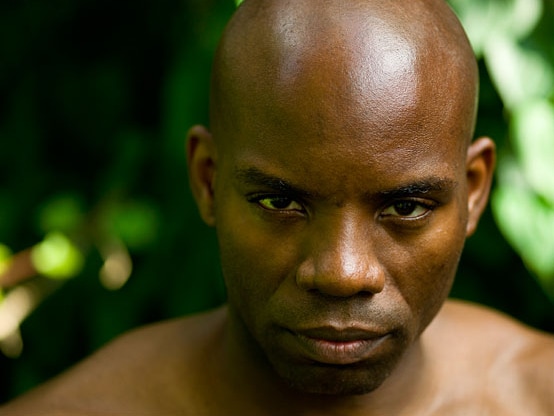
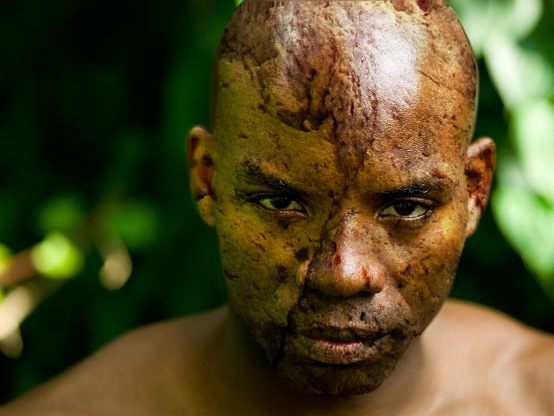
For this assignment, I made composite images by blending multiple images together. For the first one, I was given a sample of flowers to turn into a composite image. 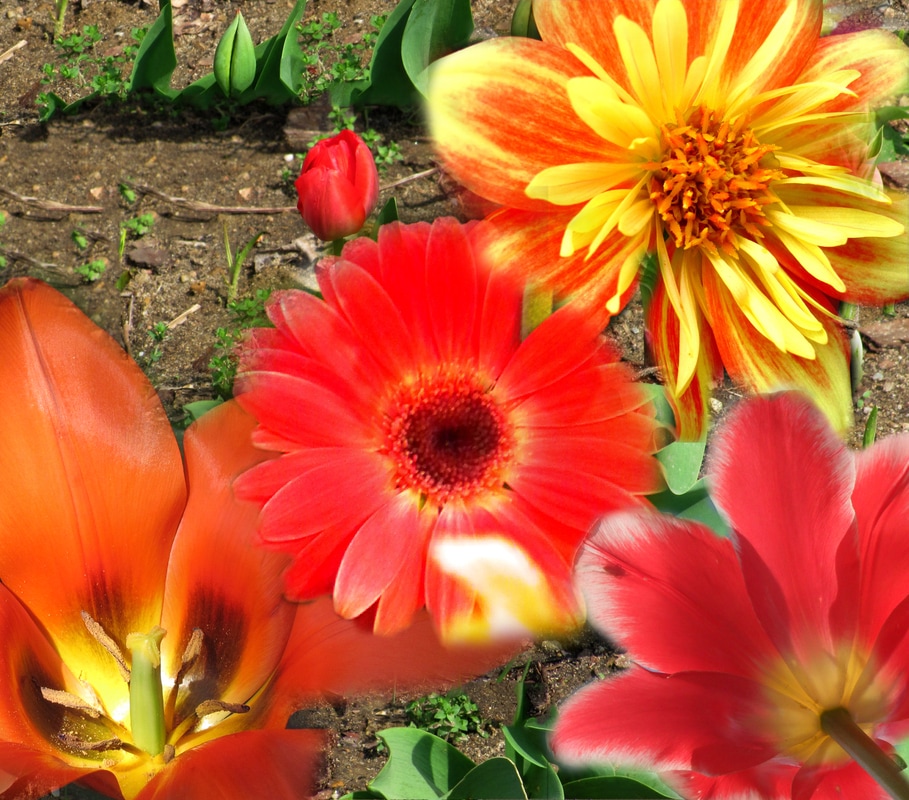 For the next one, I had to do a collage of what makes up my life now. This one was quite challenging as I never take pictures with me in it. I had to find an image from a couple years ago with my family in it. 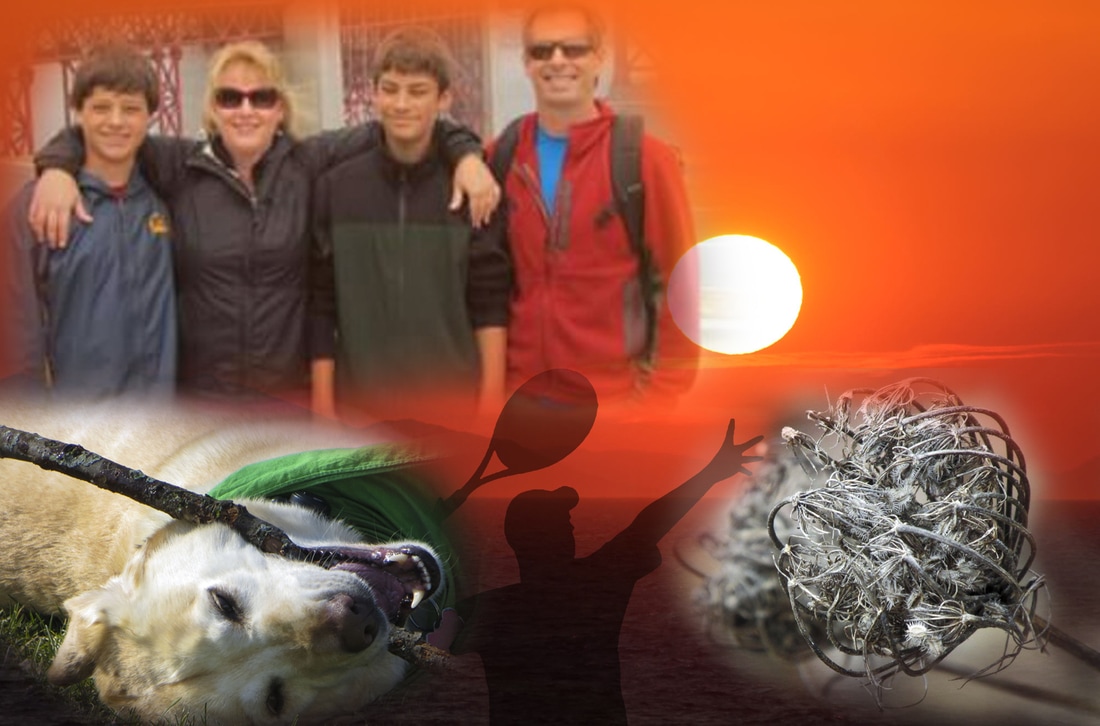 For the last image, I made a composite that focuses on what I think should be in the future. 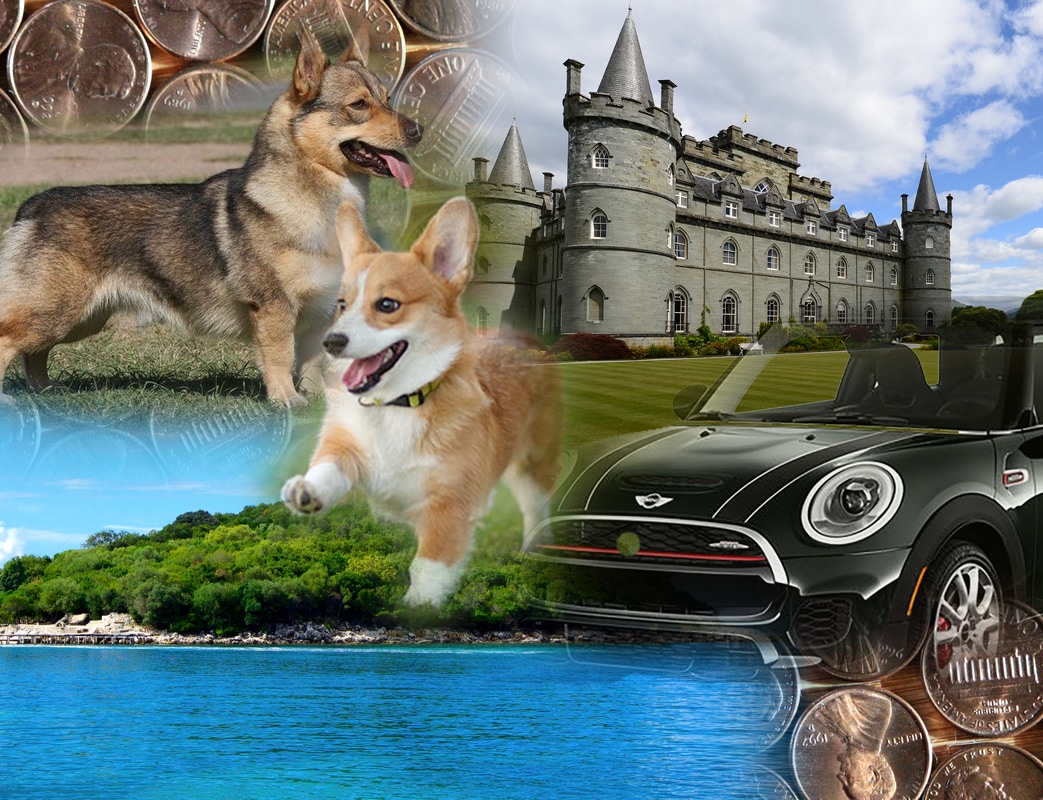 In this assignment, I learned how to use the feather adjustment for layer masks to blend imaged together.
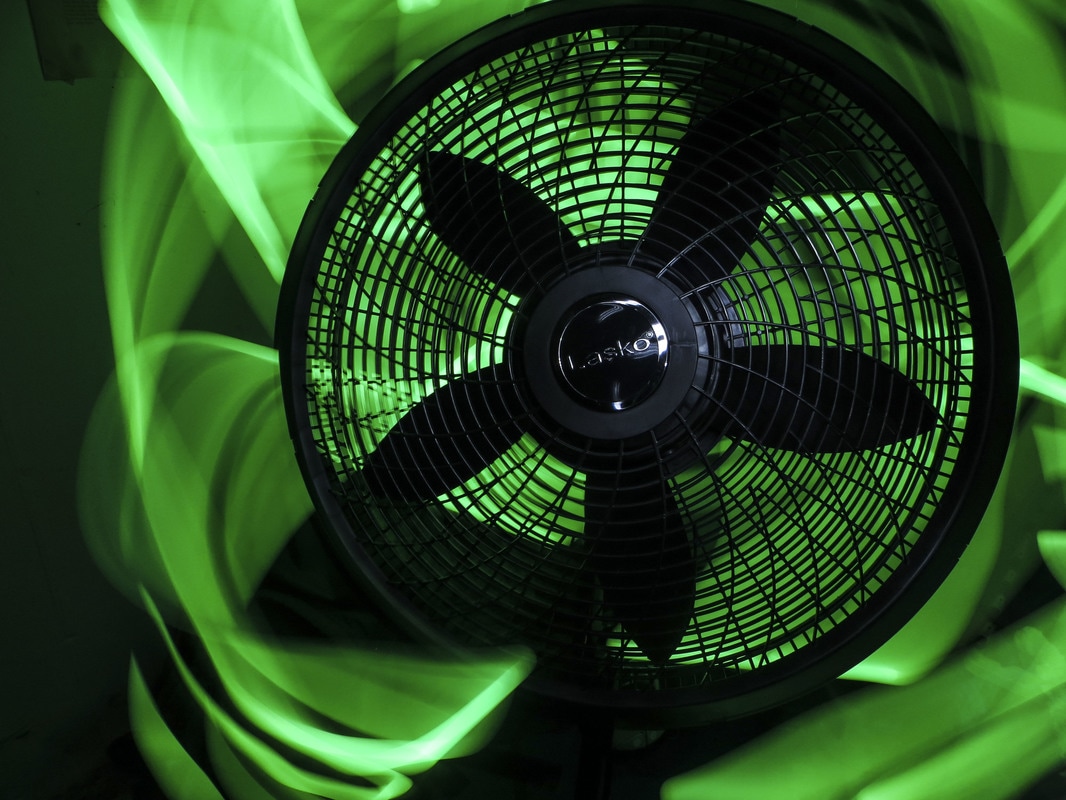
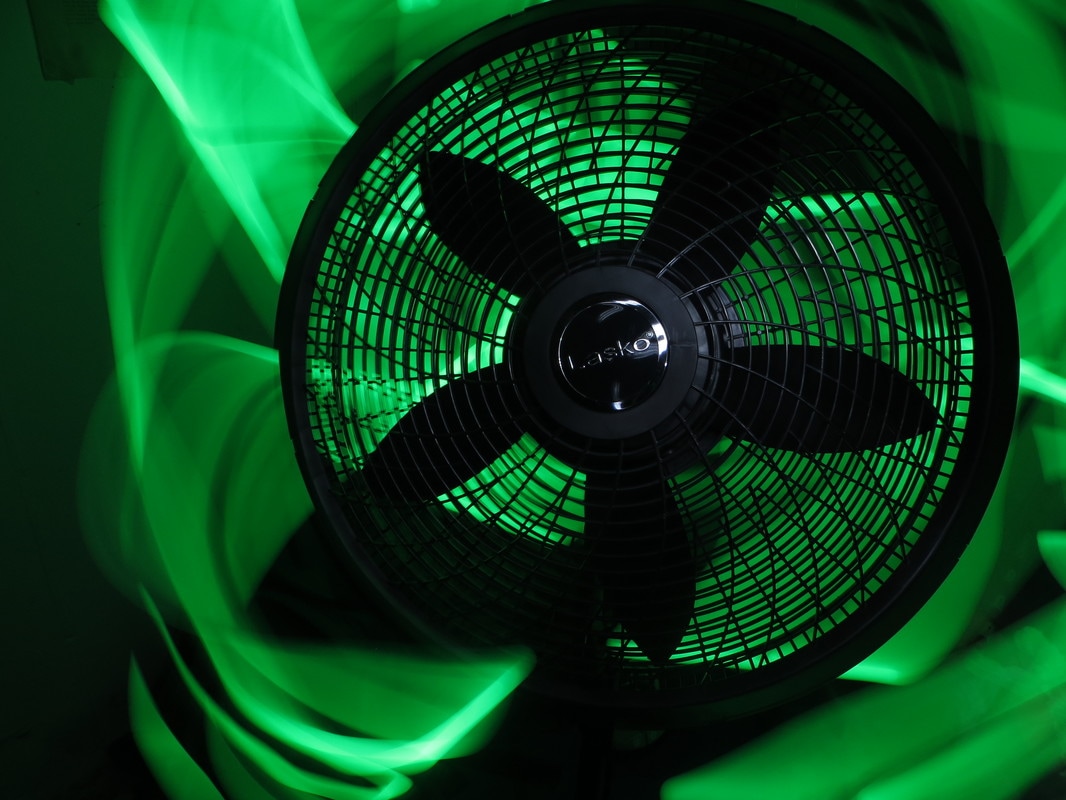
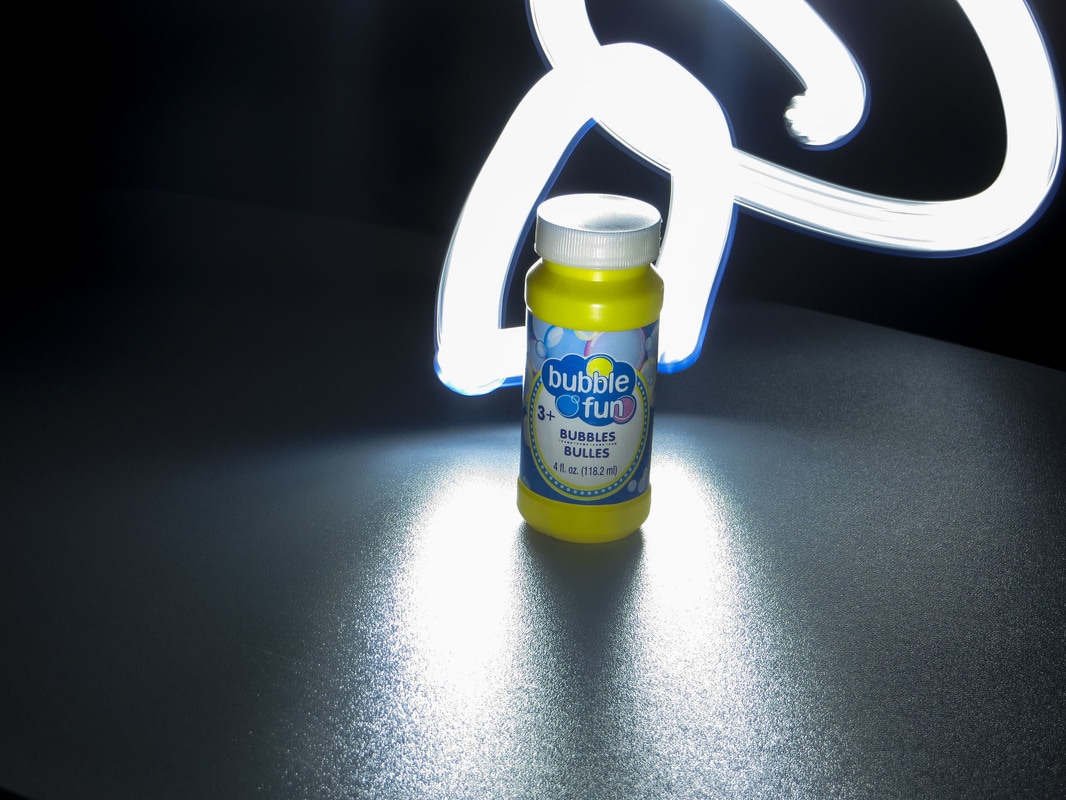
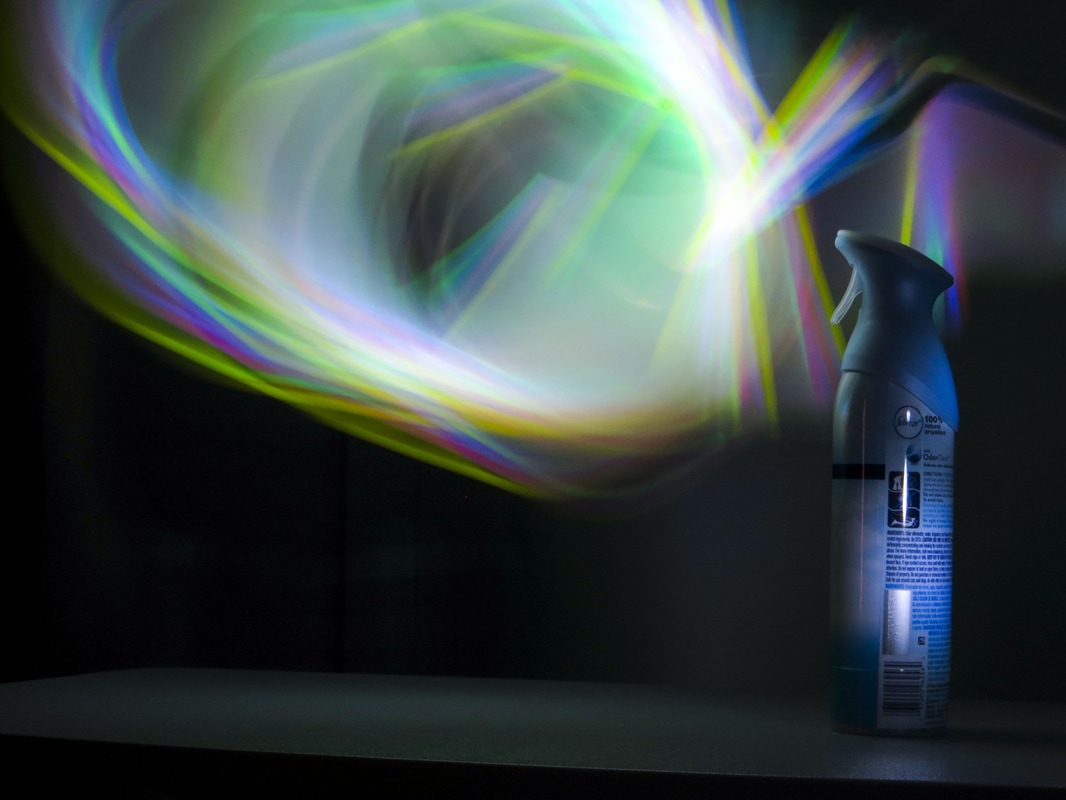
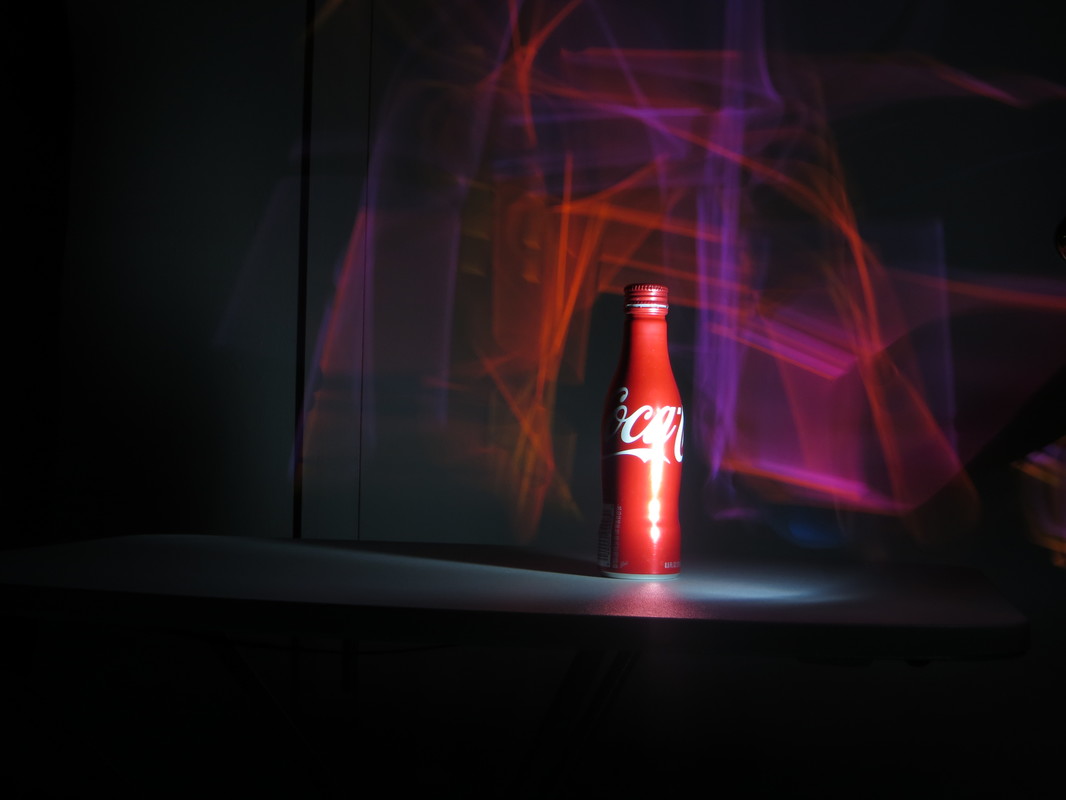
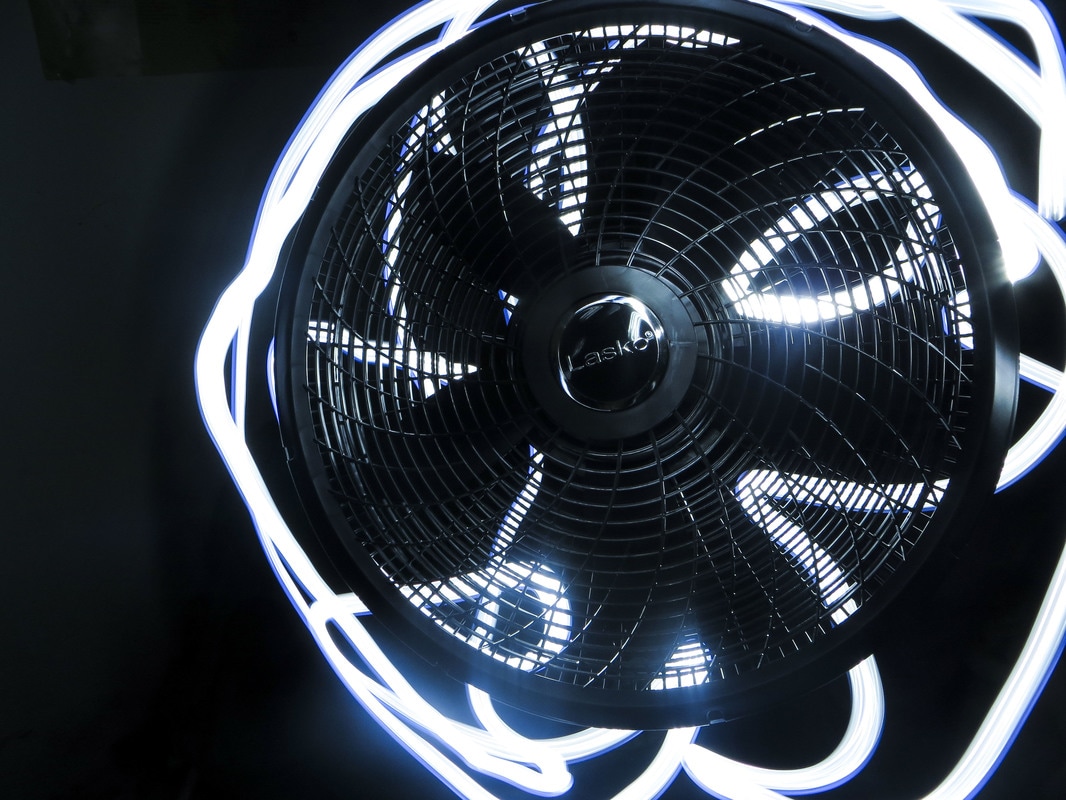
This week, I dabbled in light painting. Light painting is created by using a very slow shutter speed in a dark room, and painting around an object. Here are the results:
Aperture: f/5.0 Shutter Speed: 15.0 ISO: 100 I learned a lot from this assignment. These light paintings definitely turned out better than las trimesters. The best pictures I took included a subject that was still and then had something painted around them. I didn't do any of that last time and this made a huge improvement. I also learned that I can't blow bubbles in the dark and then paint them with light.
In this assignment, I shot panographic images. This means that I took a bunch of pictures of a specific subject, and put them together in photoshop. For three of the images, all I had to do was put them into photoshop and use the Photomerge feature. The other two, however, were assembled by hand. Hand assembling panographic images is a very tedious and frustrating process, because no matter how hard you try and, the images will not 100% line up. Here are my hand assembled images: 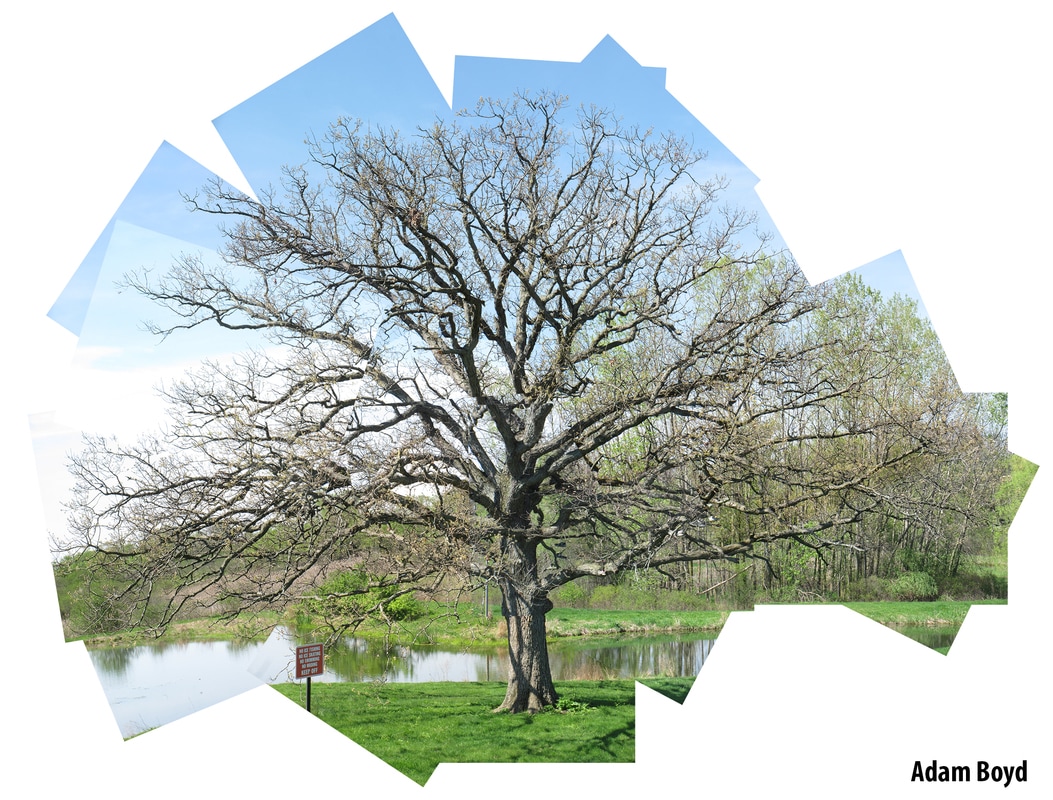 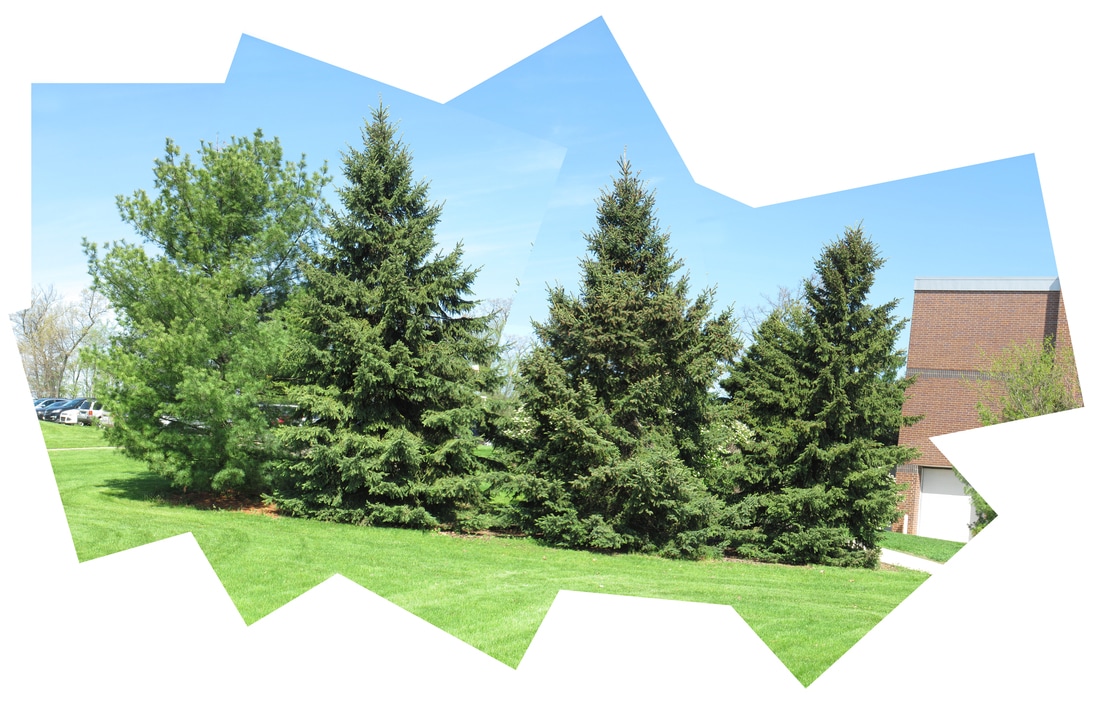 Here are the ones made using Photomerge. 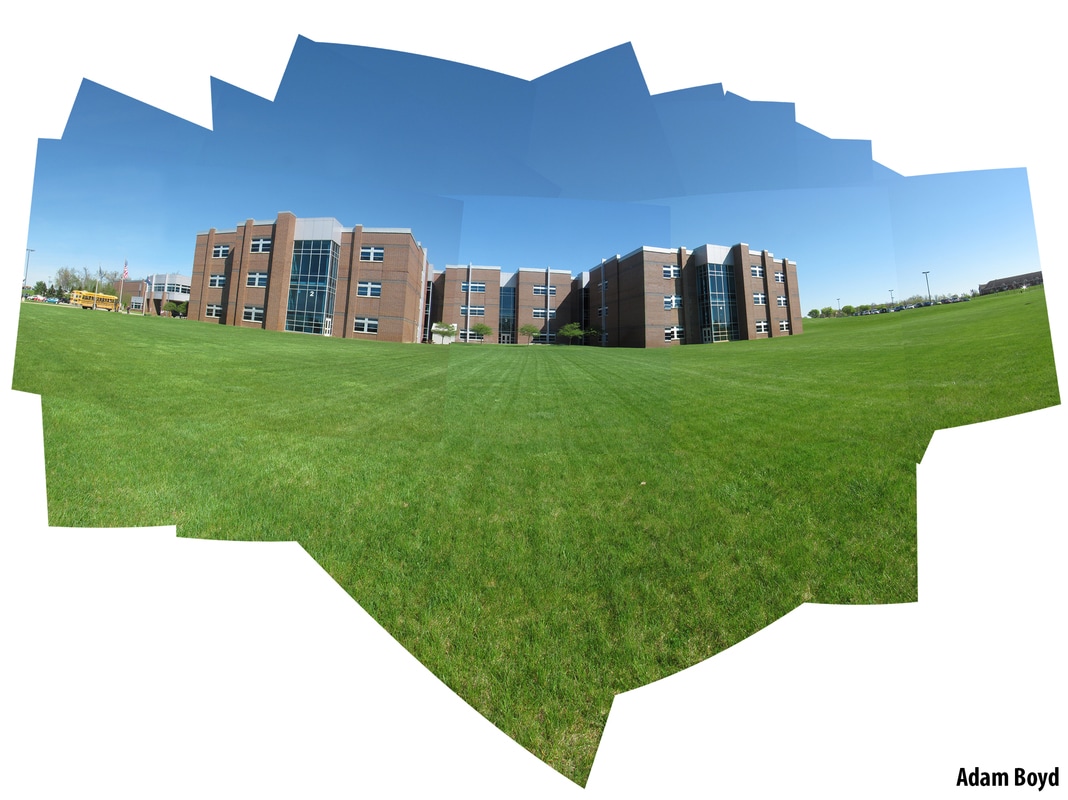 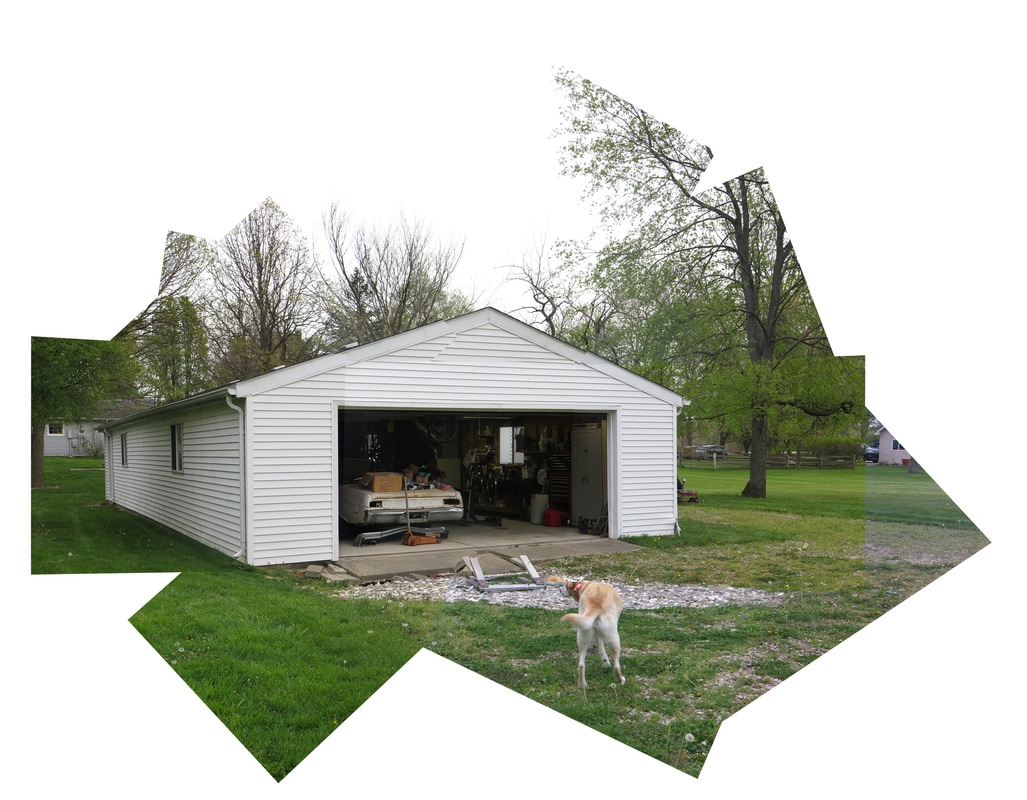 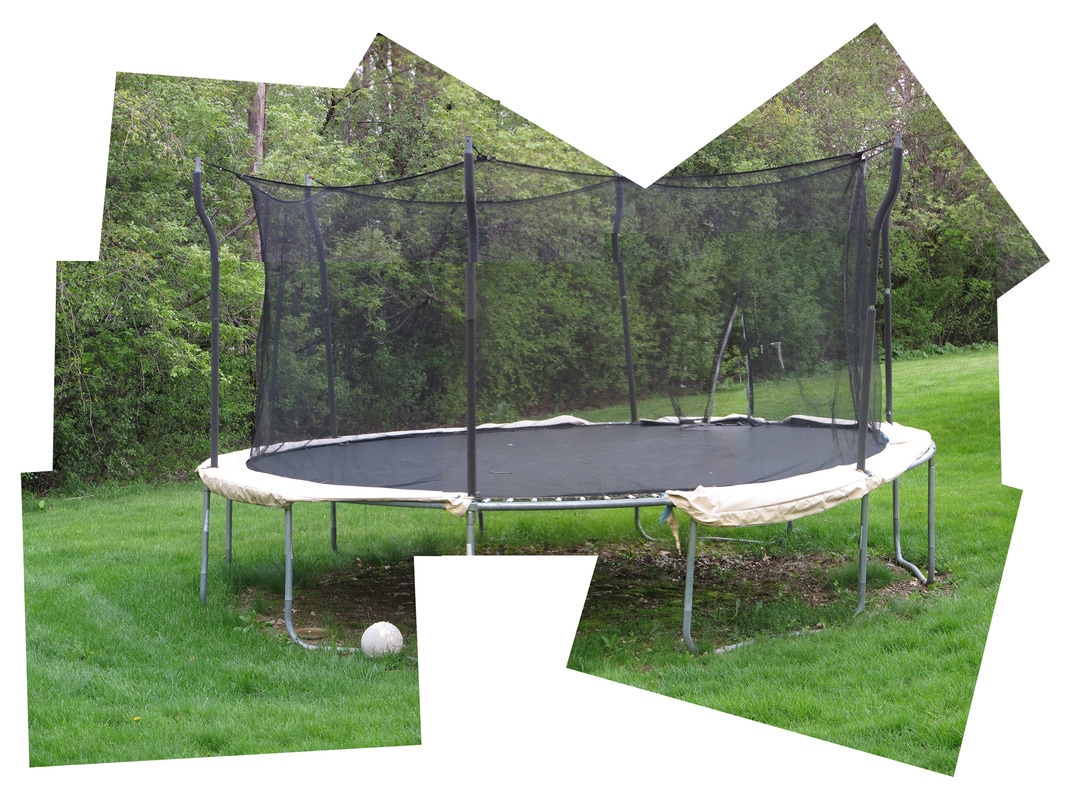 What I learned from this is that I don't actually mind aligning panographic photos by hand. The feeling of finding some reference to use to align the image is pretty good, even with the feeling after zooming out and finding out your image is way off.
In this assignment, I took multiple pictures of myself and put them together using layer masks. As I had already done this before, I was focusing on image quality over learning the techniques involved in this assignment. For the next pictures I took burst shots of something that was moving and put them together for a motion effect. Here are my pictures: 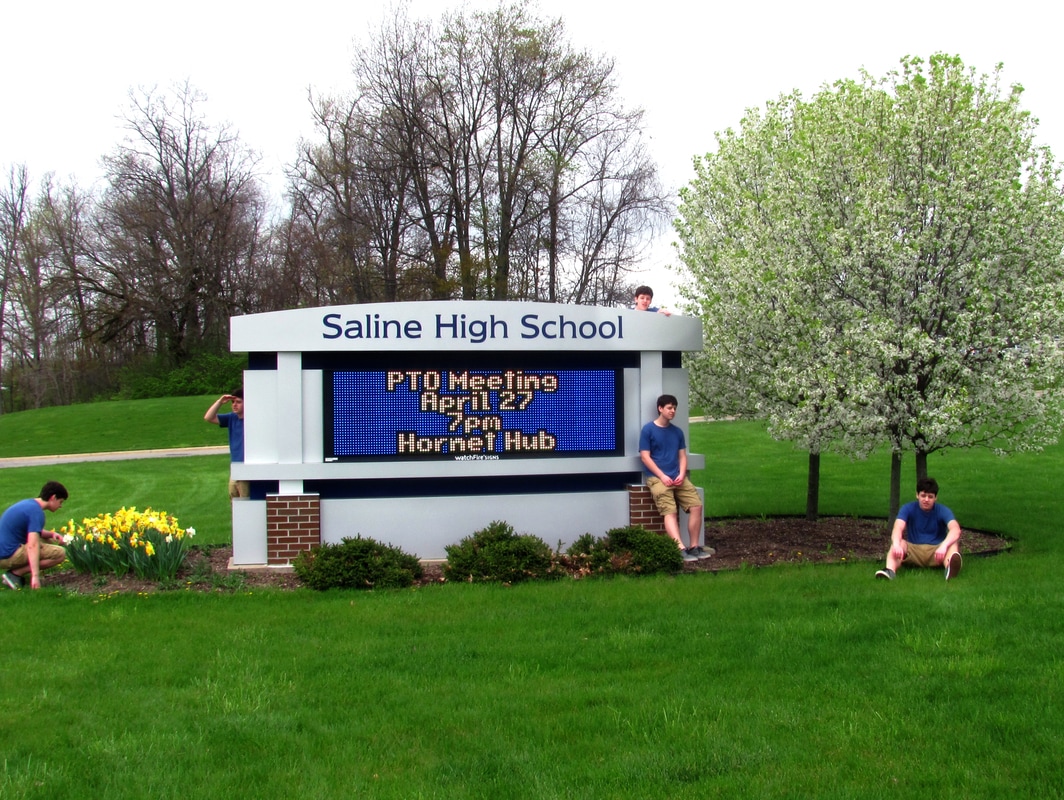 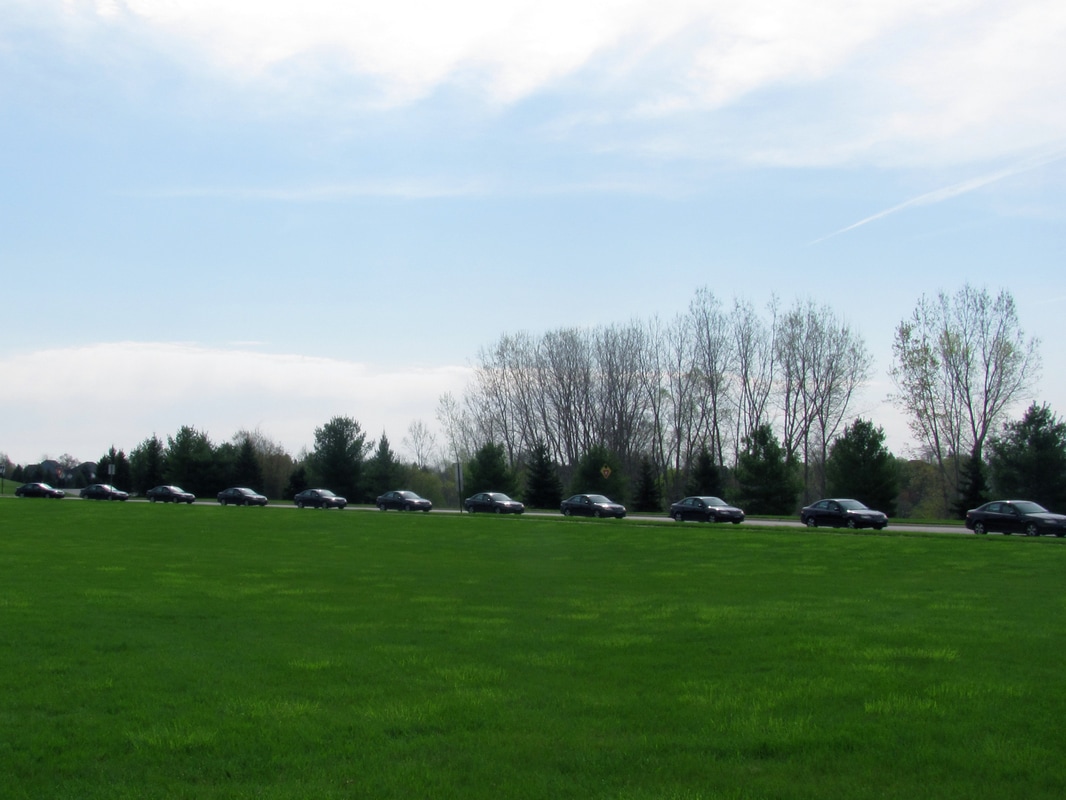 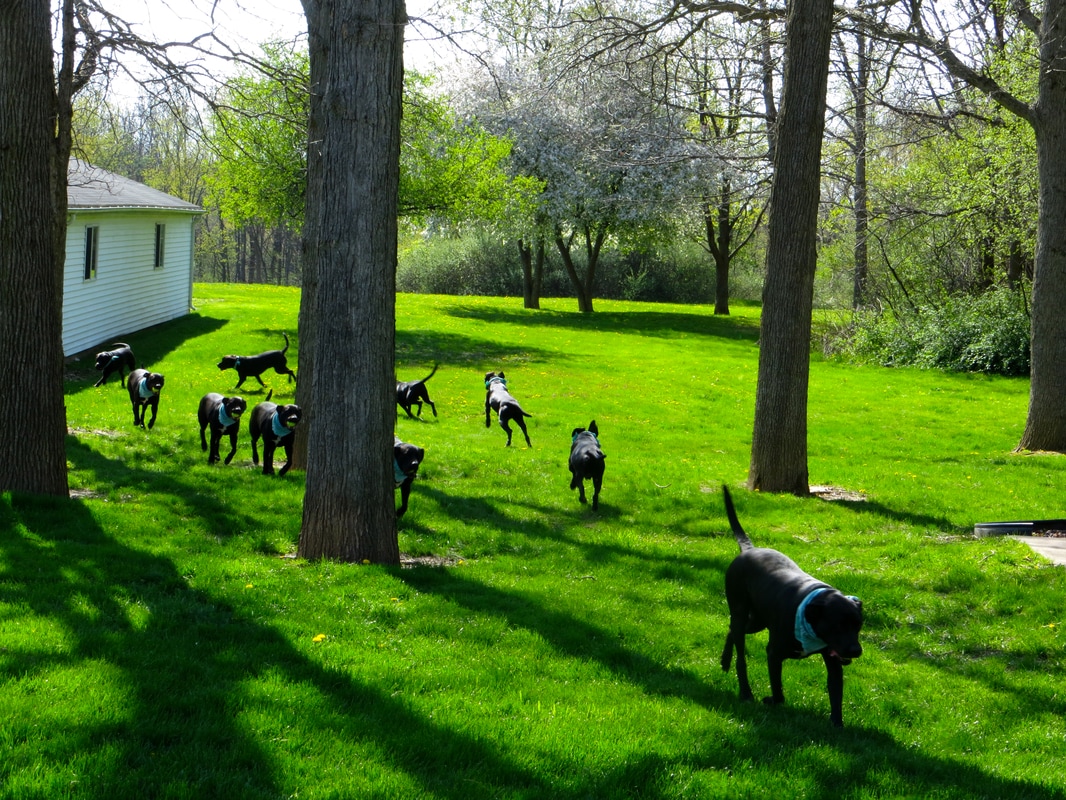 In this assignment, I learned how to use the burst function on the camera. This is pretty much all that I learned because I was already pretty familiar with stacking images and using layer masks.
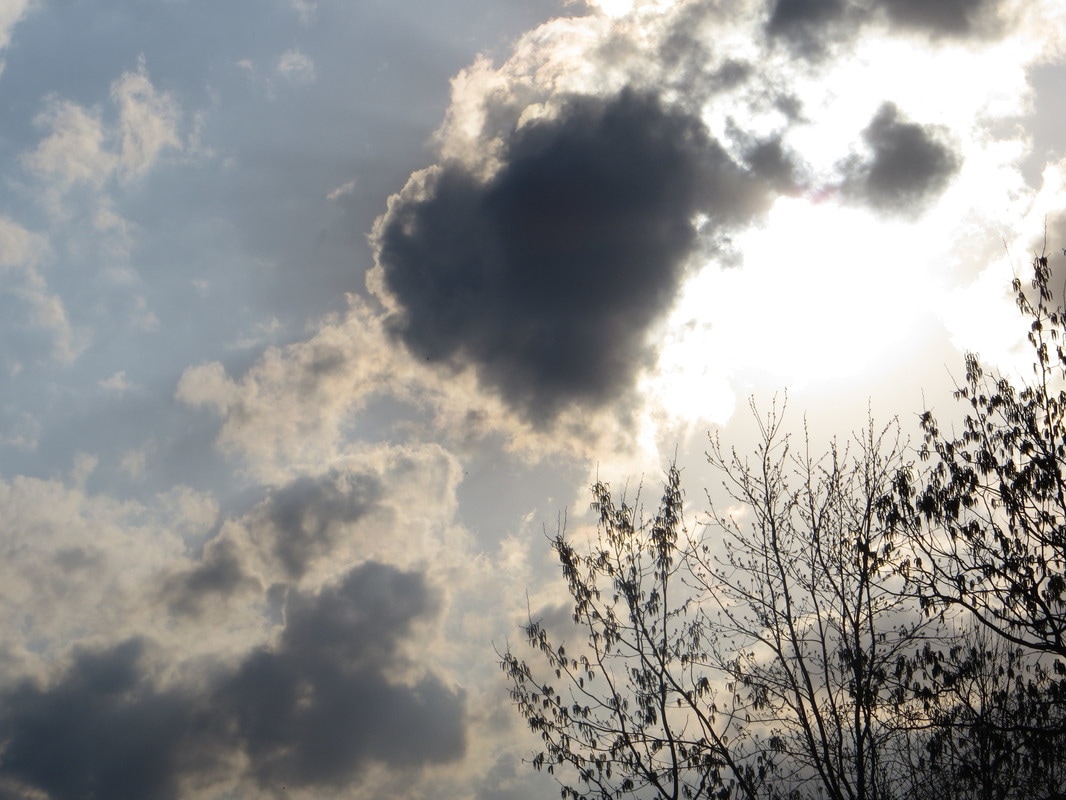
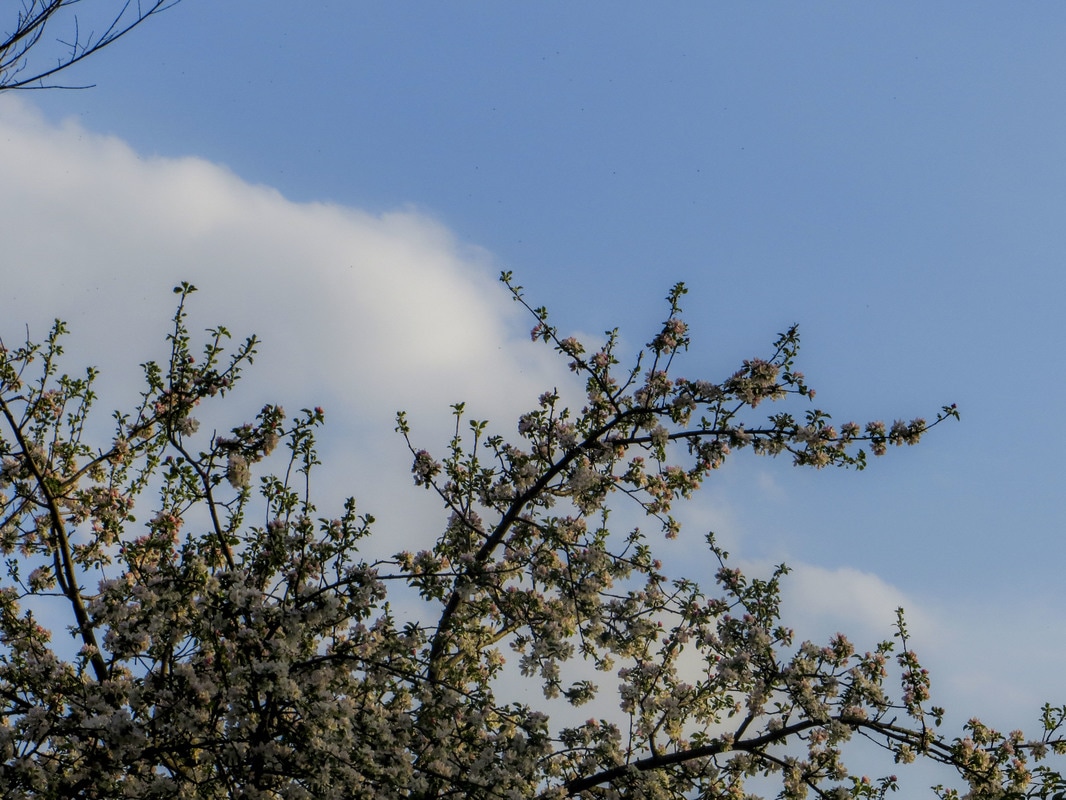
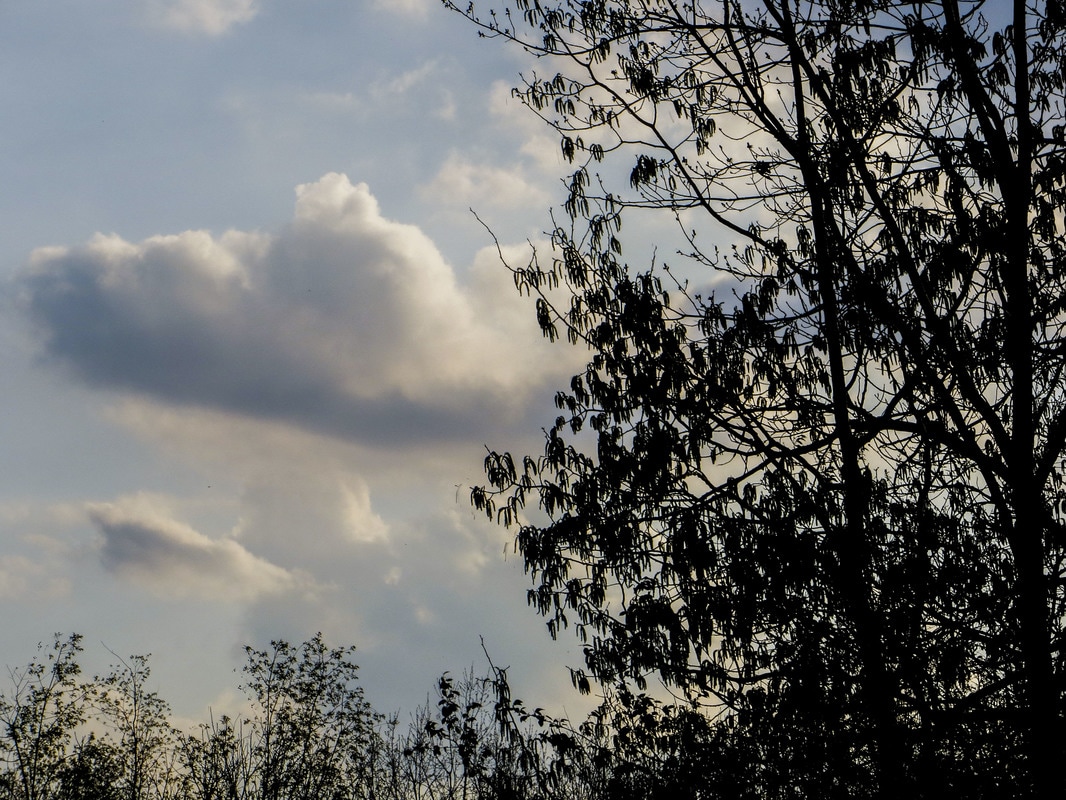
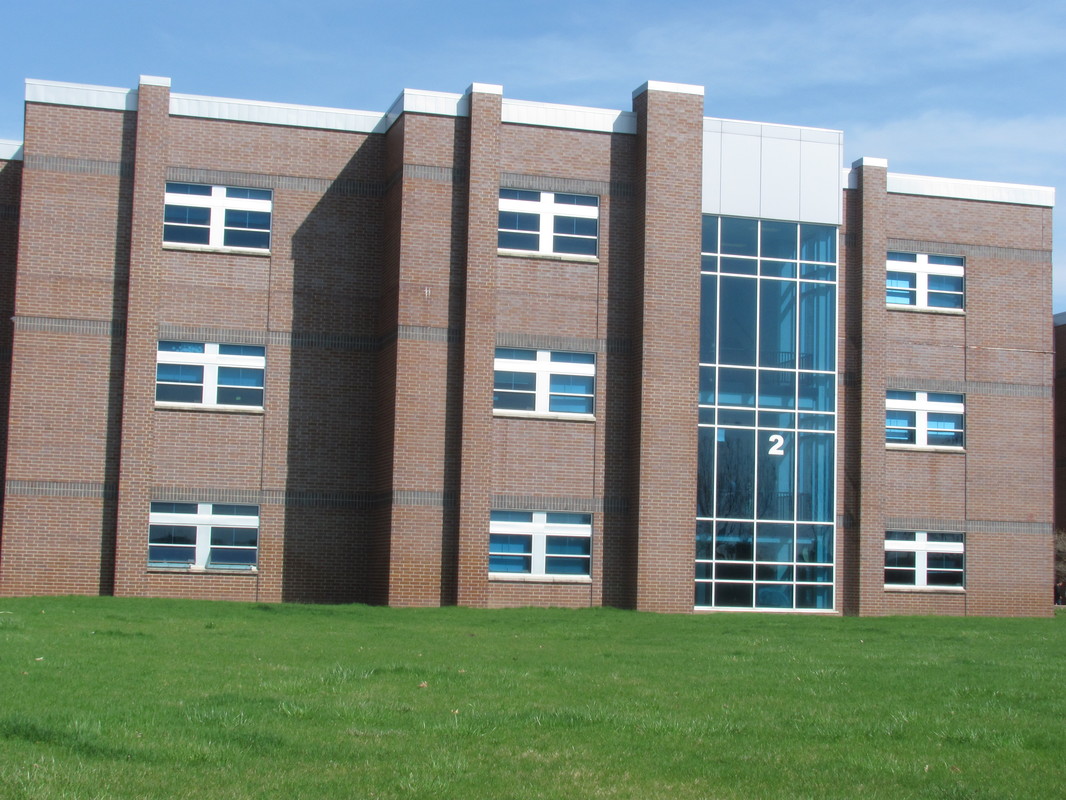
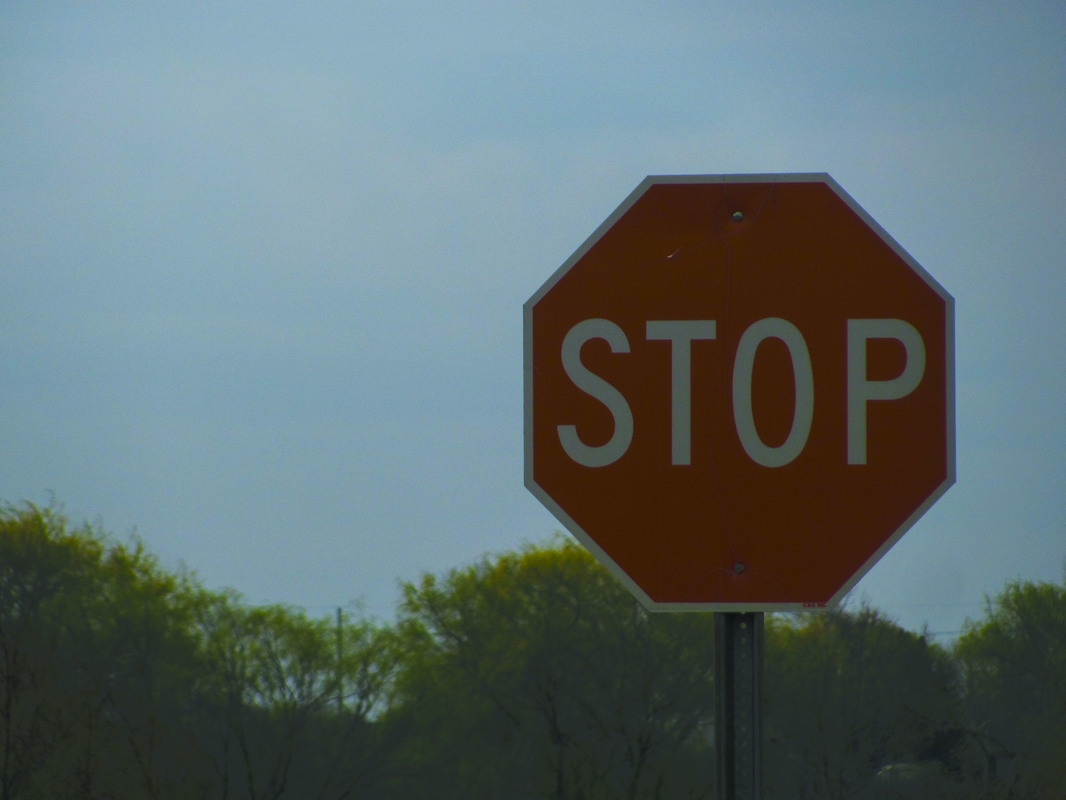
This week I shot HDR. I don't actually like HDR pictures because I can never get a good result. Here are my pictures:
Aperture: f/6.8 Shutter Speed: 1/250 ISO: 100 These pictures actually turned out alright. I wanted to get all of my pictures with some nice clouds in the background, but the clouds were moving too fast to make into a decent HDR. I learned that clouds do not make the best HDR subjects because they move and are often too dark.
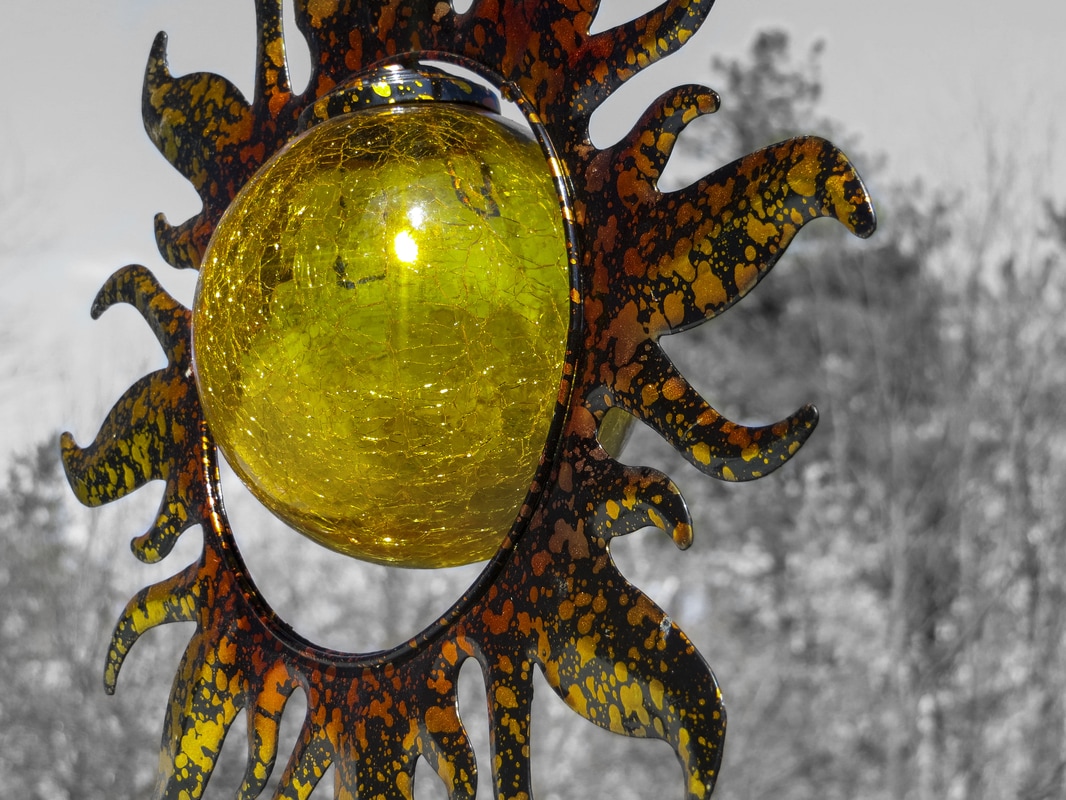
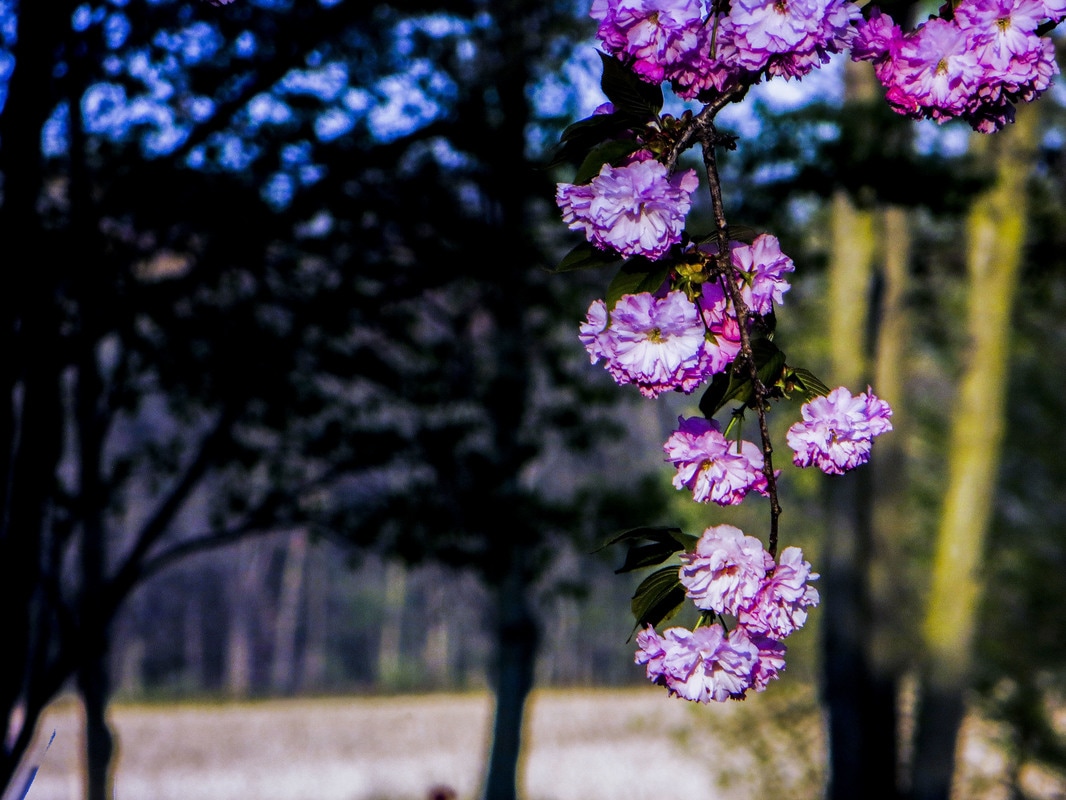
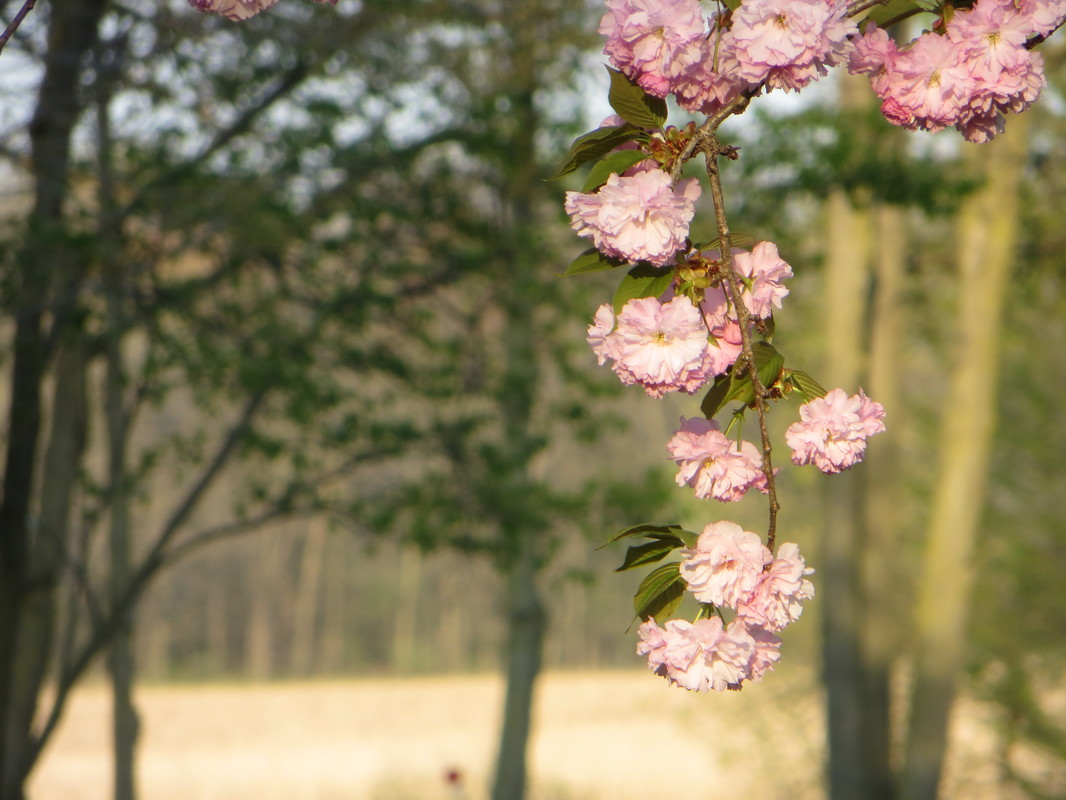
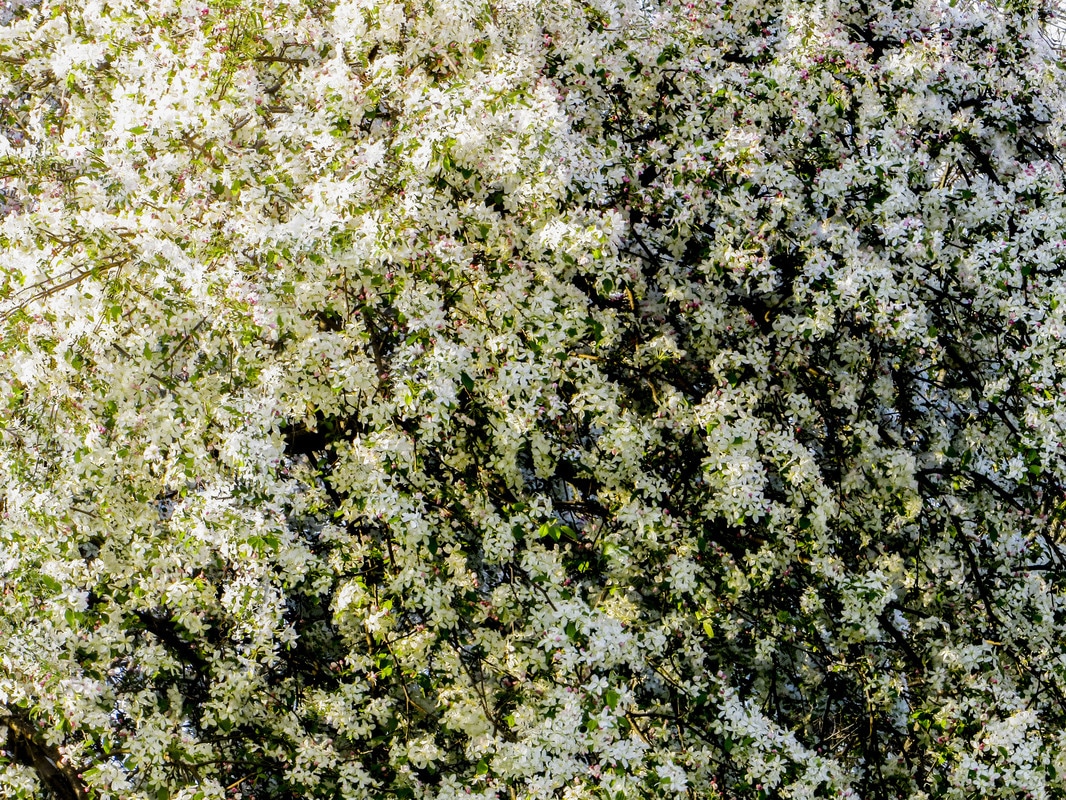
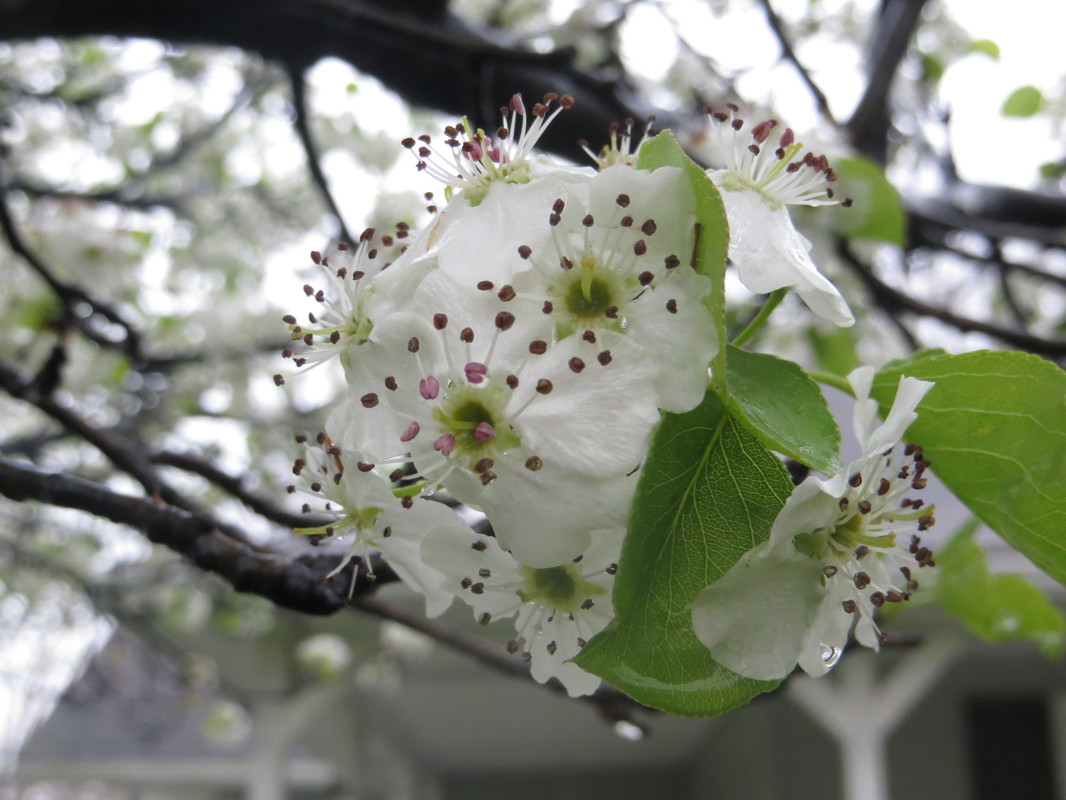
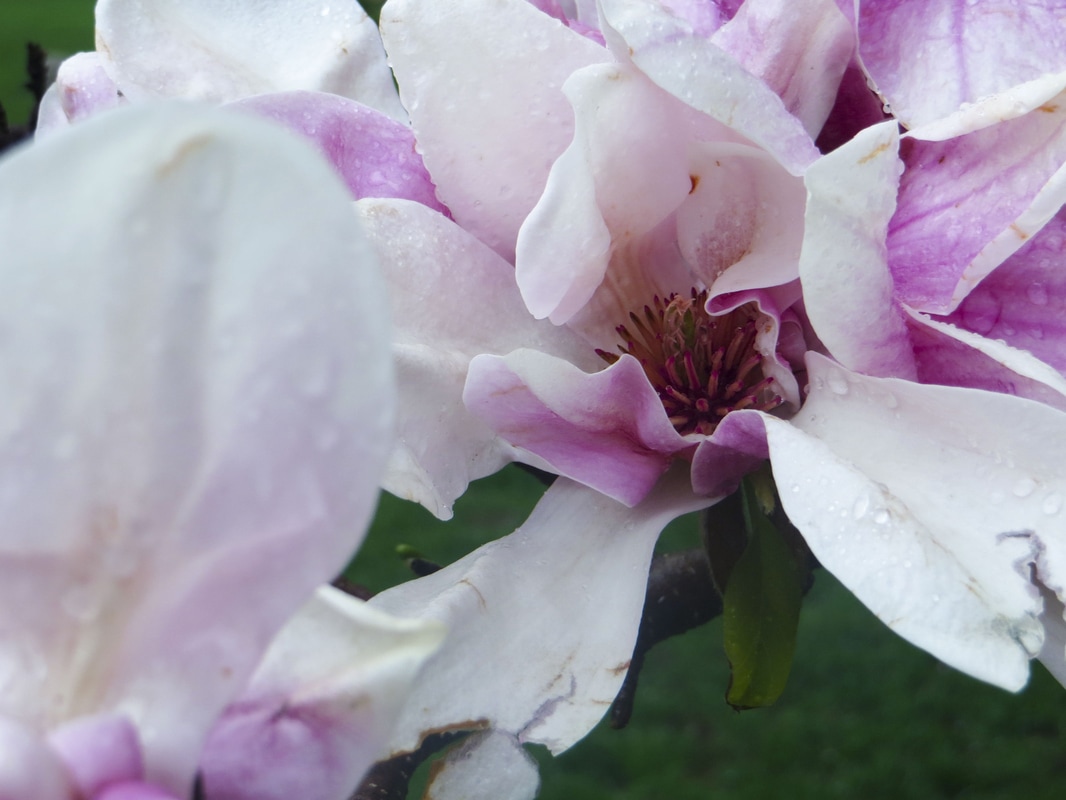
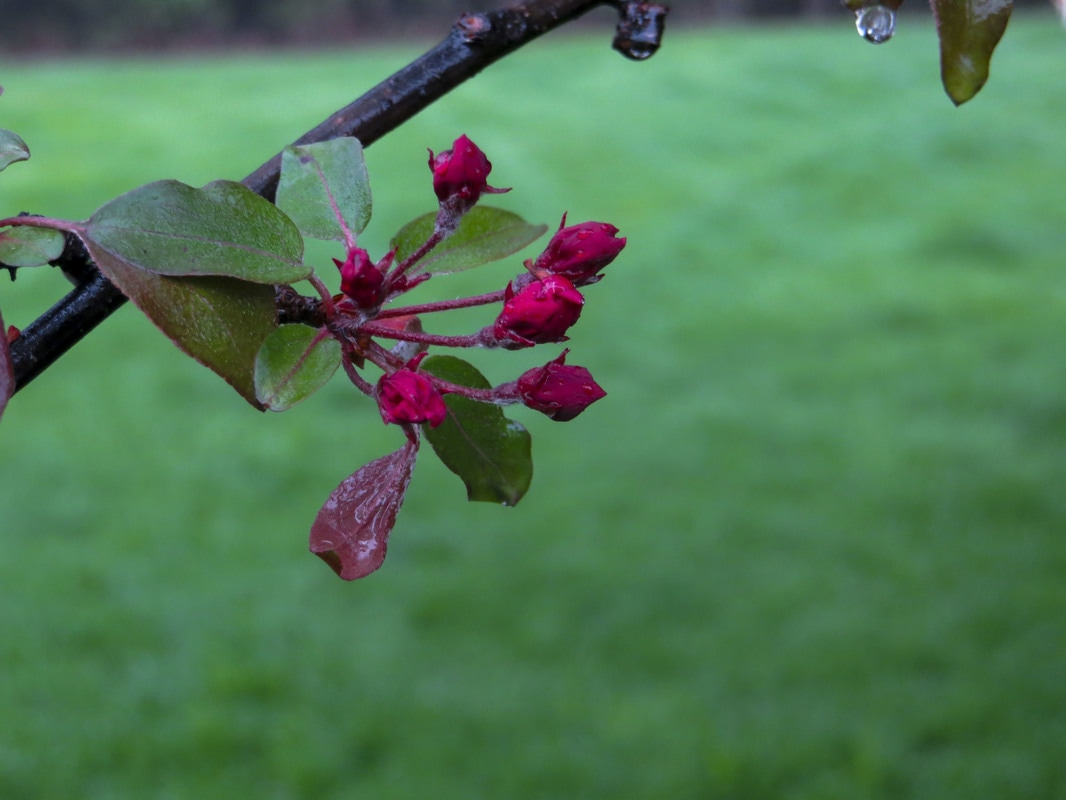
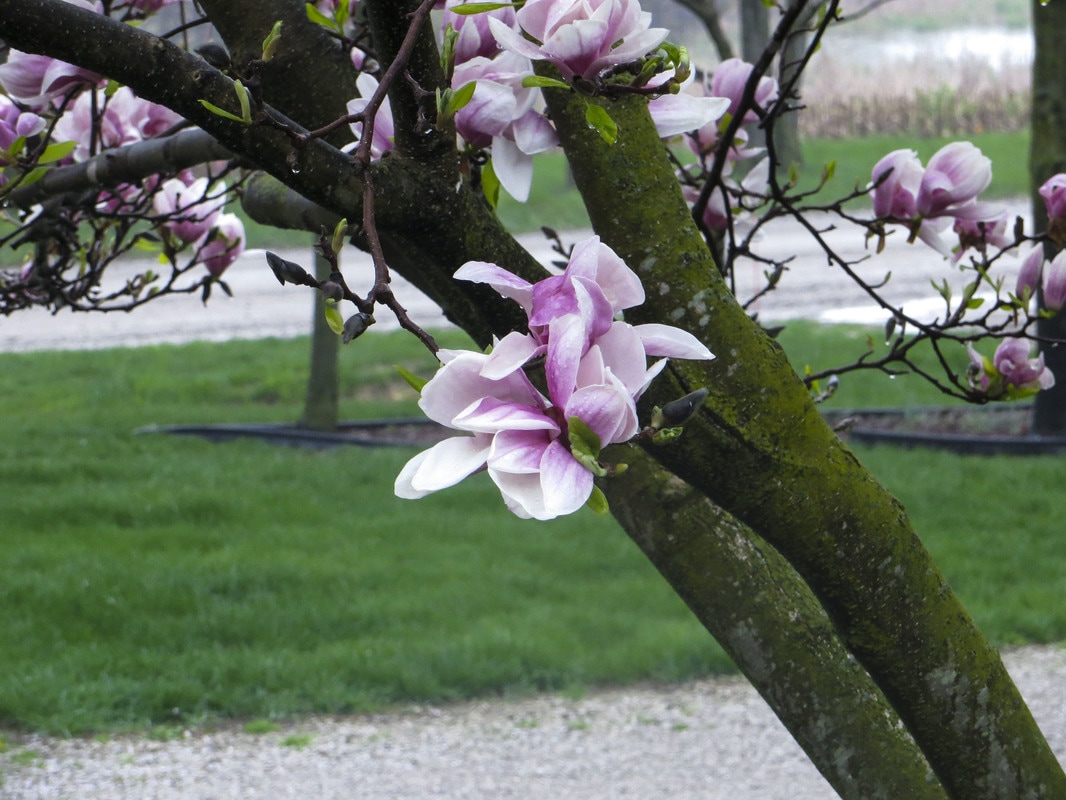
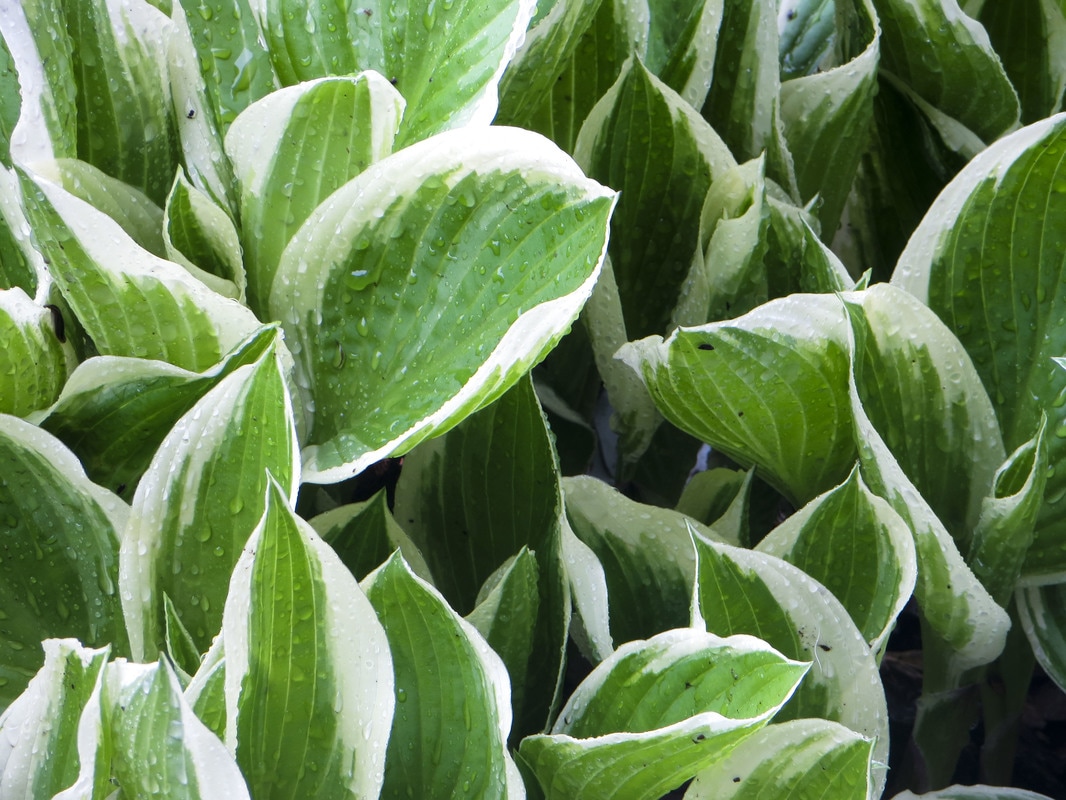
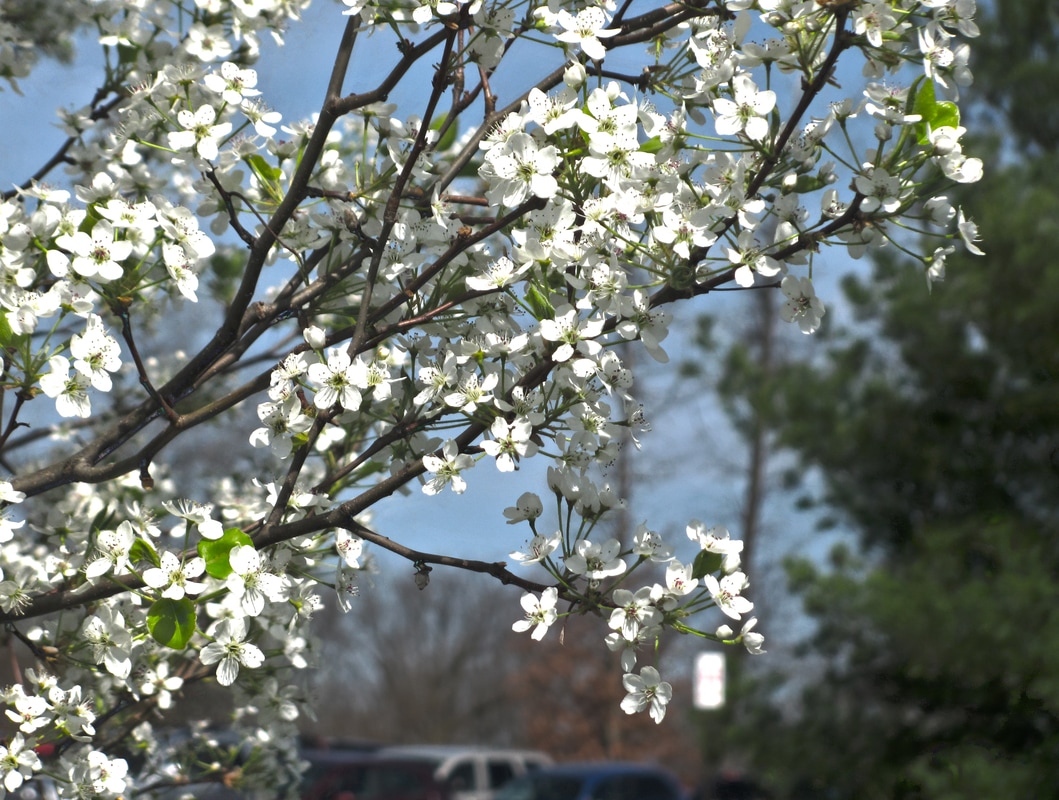
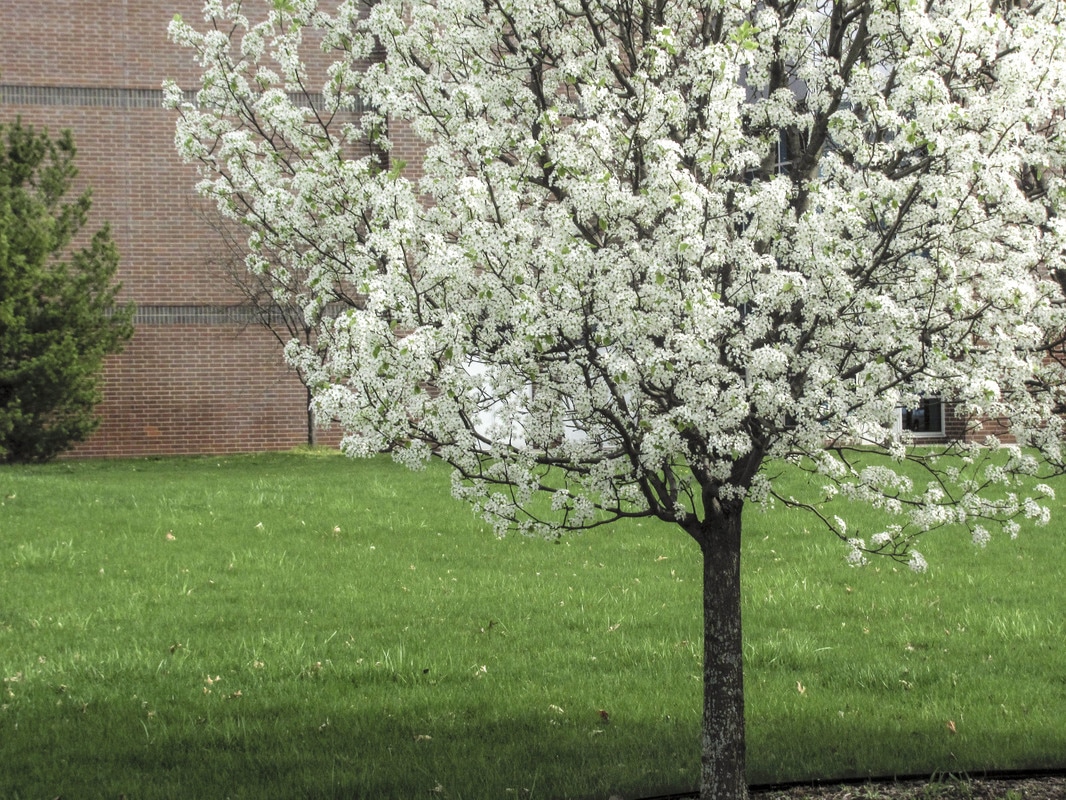
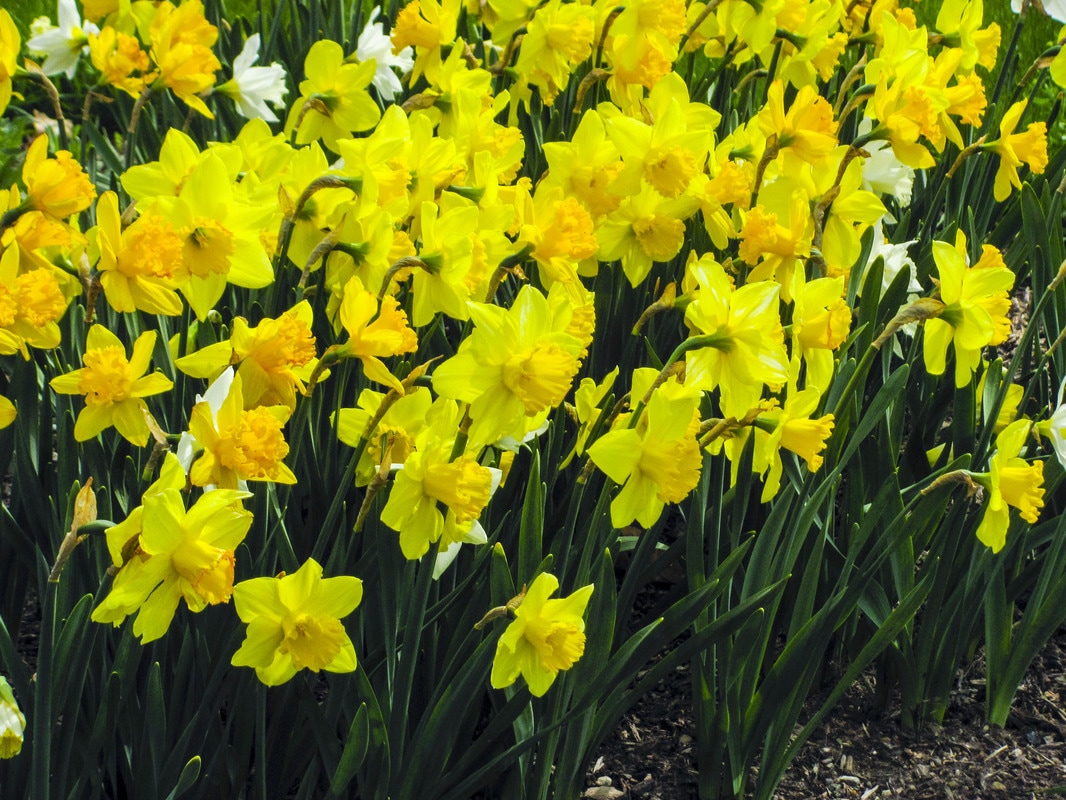
This week I took nature pictures. I really like taking nature pictures because it is basically just macro with flowers:
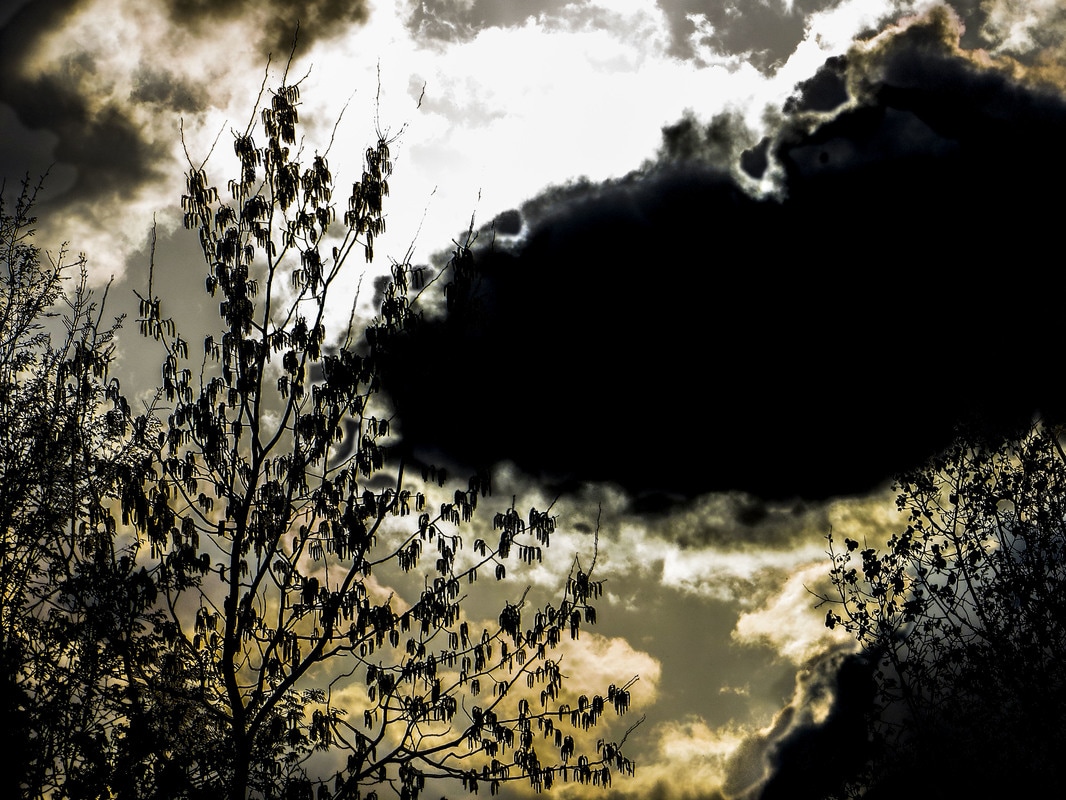
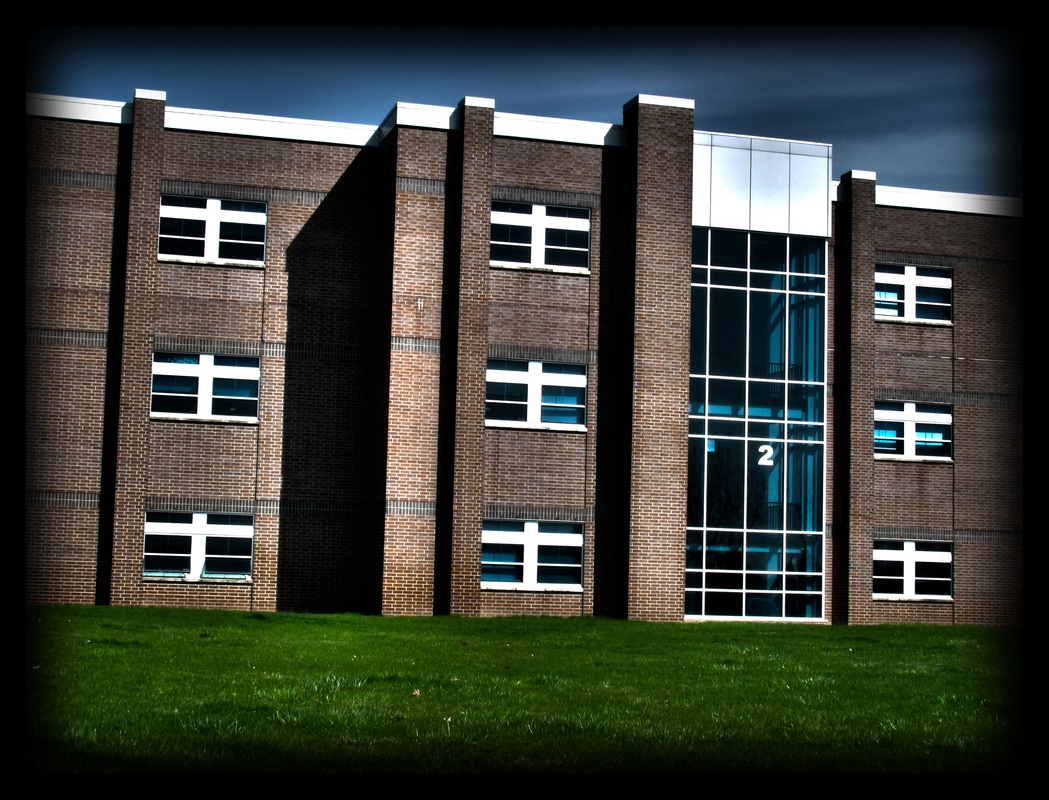
Aperture: f/4.5 Shutter Speed: 1/100 ISO: 800 In this assignment, I took HDR pictures. HDR photography takes multiple pictures, some over exposes, some under exposed, and combines them to give more details in the shadows and the highlights. When editing an HDR, you can make it look photorealistic or surrealistic. Here is my best HDR:
Here are the rest of my HDR images: In this assignment, I learned that HDR's are easy to take, but hard to make look good. I also learned that taking just 3 pictures, one normal, one under exposed and one over exposed, wasn't enough pictures to make a good looking HDR. I ended up taking most of my HDR's with 5 photos, 2 under/over exposed and one normal.
|