|
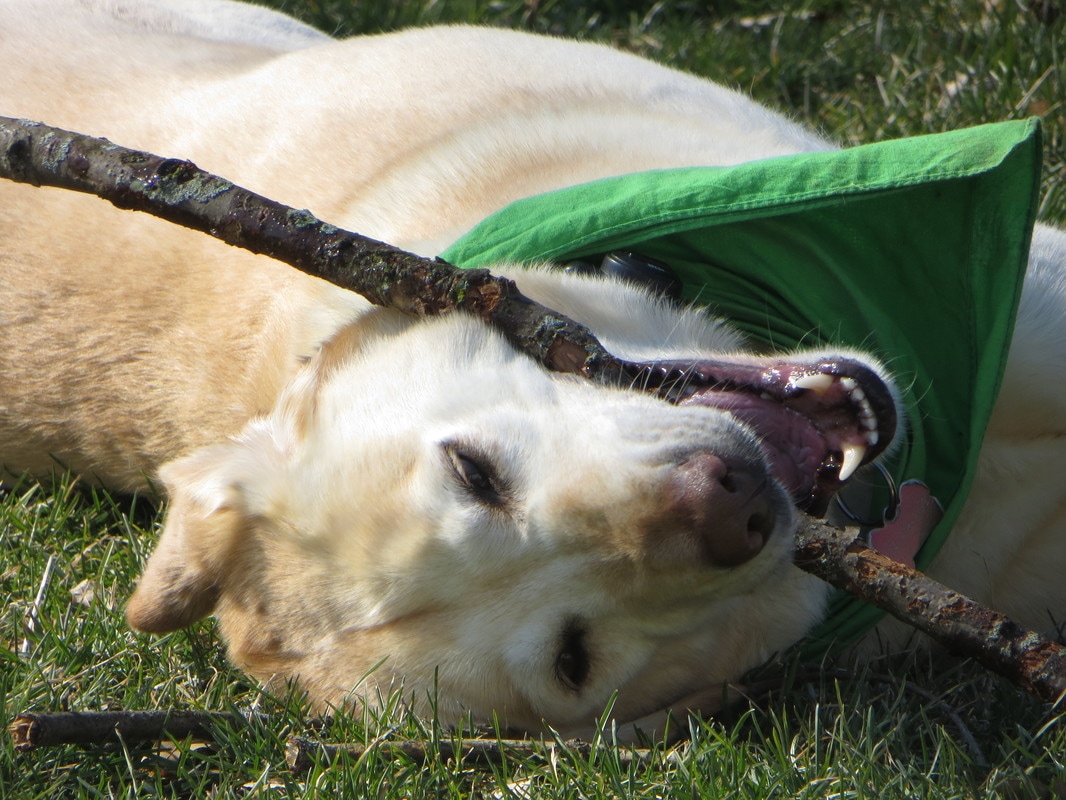
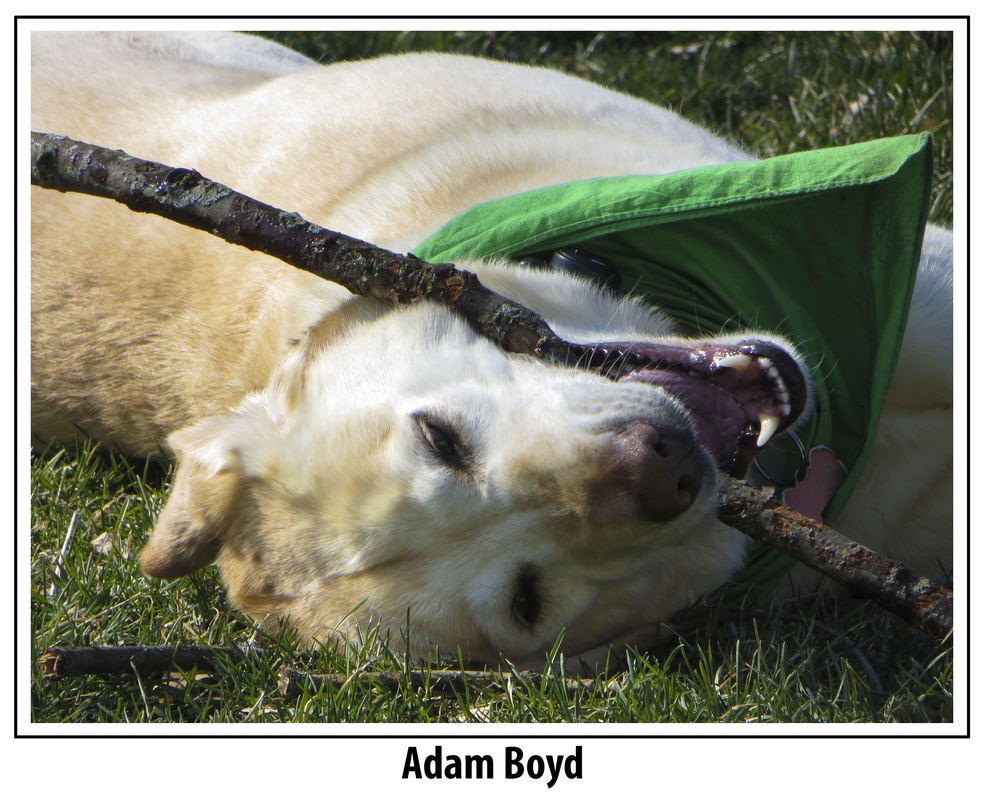
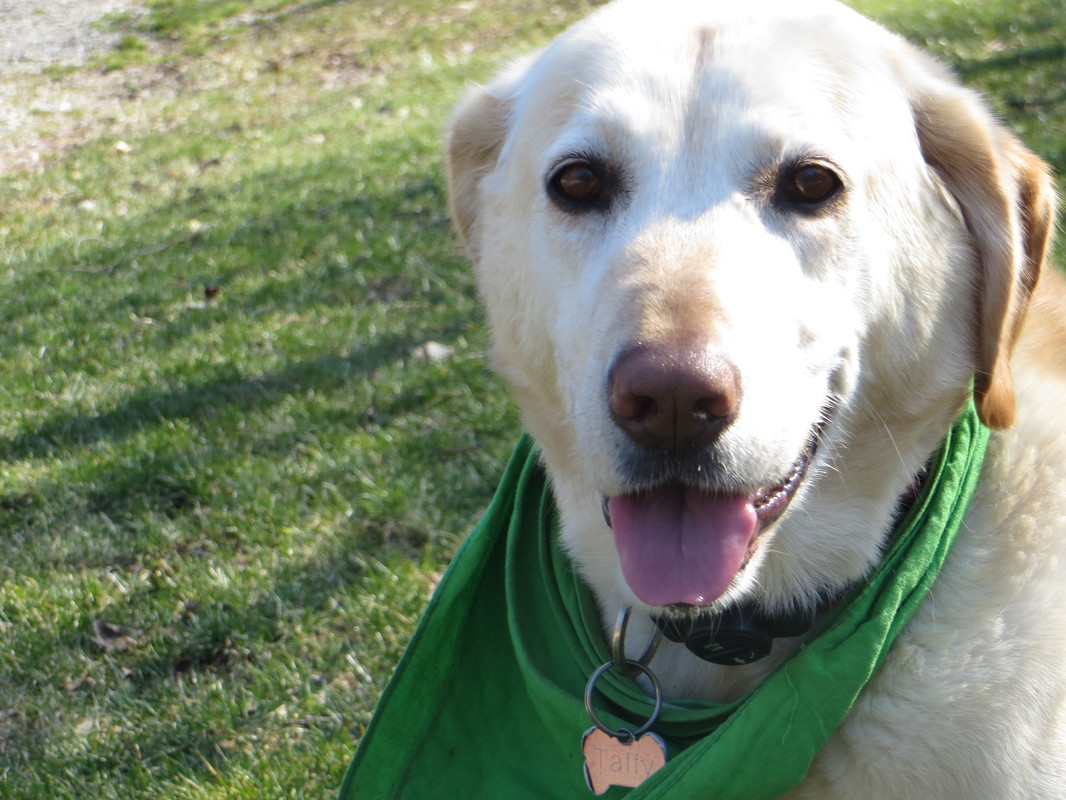
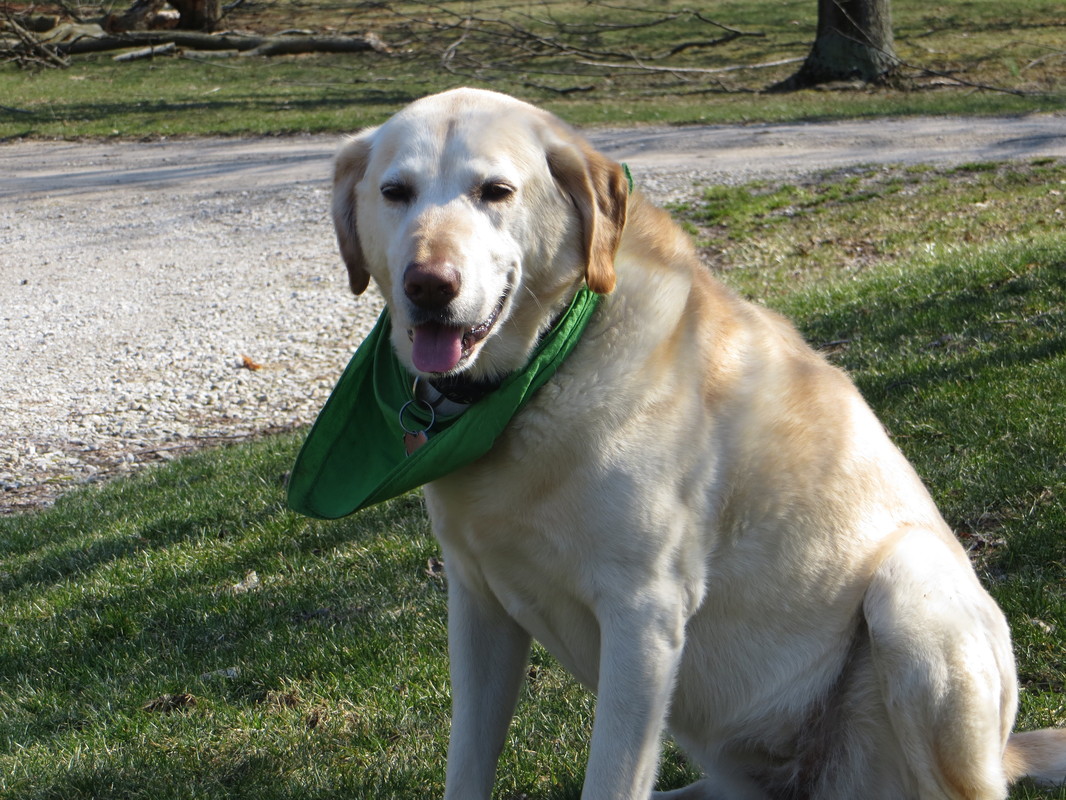
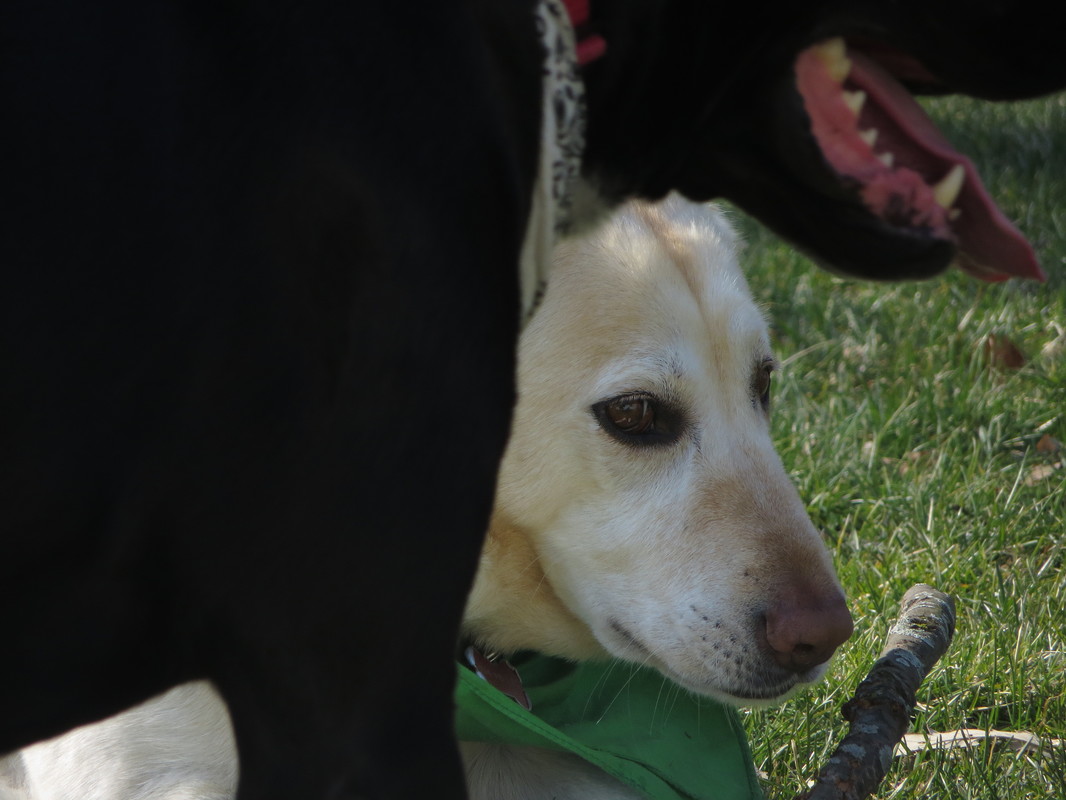
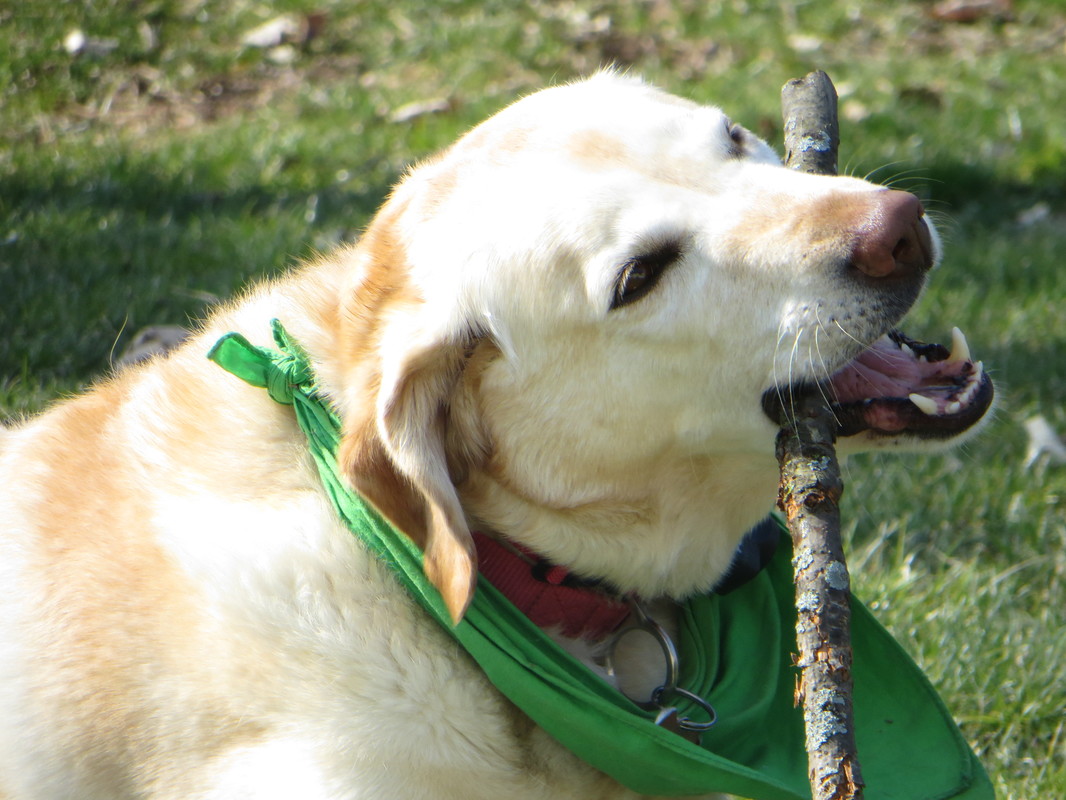
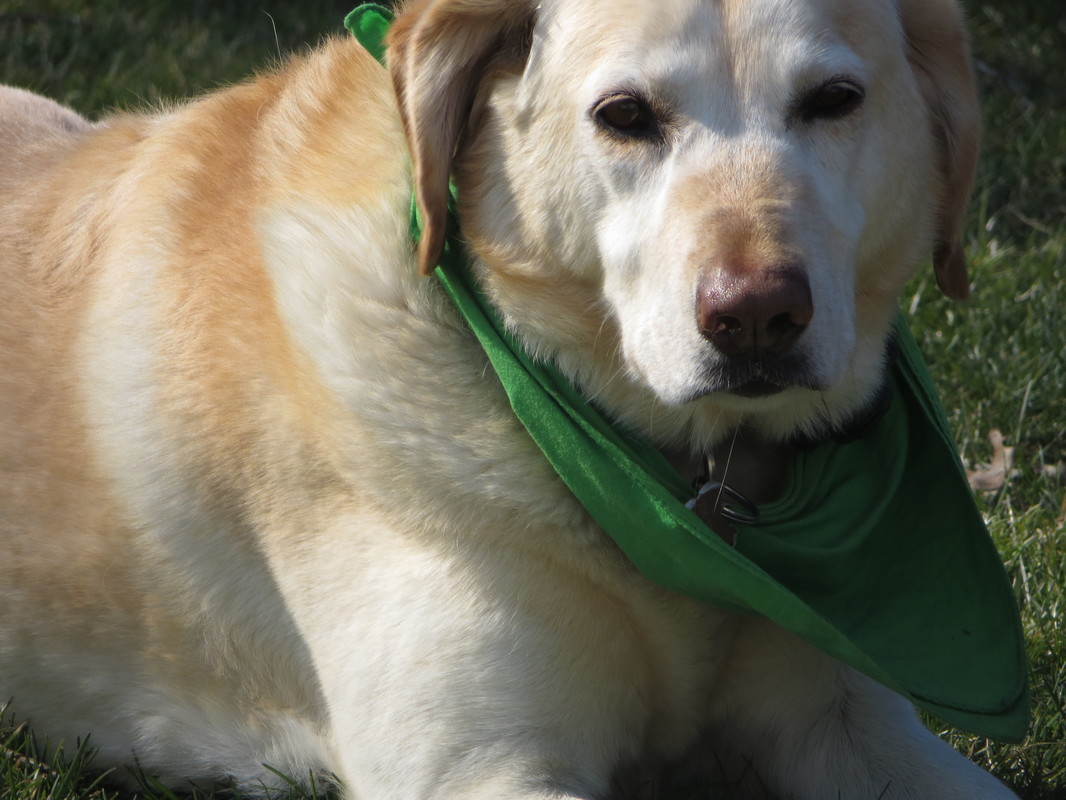
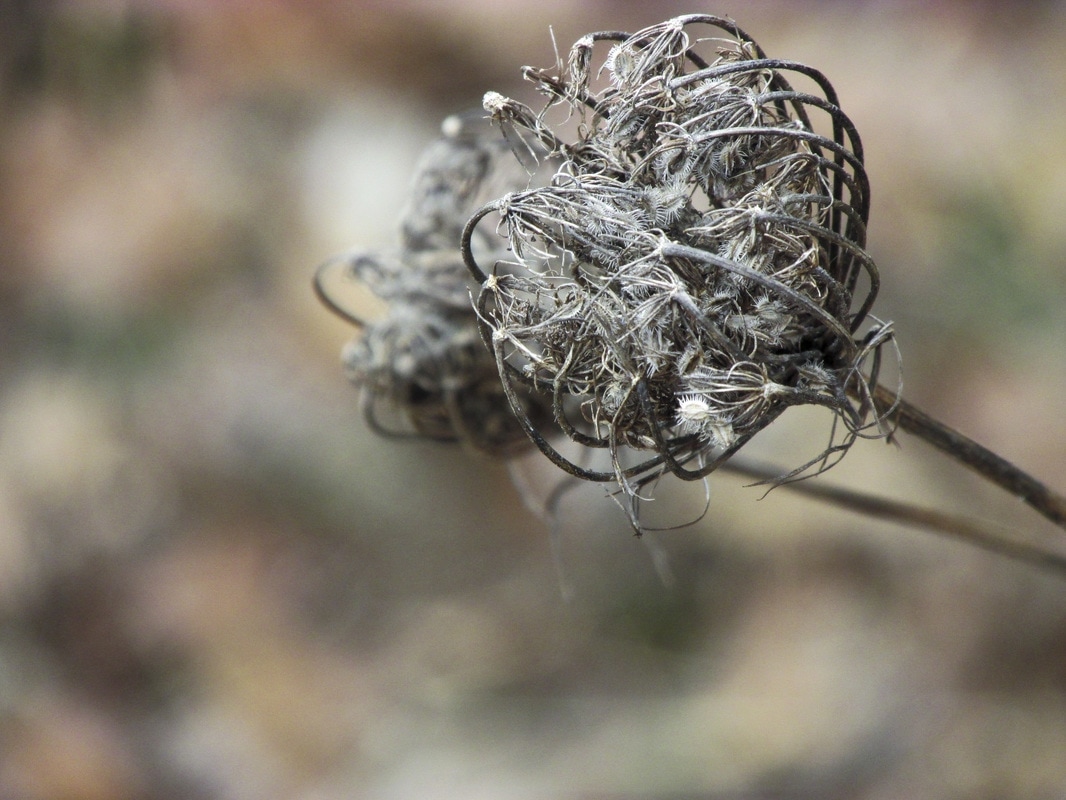
This week, I took pictures of animals. I set out to take pictures of both of my dogs, but my female dog is a much better model than the male one, and I only got decent pictures of her. Here are my pictures.
Aperture: f/6.8 Shutter Speed: 1/320 ISO: 125 This week, I learned that my dog is actually a pretty good model. I also learned that taking pictures of animals is not as difficult as I expected it to be. I avoided the animals category last trimester, and I am glad that I gave it a shot this time, because these images are pretty good.
1 Comment
In this assignment, we put together panoramic pictures using the photomerge tool in PhotoShop. Here are my panoramics: 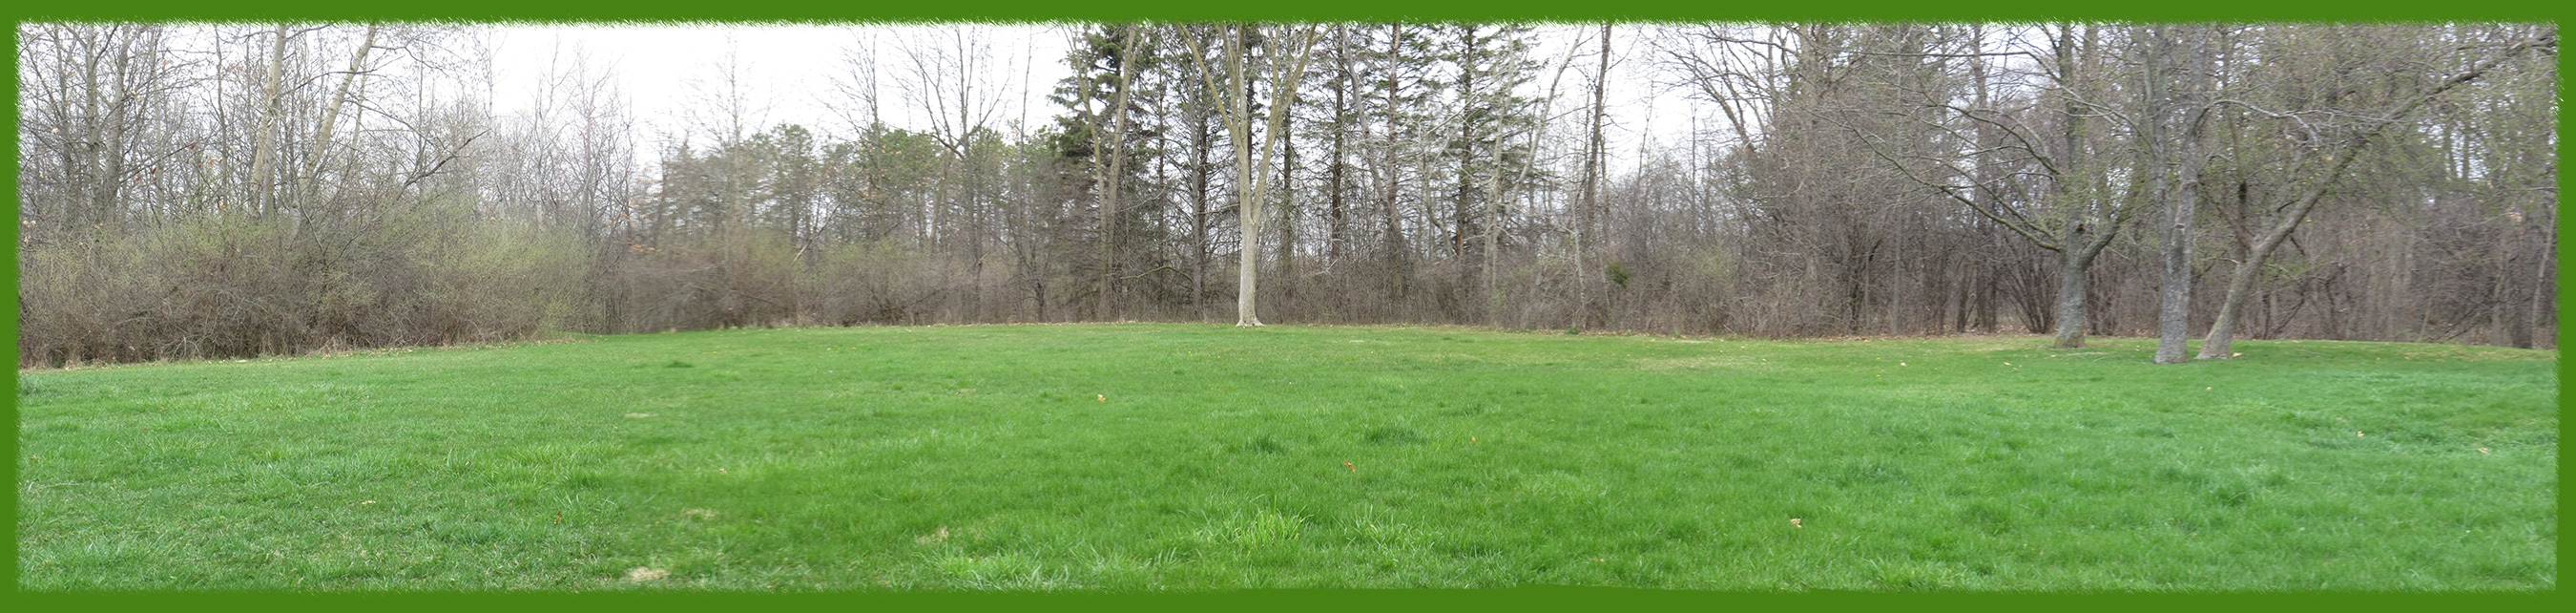  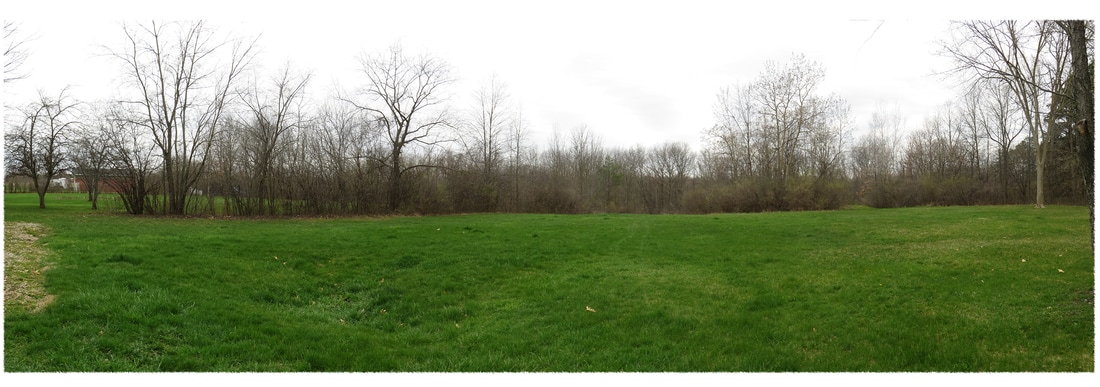   In this assignment, I learned that taking vertical pictures produces a much higher quality image when making a panorama than taking pictures horizontally. Other than that, panoramas aren't a new concept to me as I have done them before.
In this assignment, I used some random pictures that I had taken, and used photoshop to create a frame around them. I used 4 different framing techniques: clipping mask, gallery, gaussian blur, and sprayed strokes. Clipping MaskFor this method, I drew a rough line around the edge of a painting and filled it with black. Here are the results:
GalleryFor this method, I increased the canvas size, made a border line, and put my name in text on the bottom. Here are the results:
Gaussian BlurFor this method, I used a layer mask and applied the gaussian blur to the mask. Here are the results:
Sprayed StrokesFor this method, I used a layer mask and applied the sprayed strokes filter to the mask. Here are the results:
In this assignment, I shot color. Here is my best photo before and after edits:
Aperture: f/4.5 Shutter Speed: 1/250 ISO: 100 Here are some other images: For this assignment, I initially started inside. I immediately noticed the lack of light in my house. When I glanced outside, I noticed it was very sunny and I knew I could get some crisp, clear, and properly exposed images by shooting outside. I just went around my yard looking for things that were colorful. I shot all of the images with a large aperture to create a small depth of field because that's what I like to do. I learned that most point and shoot cameras need a lot of light to shoot even decent photos. I also learned that boosting the saturation on most images looks pretty good.
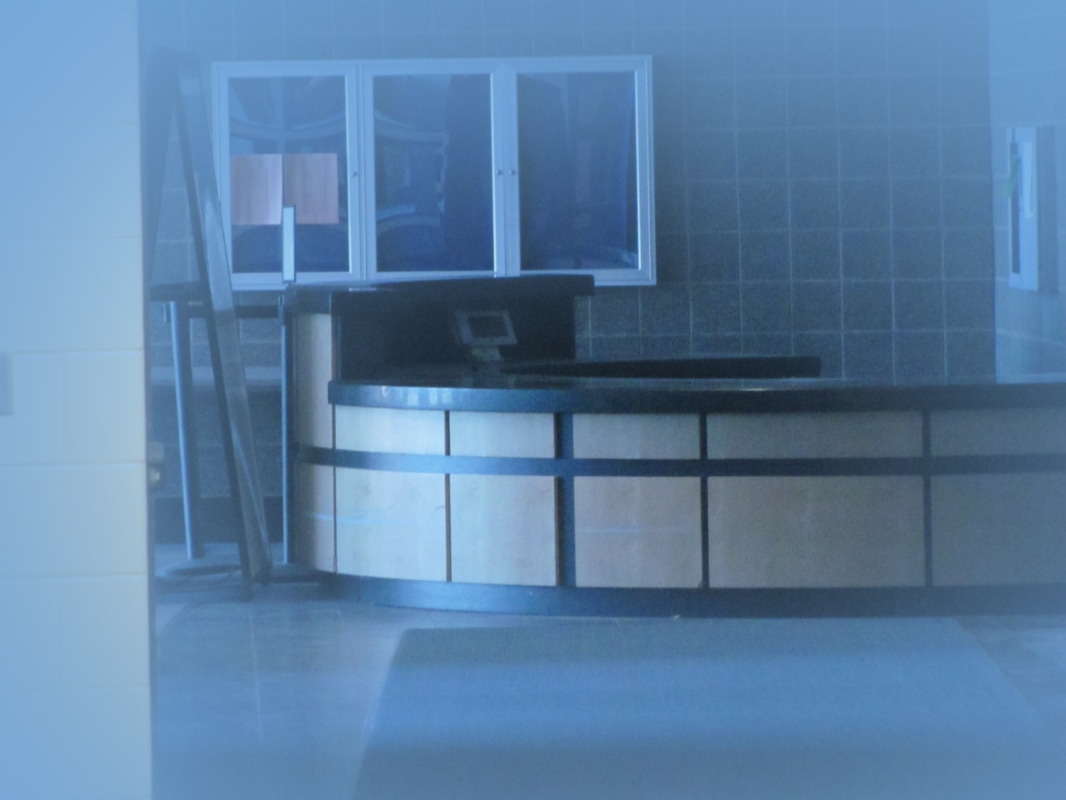
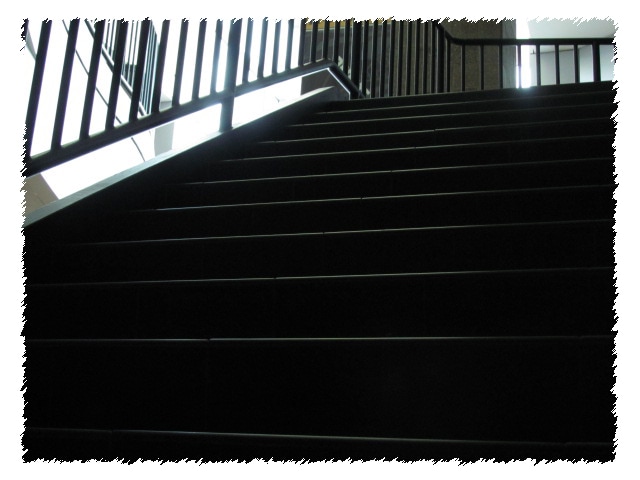
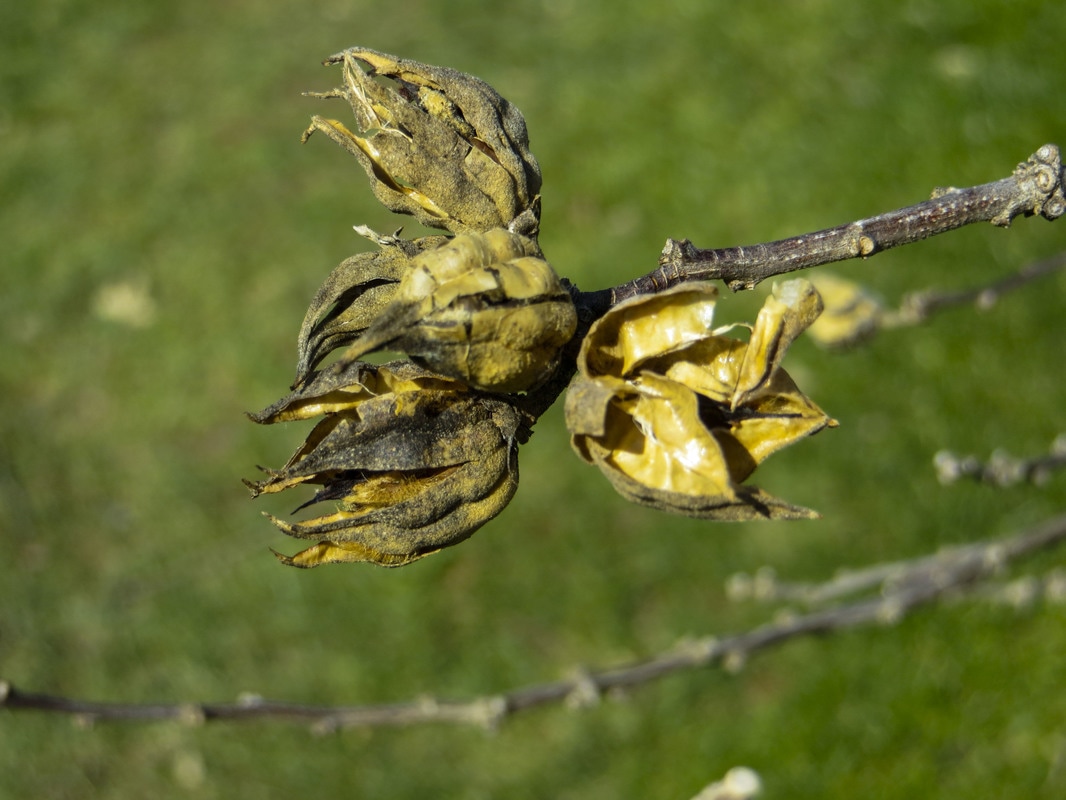
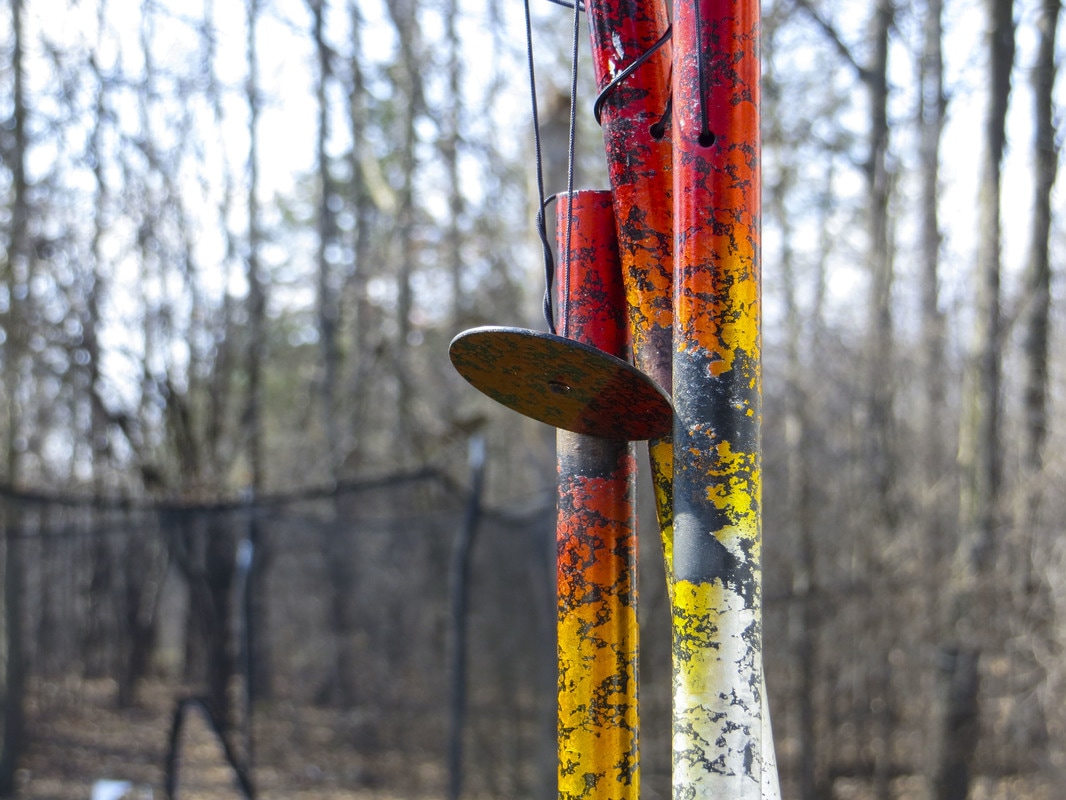
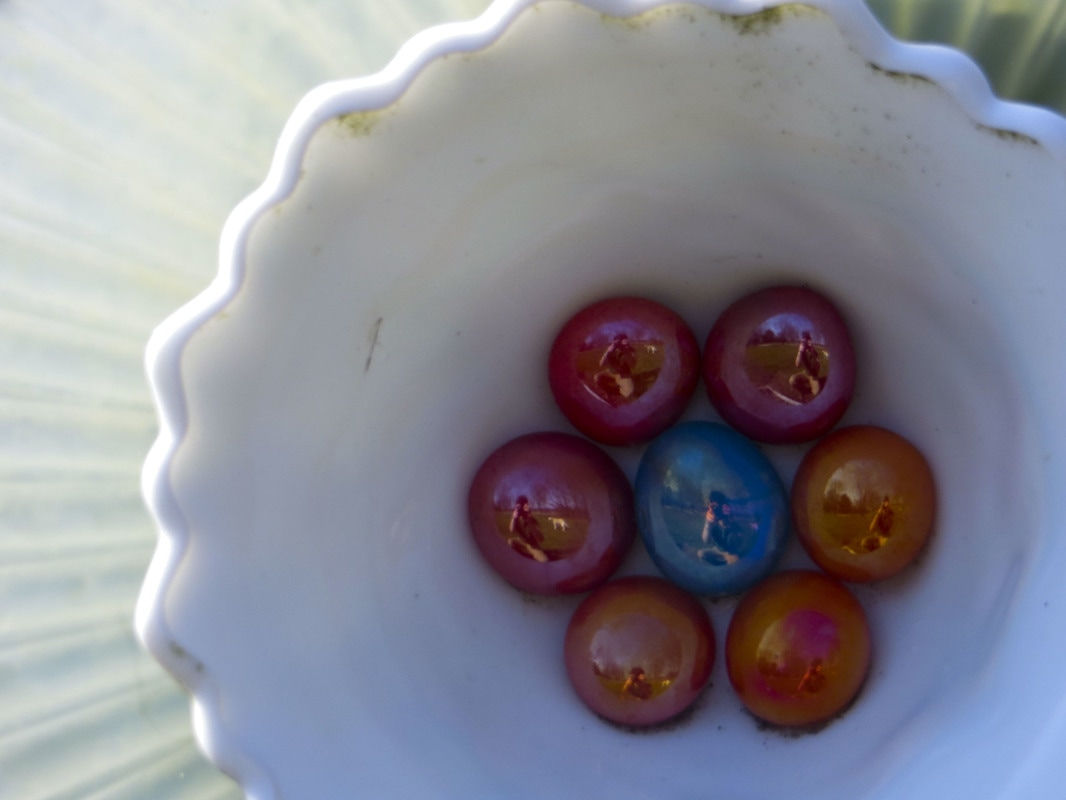
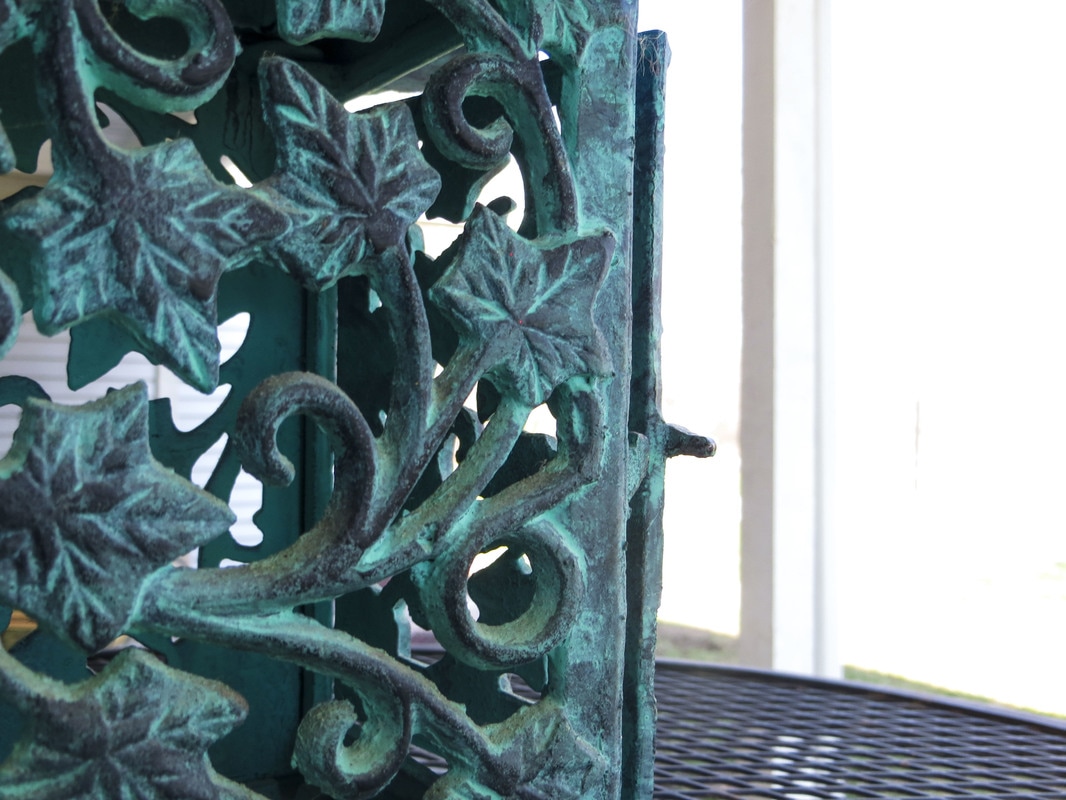
In this assignment, I learned about the principles of design. I took photos that illustrate the principles of design, and here they are: I learned a lot from this assignment, and I had fun going out through the school taking photos. I also improved my photography skills by using manual mode to fully grasp the concepts of shutter speed, aperture and ISO.
My name is Adam Boyd. I took digital photography 1 last trimester and am now in digital photography 2 3rd hour. I enjoyed most of the assignments in photo 1, and look forward to the assignments of this class. I found out from digital 1 that I mostly excel in taking macro photography. I struggled with setting up a place for taking the photos, and my best photos came from when I went outside and shot pictures of subjects in their natural locations. I really don't like taking pictures of myself, but here is a picture of me that I took in Photo Booth at the beginning of last trimester: 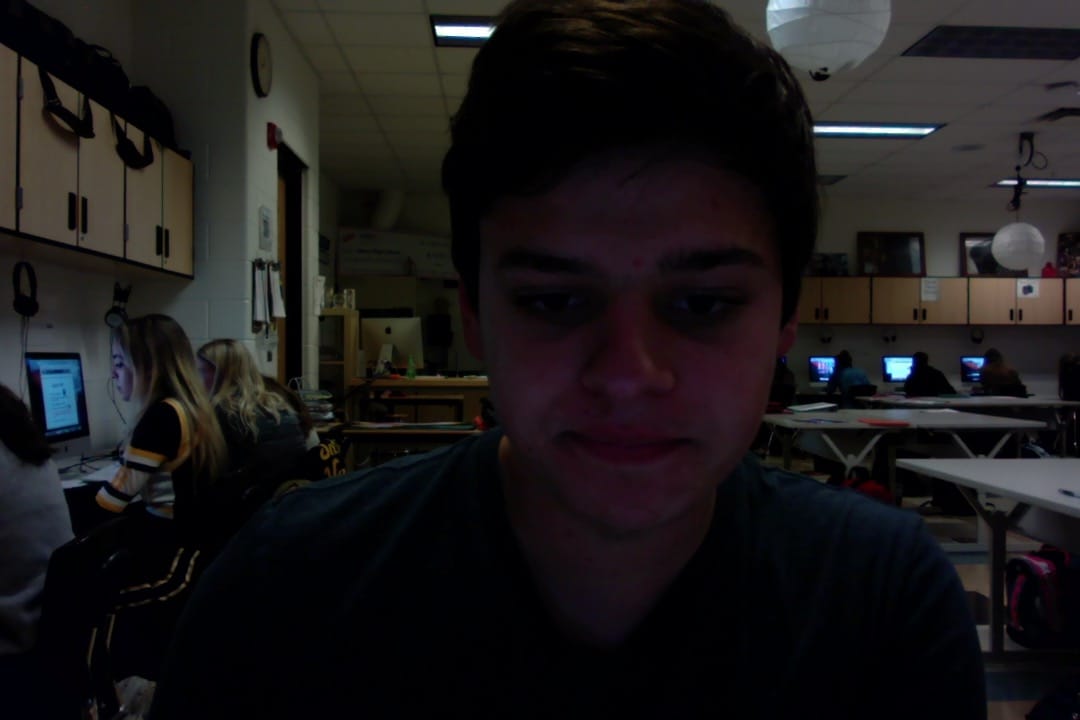 Also, here are my two best photos from digital 1:
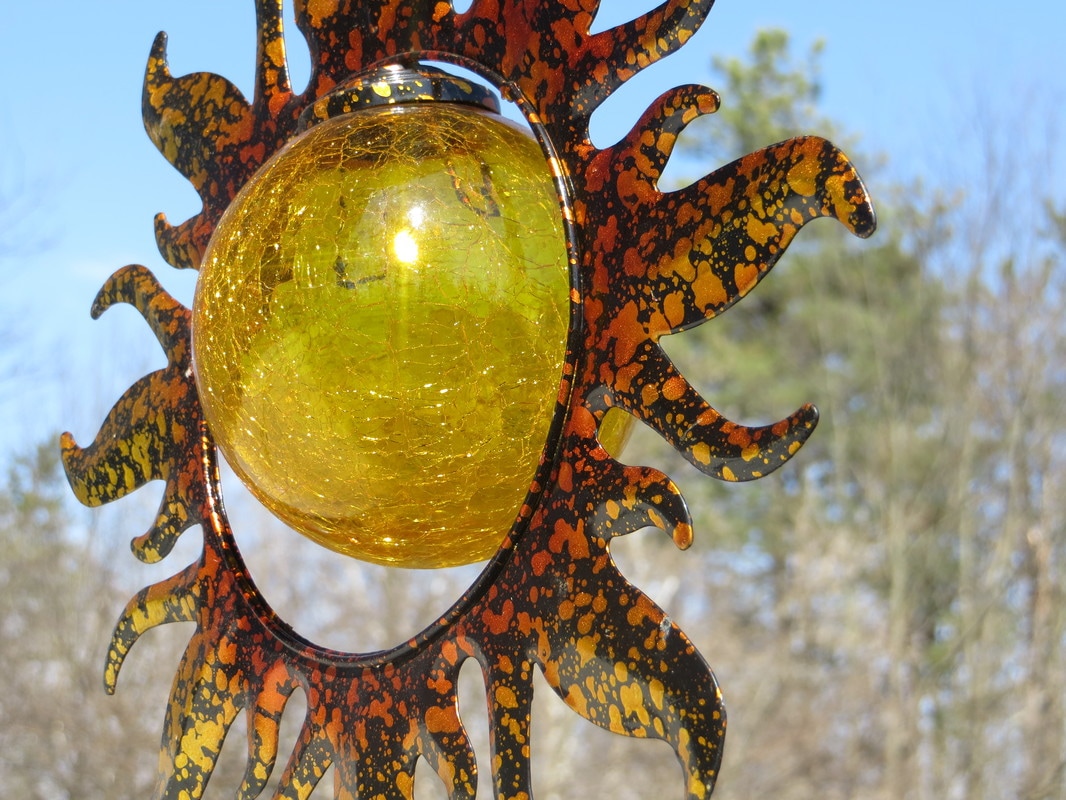
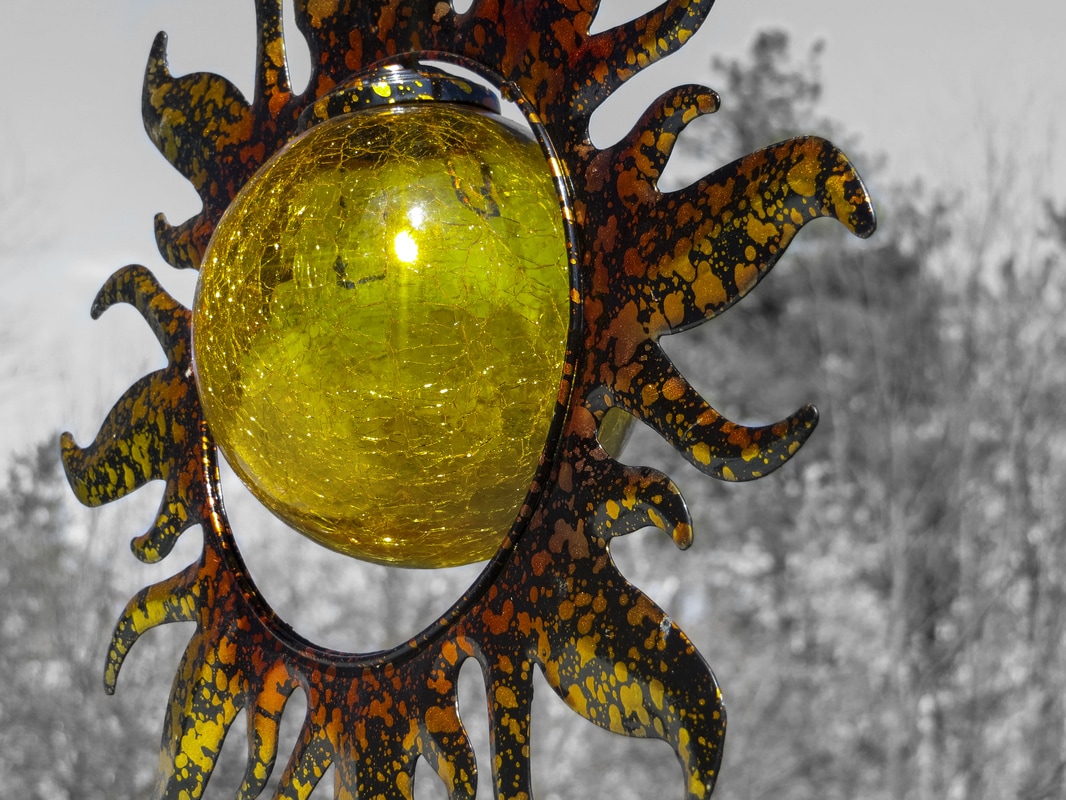
Over the course of 12 weeks in digital photography, I have learned a lot. The most important thing I learned was how to manually adjust the settings of the camera in order to properly expose the photograph. Here is an example of a picture I took when I didn't know how to control these settings. The problem with this picture turned out to be that the ISO was set at 100, which made the image very dark. 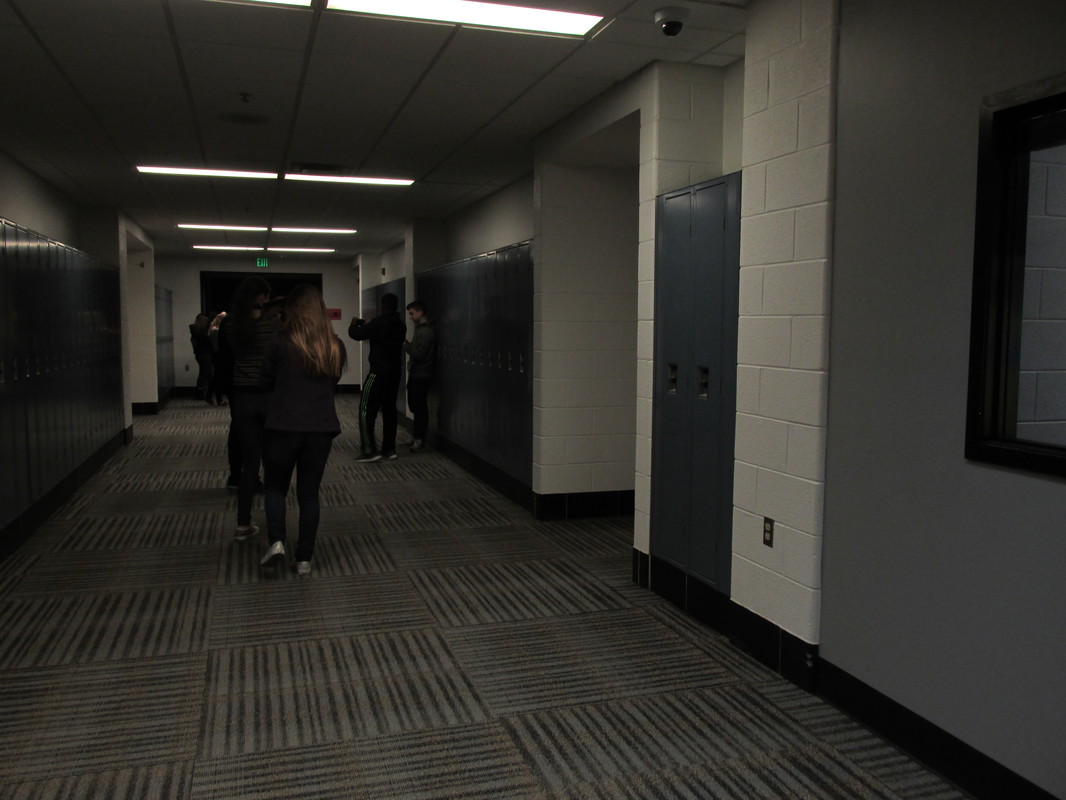 Eventually, I sort of became a pro at achieving the most optimal exposure. Here is an example of one of my properly exposed pictures. This picture was taken outside, downtown Saline for the architecture photo assignment. It was a bright day, so I kept my ISO very low, and my shutter speed very fast to avoid over exposure. 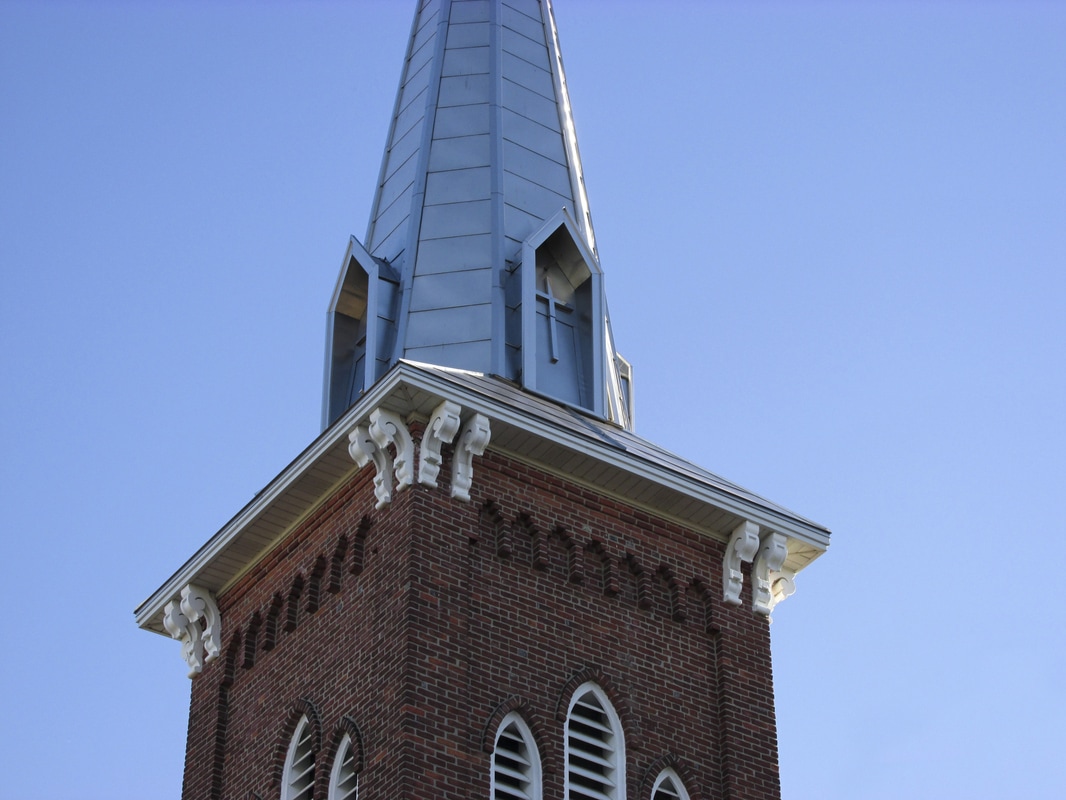 Besides the exposure triangle, the second most important thing I learned in this class was how to take close up pictures of something. It took a lot of trial and error, but eventually I figured out that if I step back from the subject and zoom in far enough, It will create a nice blur of the background while keeping the subject sharp. Here is the picture I first took when I learned this technique. 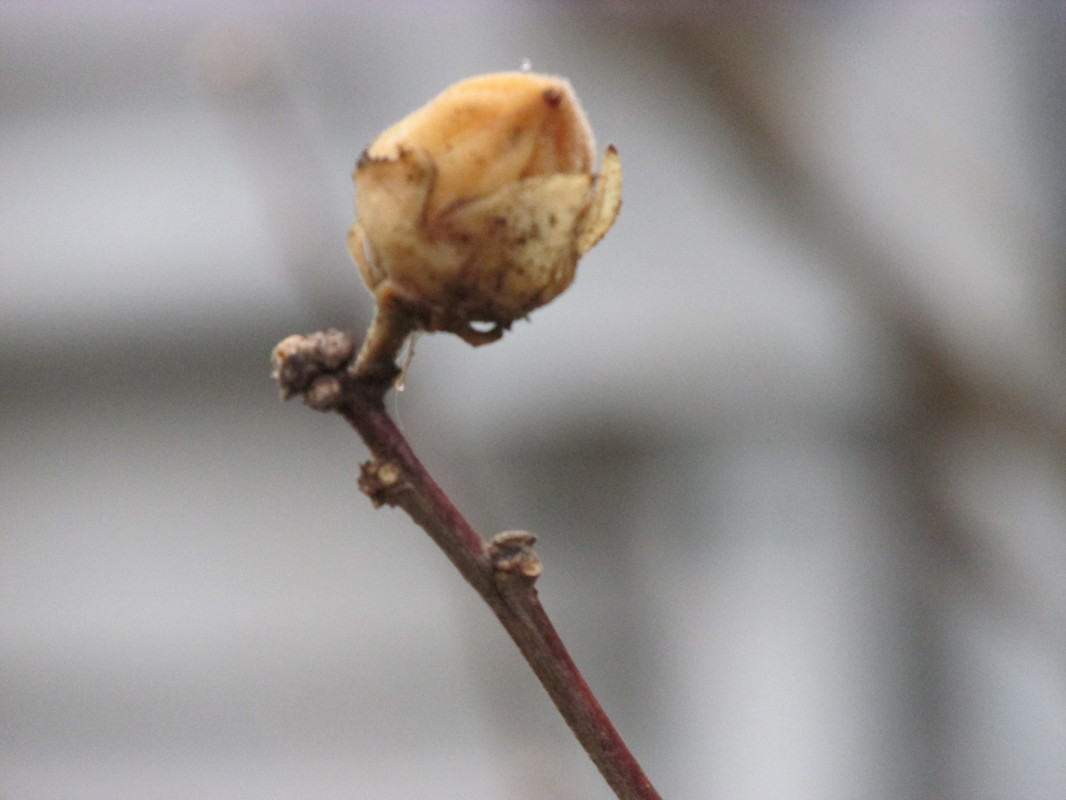 This picture obviously has some issues one of them being that the subject itself is more blurred than it should. However, I later perfected this technique to create my best picture, shown here:  This is a much better improvement. The subject is in focus, and the background is colorful and blurred out nicely. I would've never even imagine shooting an image as beautiful as this one. It is a ton better than my first image from this class, shown here: 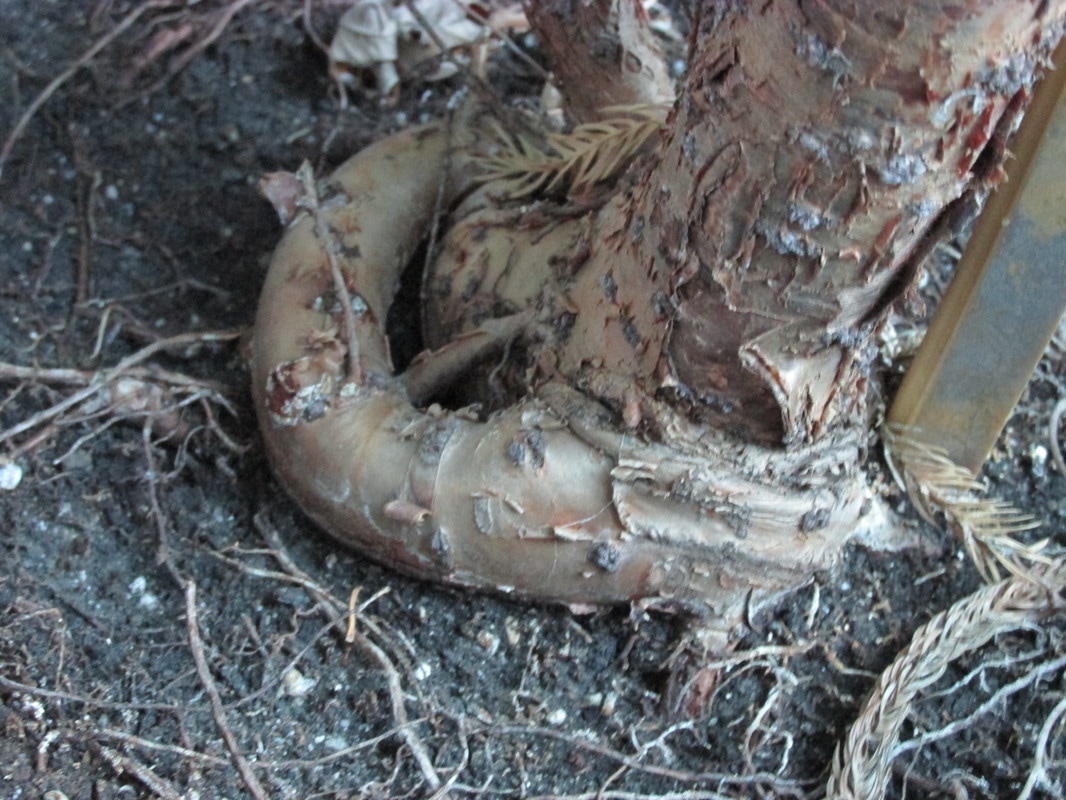 Anyway, I learned a lot from this class and these are the two most important techniques I will take from this class.
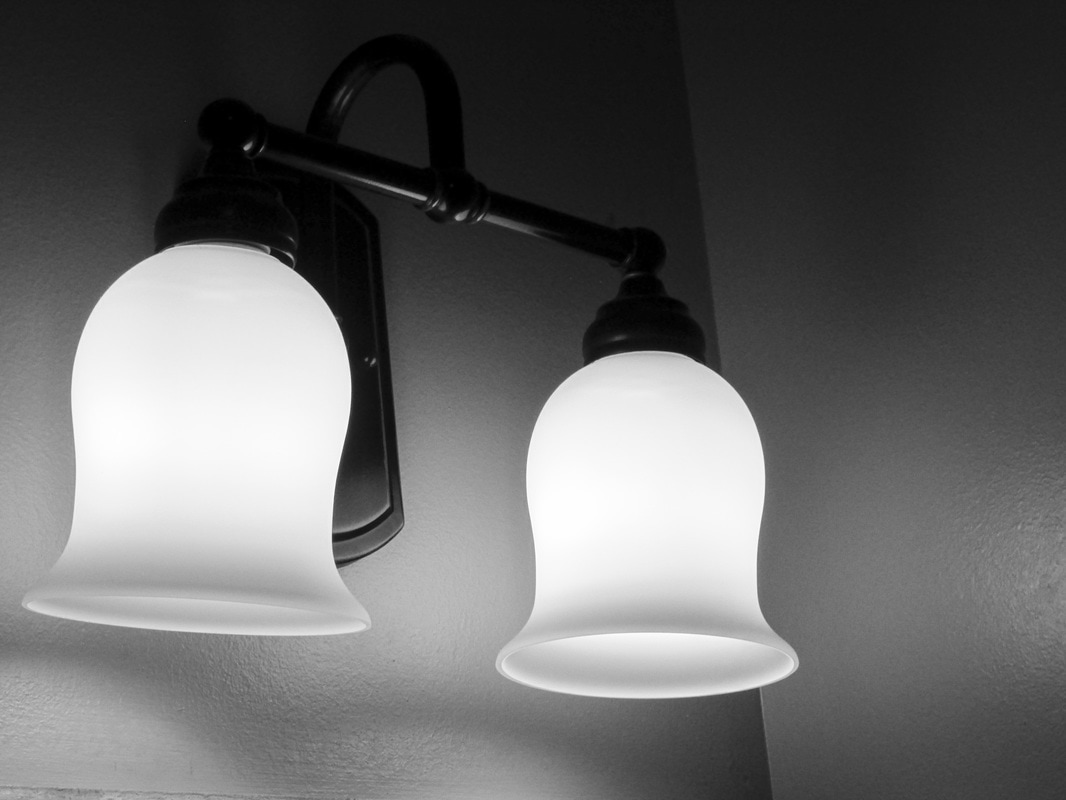
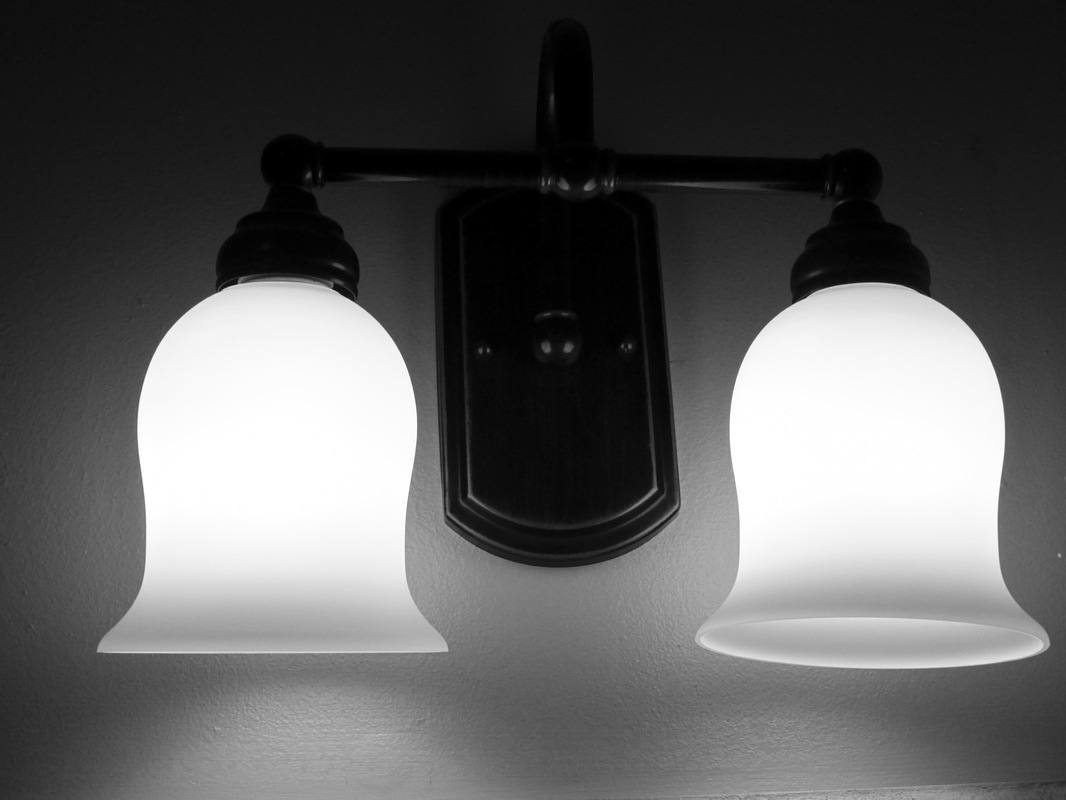
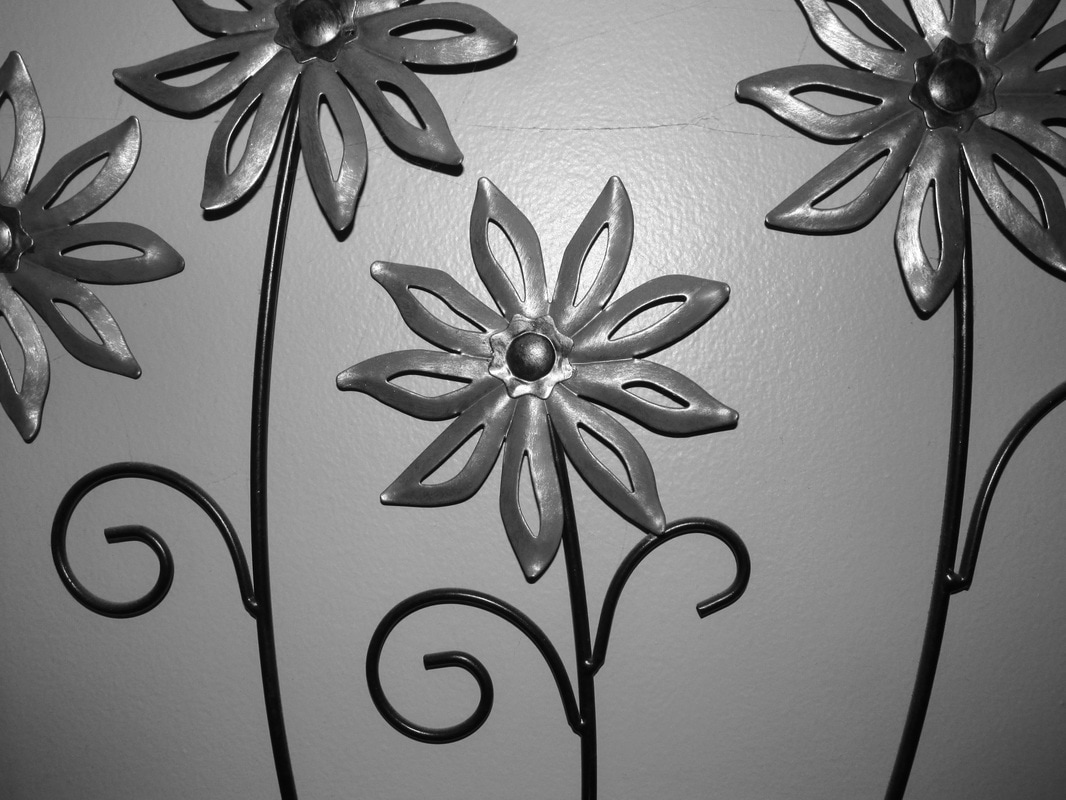
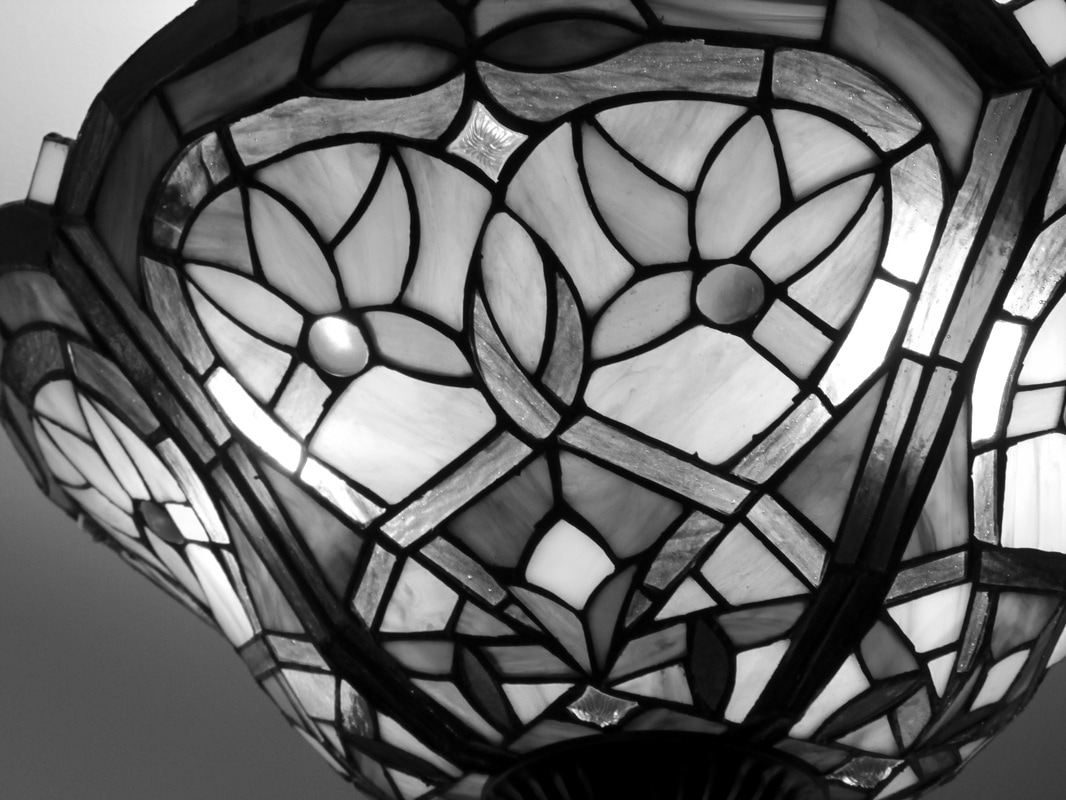
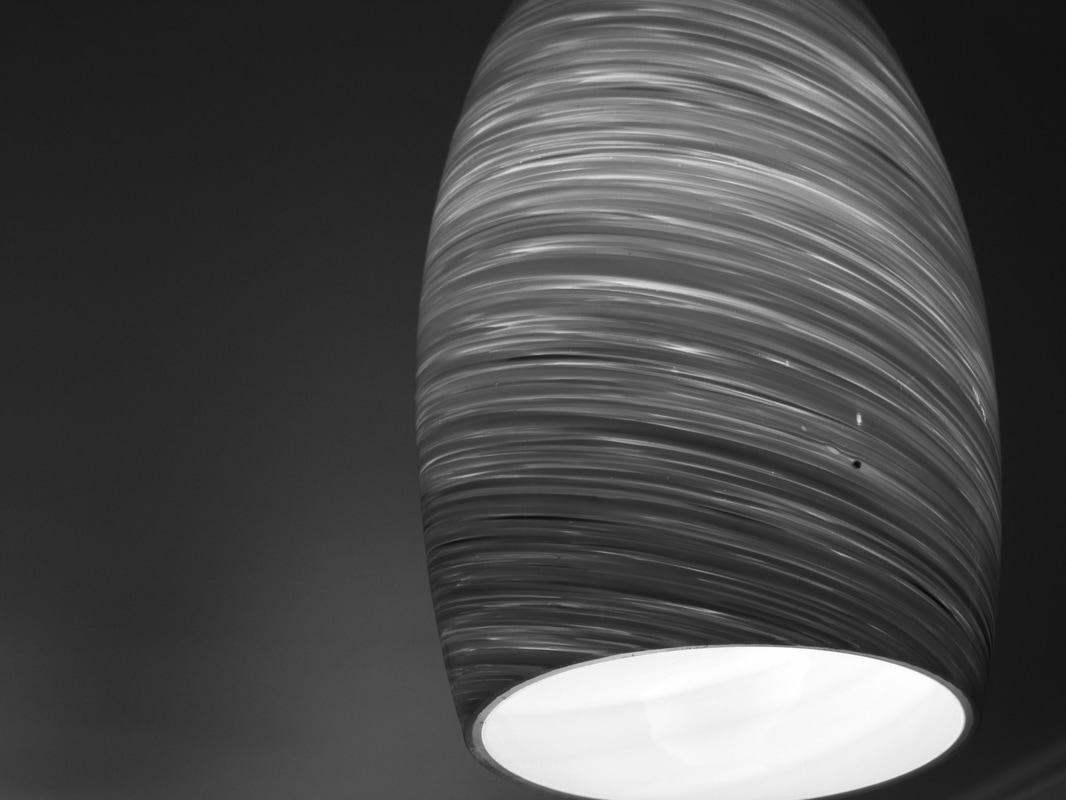
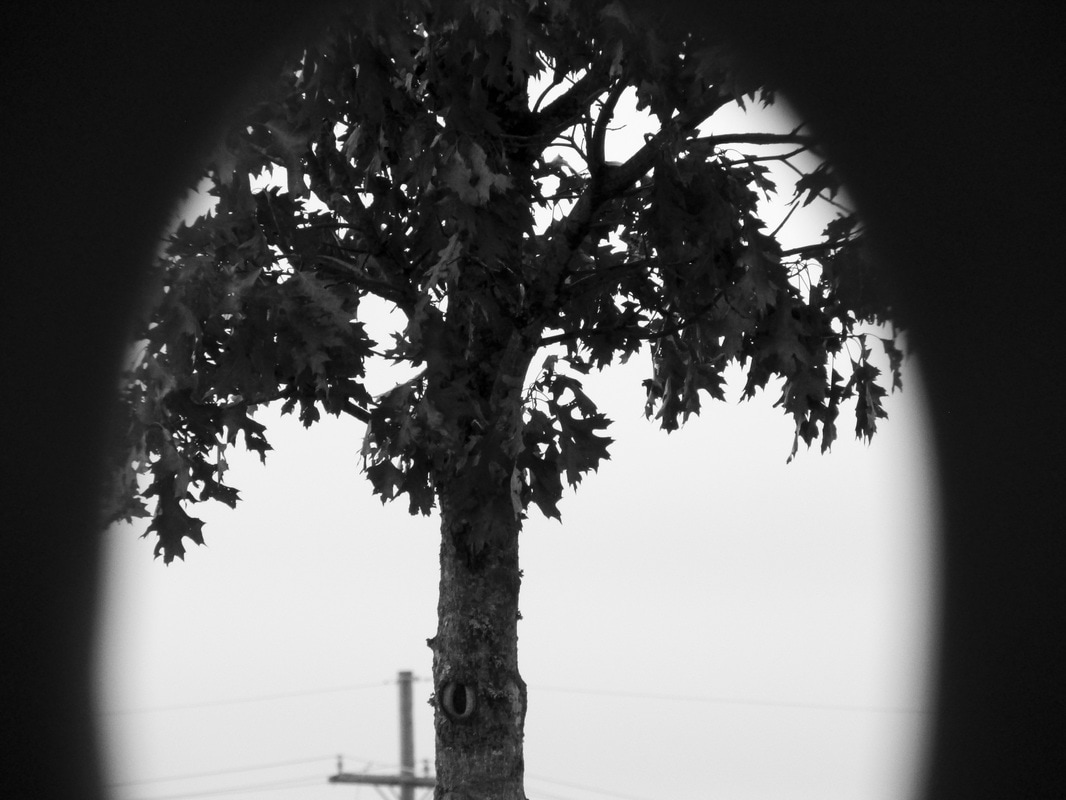
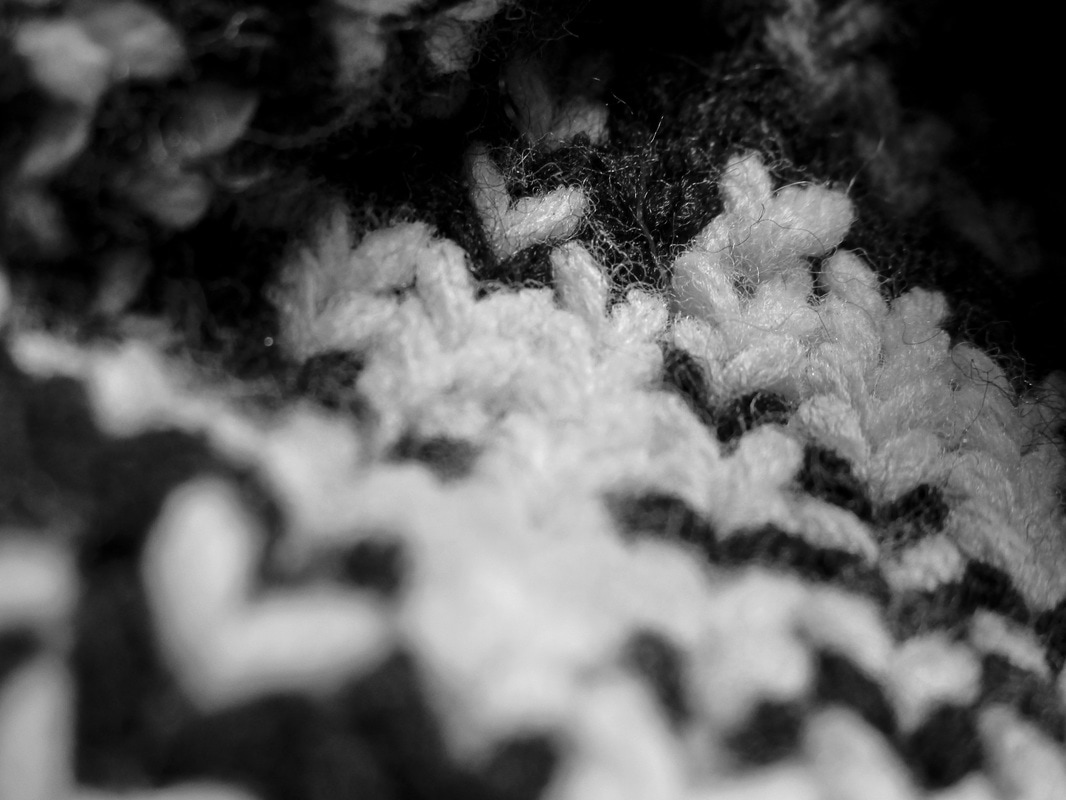
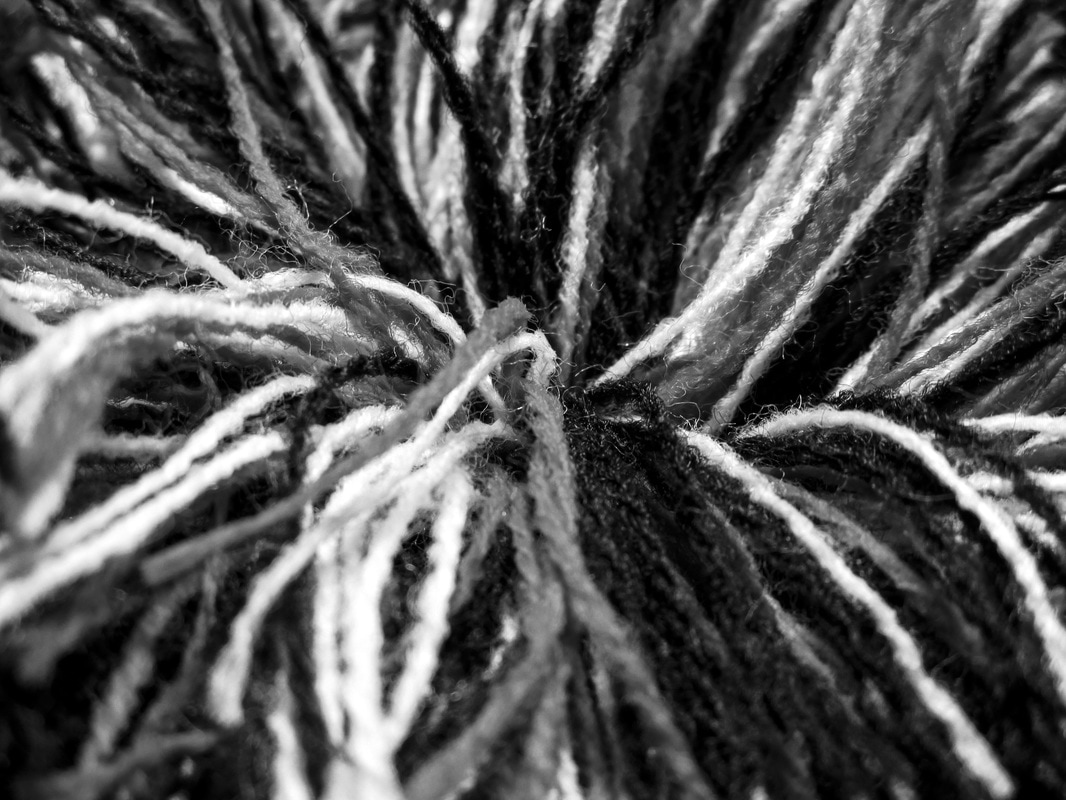
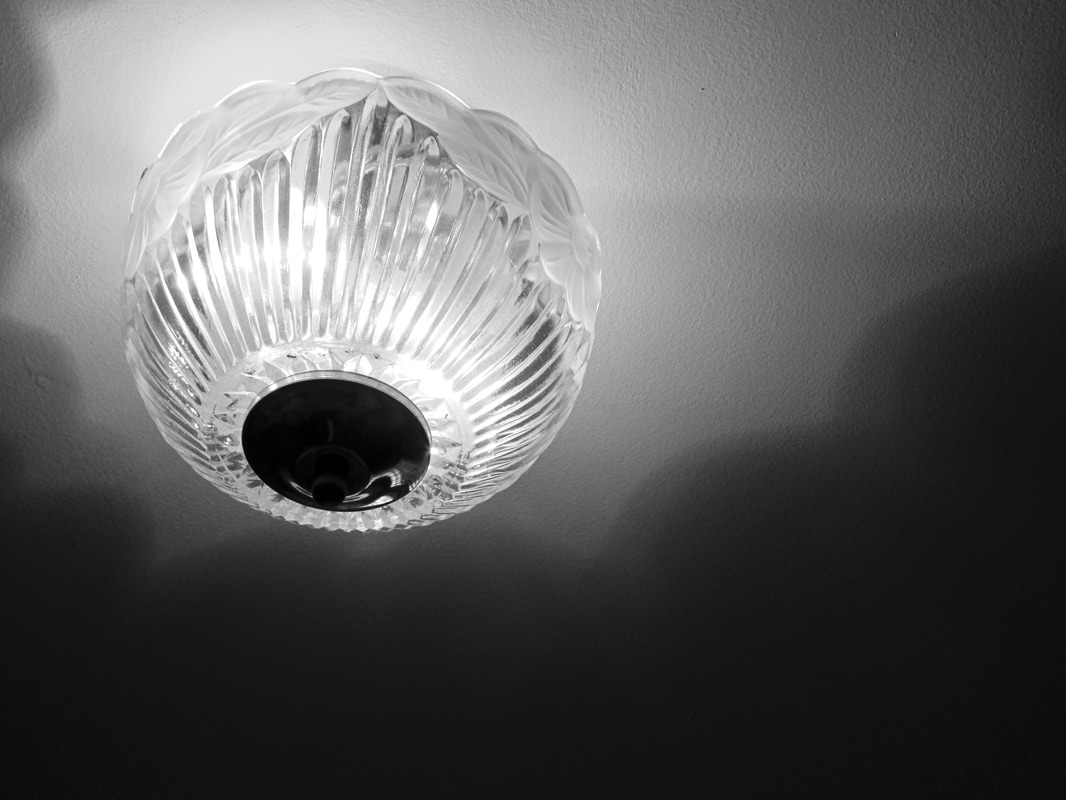
In this demo, I learned how to create motion blur in a photo while keeping the subject in focus. To do this, I used the panning method. The shutter speed was set to the slowest it could go and still produce a decent exposure, and I panned with the subject as it moved. Here are my results. 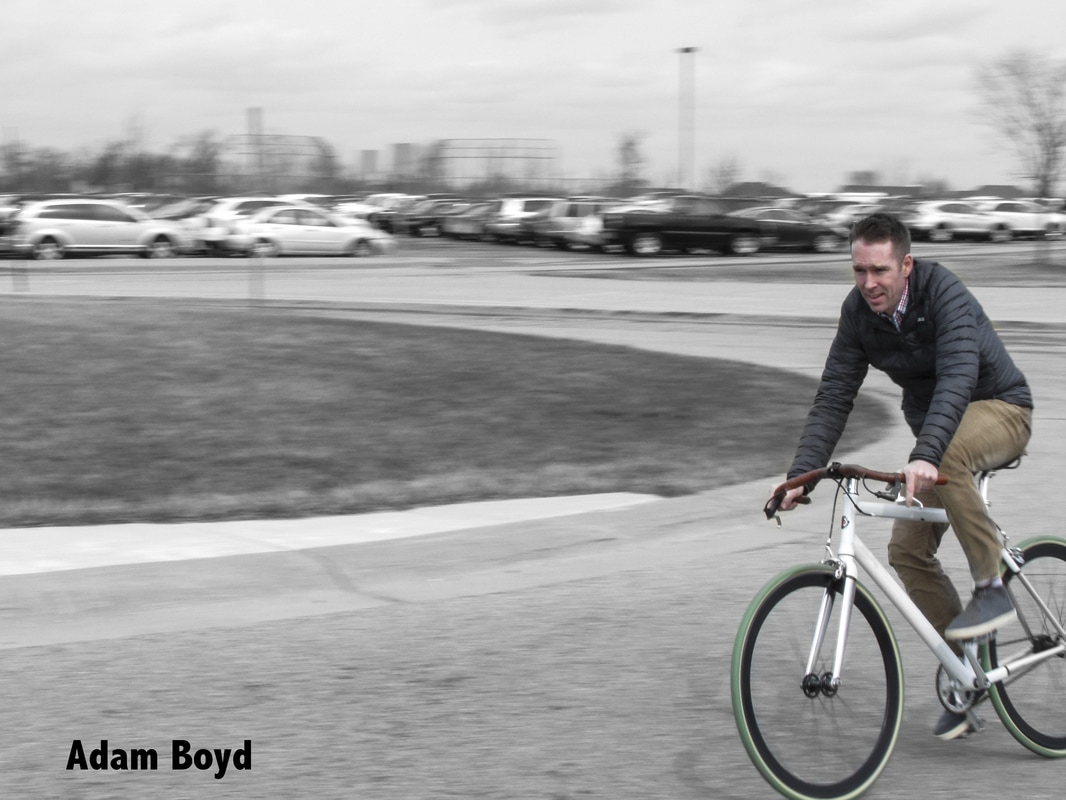 This week, I shot black and white. I started by looking through some of my older pictures, and chose some ones that looked good in black and white. For the actual shooting, I went around my house, looking for anything that would make an appealing black and white picture. I ended up mostly shooting wall decorations and lights. This is the only week that I have actually used the flash for some of the pictures. I learned that the flash gives a nice looking effect with the shadows. 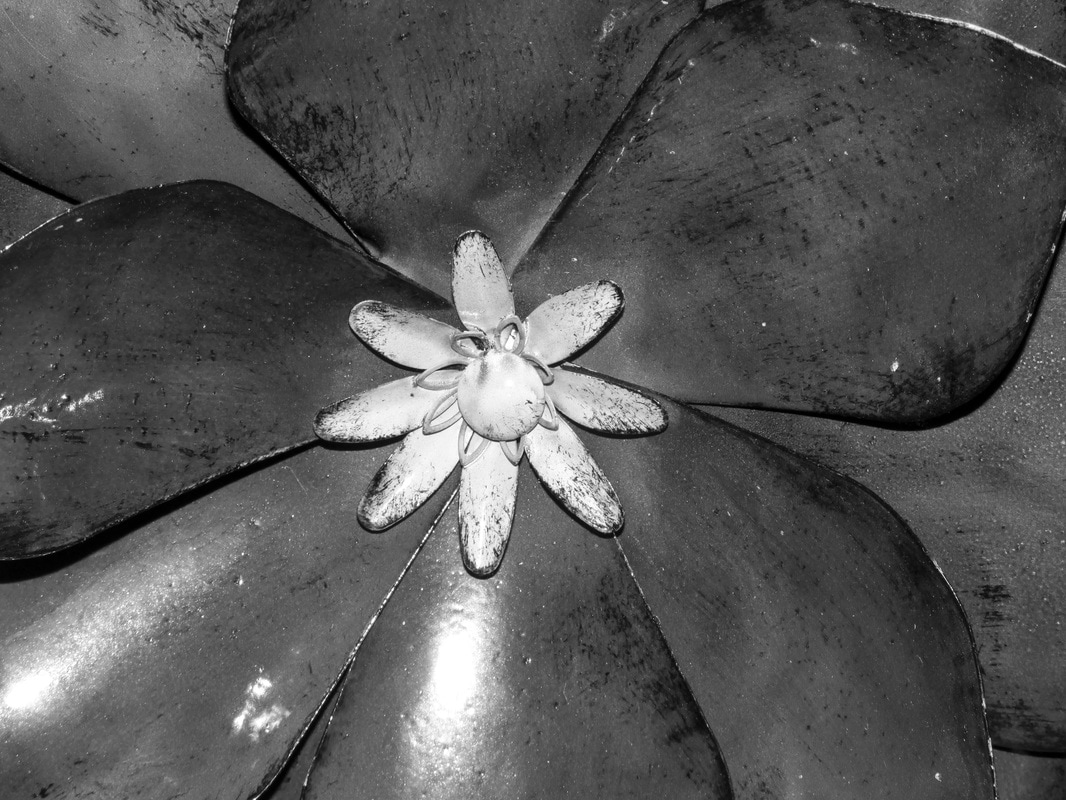 Aperture: f/6.3 Shutter Speed: 1/100 ISO: 100 Edits: Increased: exposure, contrast, highlights, whites, and clarity Decreased: temperature, shadows, blacks, and saturation(all the way for black and white effect) In this assignment, I was tasked with taking pictures of people. I took pictures of people in two places: in a studio, and by a window. The studio had a 3-point lighting setup and looked very professional. I learned about the function of the three lights, the key light, the fill light, and the hair light, and how to use them. By the window, I learned how to use a piece of reflective material(in my case a white poster board) to reflect light onto the subject. This helps to soften up the shadows that will naturally set across the subject's face. I used both of these locations and put together a portrait in photoshop, here is the result: 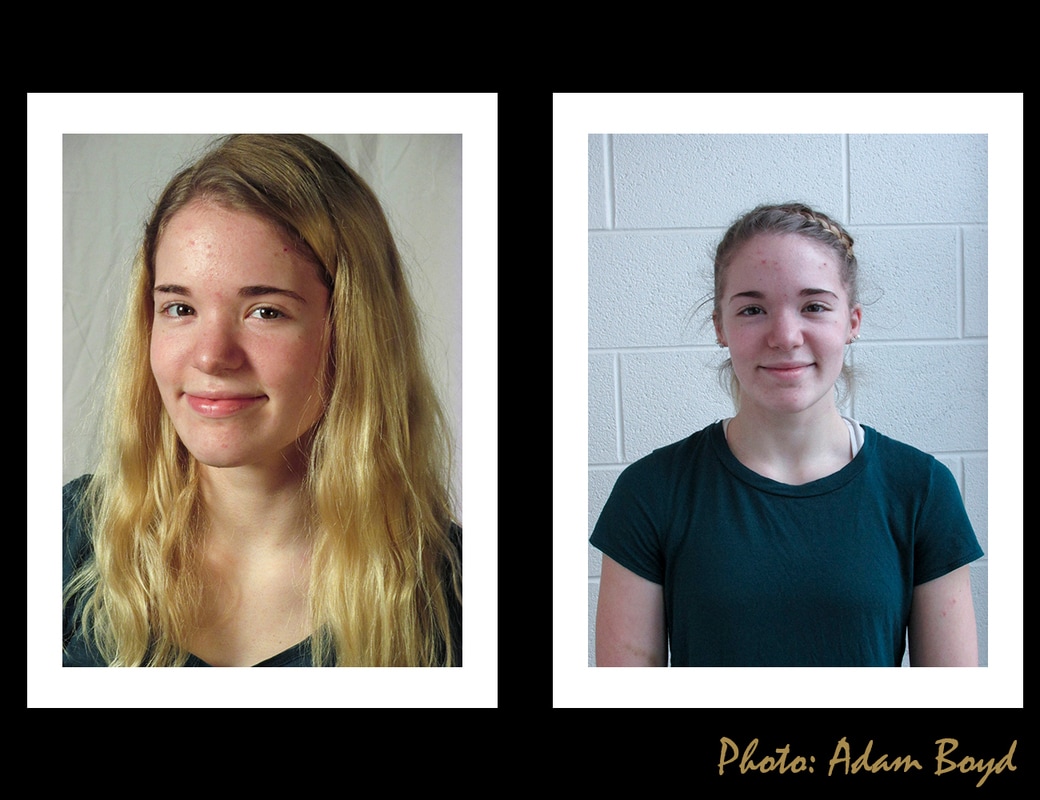 |